Custom Actions
You can create a custom action tailored to your specific needs by combining existing actions. This can be convenient when creating future automations.
Creating a custom action
Use any action or subflow as the base of a custom action. Note: The 'If', 'If else', 'For Each', 'Variable', 'Wait', 'Note', and 'End Run' actions cannot be customized.
- In the Edit mode, create a step, using relevant parameters that you wish to save as a custom step.
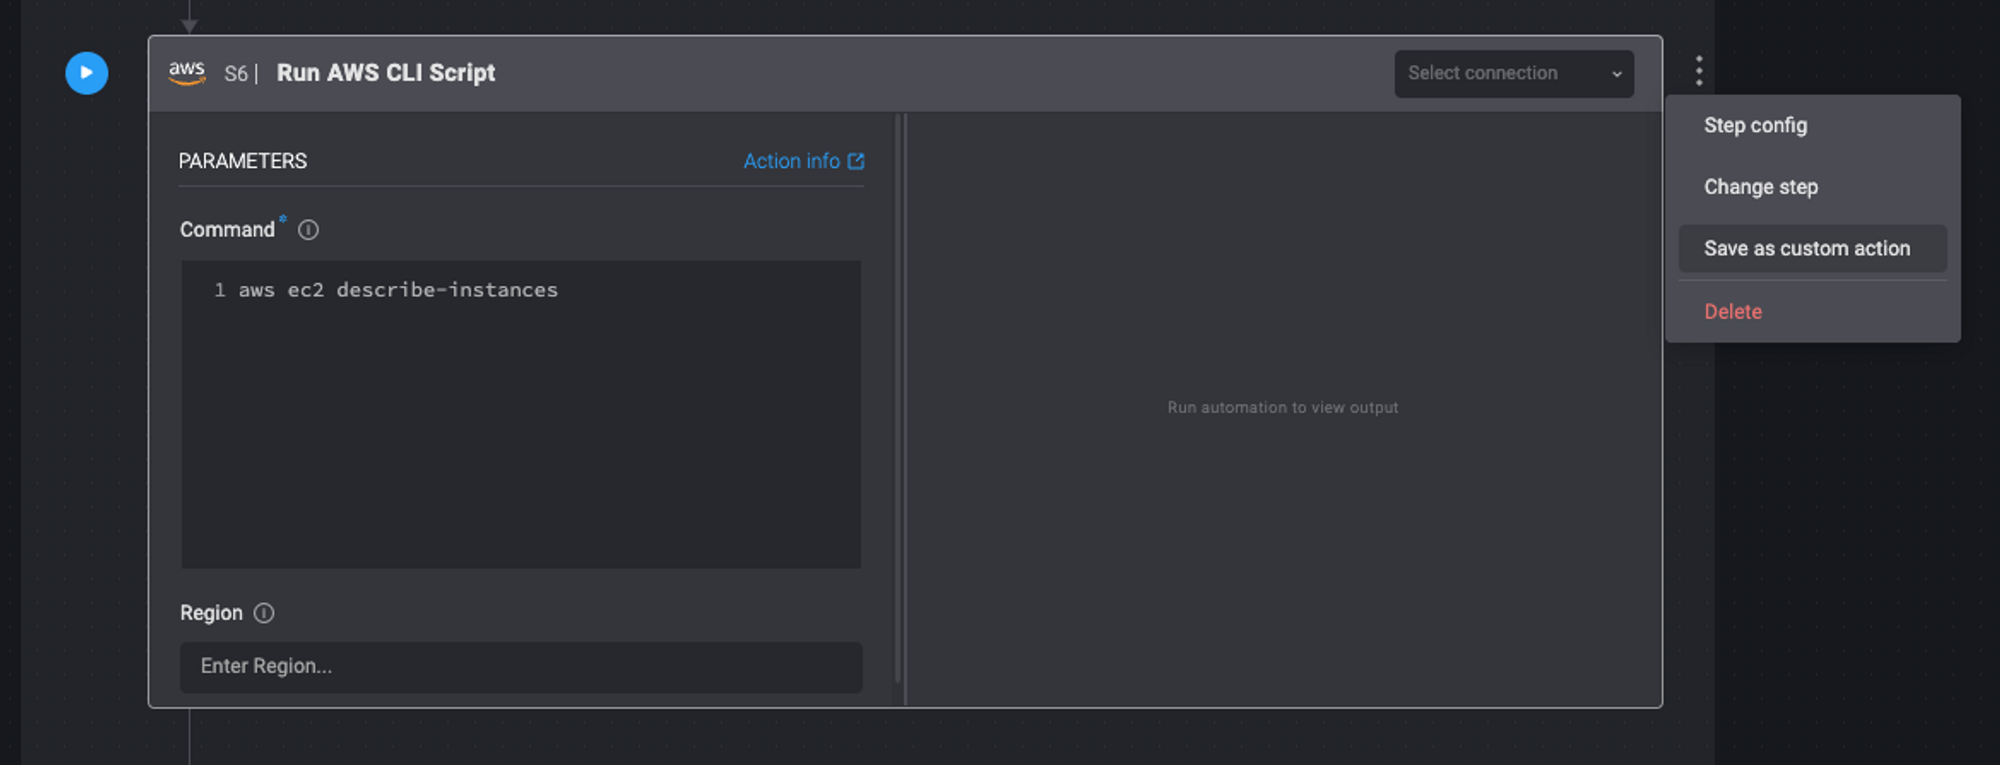
- On the right-hand side of the step, click
 > Save as custom action. A New custom action dialog window opens.
- Define a New action name, select a Vendor or create a new one, and enter a description.

- Click Create. The new action appears in the actions list under the vendor you selected, available for all users of the current workspace.
Editing a custom action
- On the right-hand side of the step, click > Edit custom action.
OR
On the left-hand side of the Edit mode, in the action panel, click > Edit custom action metadata.
An Edit custom action dialog window opens. - Edit the New action name, select a different Vendor, or change the description.
- Click Update. The updated action appears in the actions list under the vendor you selected, available for all users of the current workspace.
Using a custom action
When creating an Automation in the Edit mode, create a step using a custom action the same way as creating a regular step:
- Drag and drop: To use a custom action, drag and drop the Action onto the canvas from the Action panel. At the top of the panel you can see the flow control actions and beneath them a list of external service providers. To see the available Actions, open a service.
- Inline adding: Click on the box in the middle of the canvas. Search for the custom action in the search bar and select it.