Runner Settings
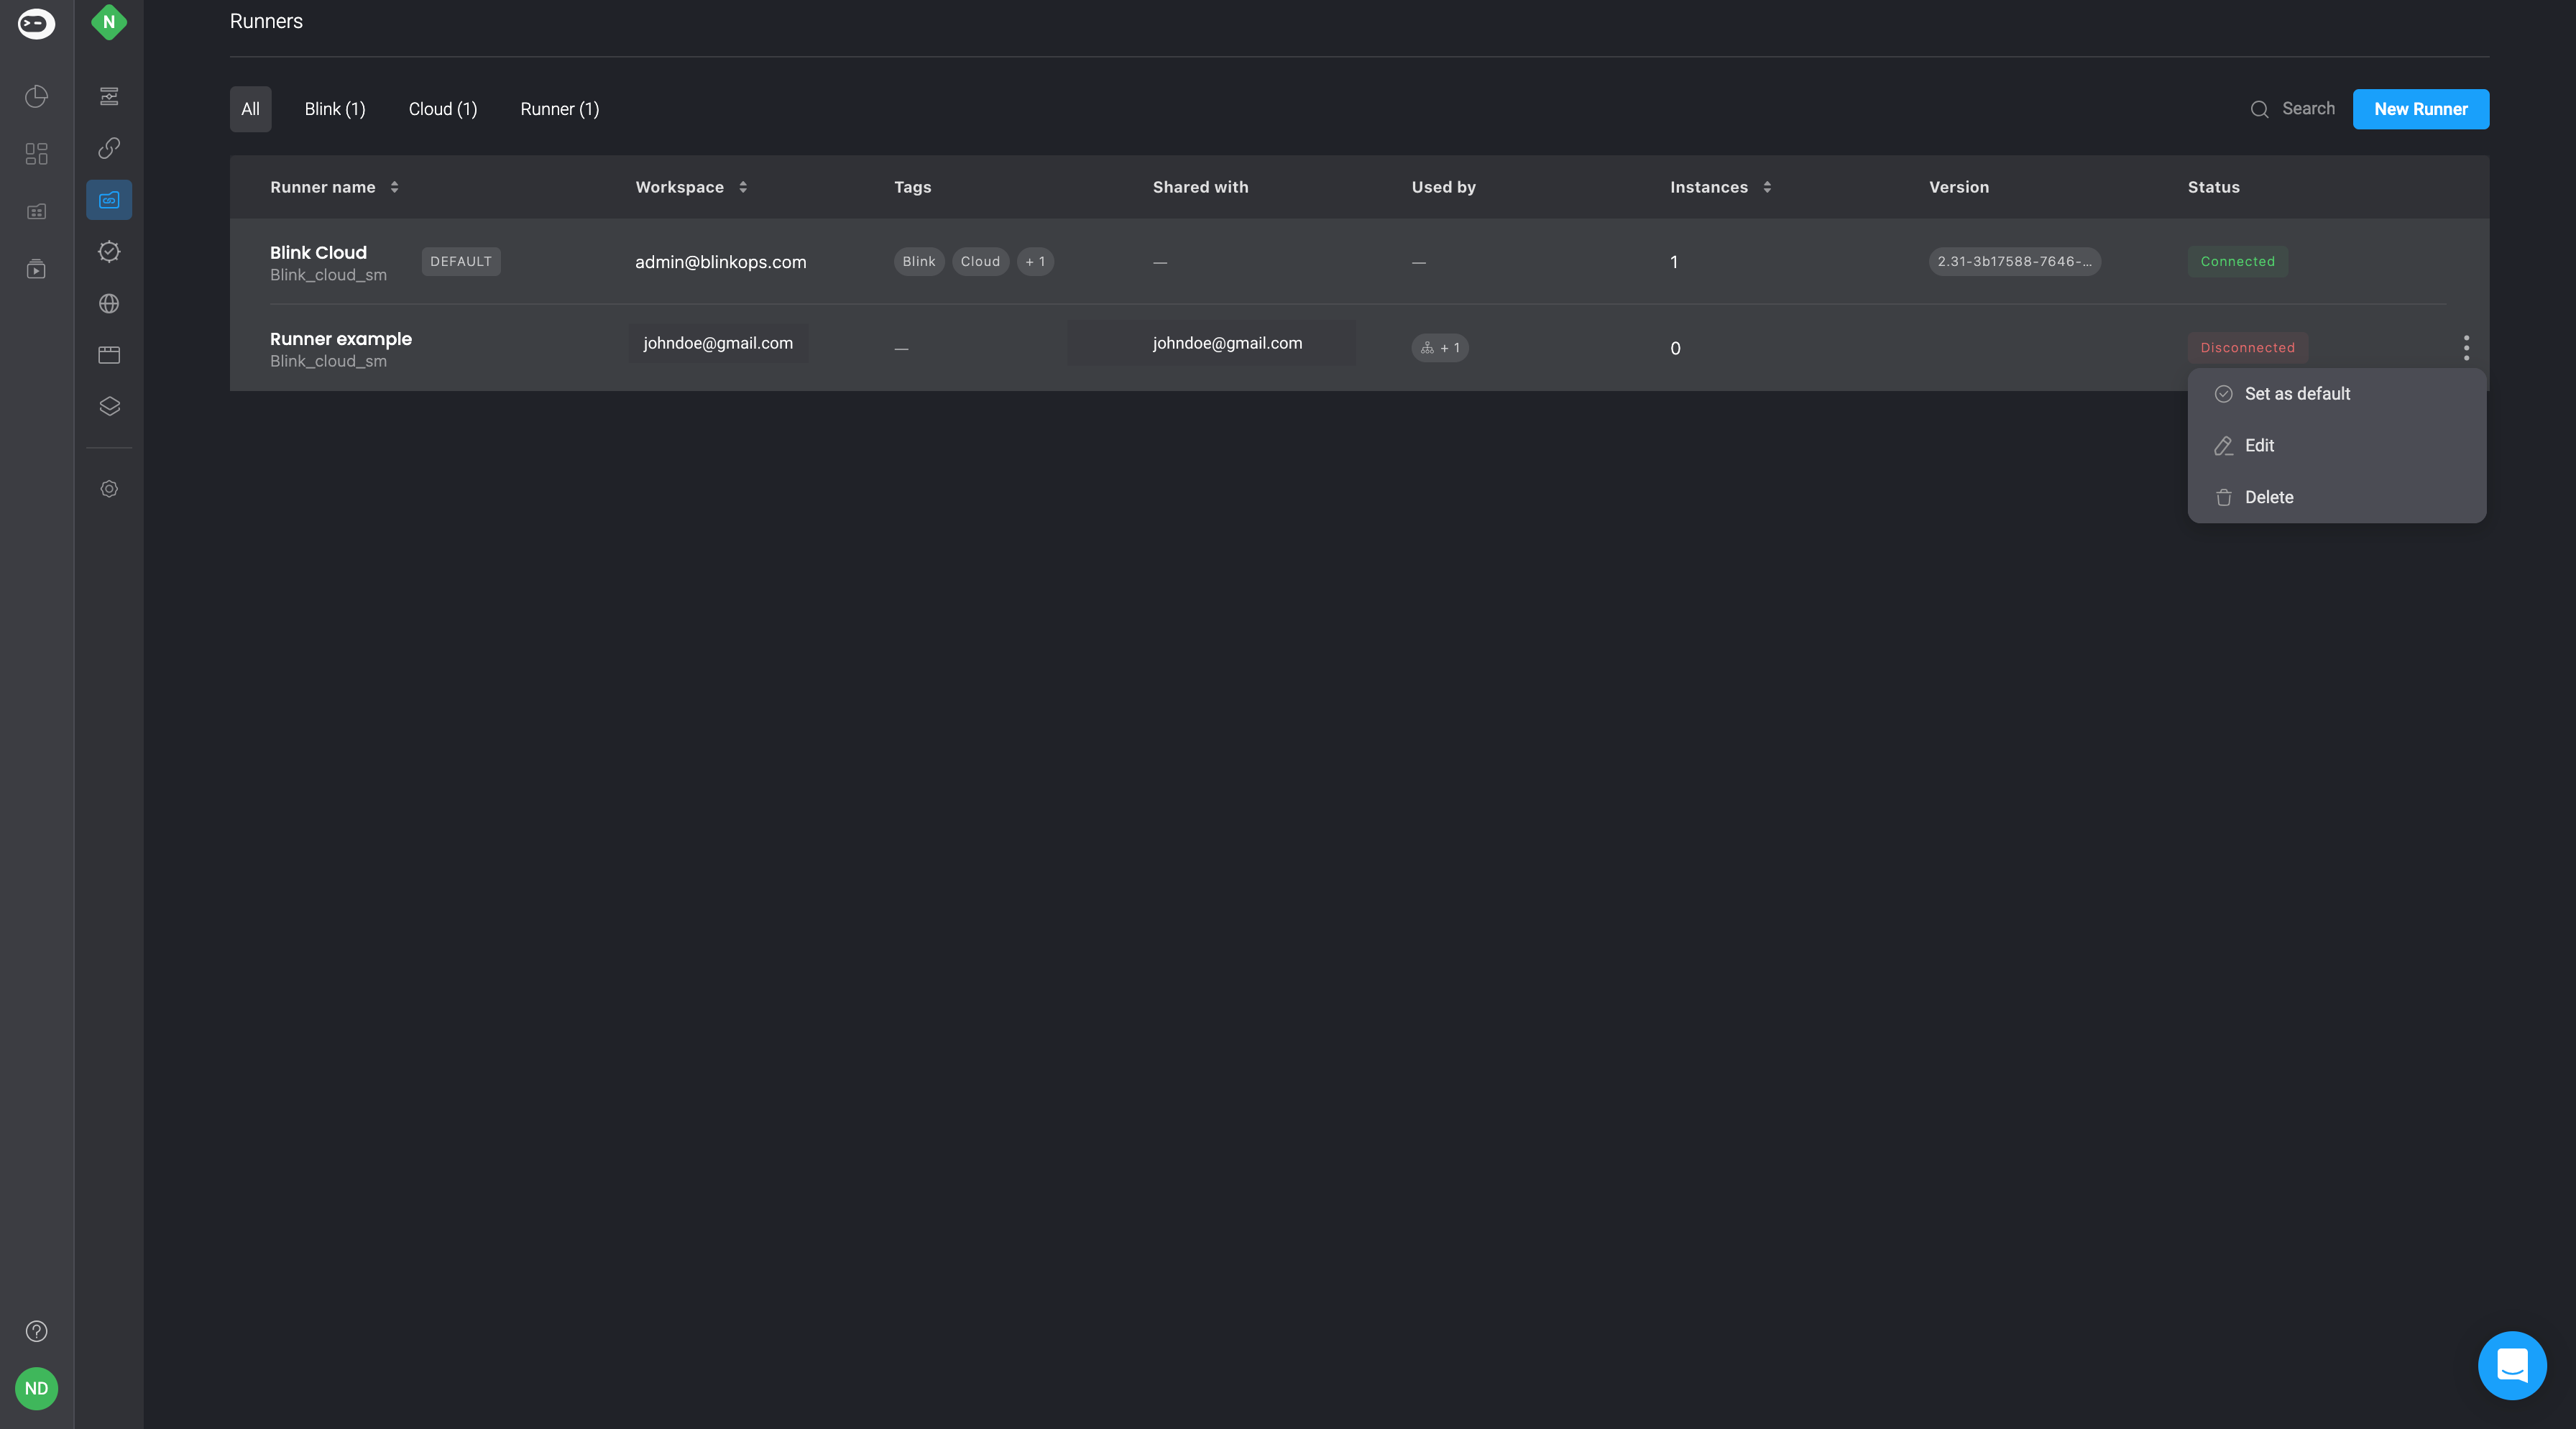
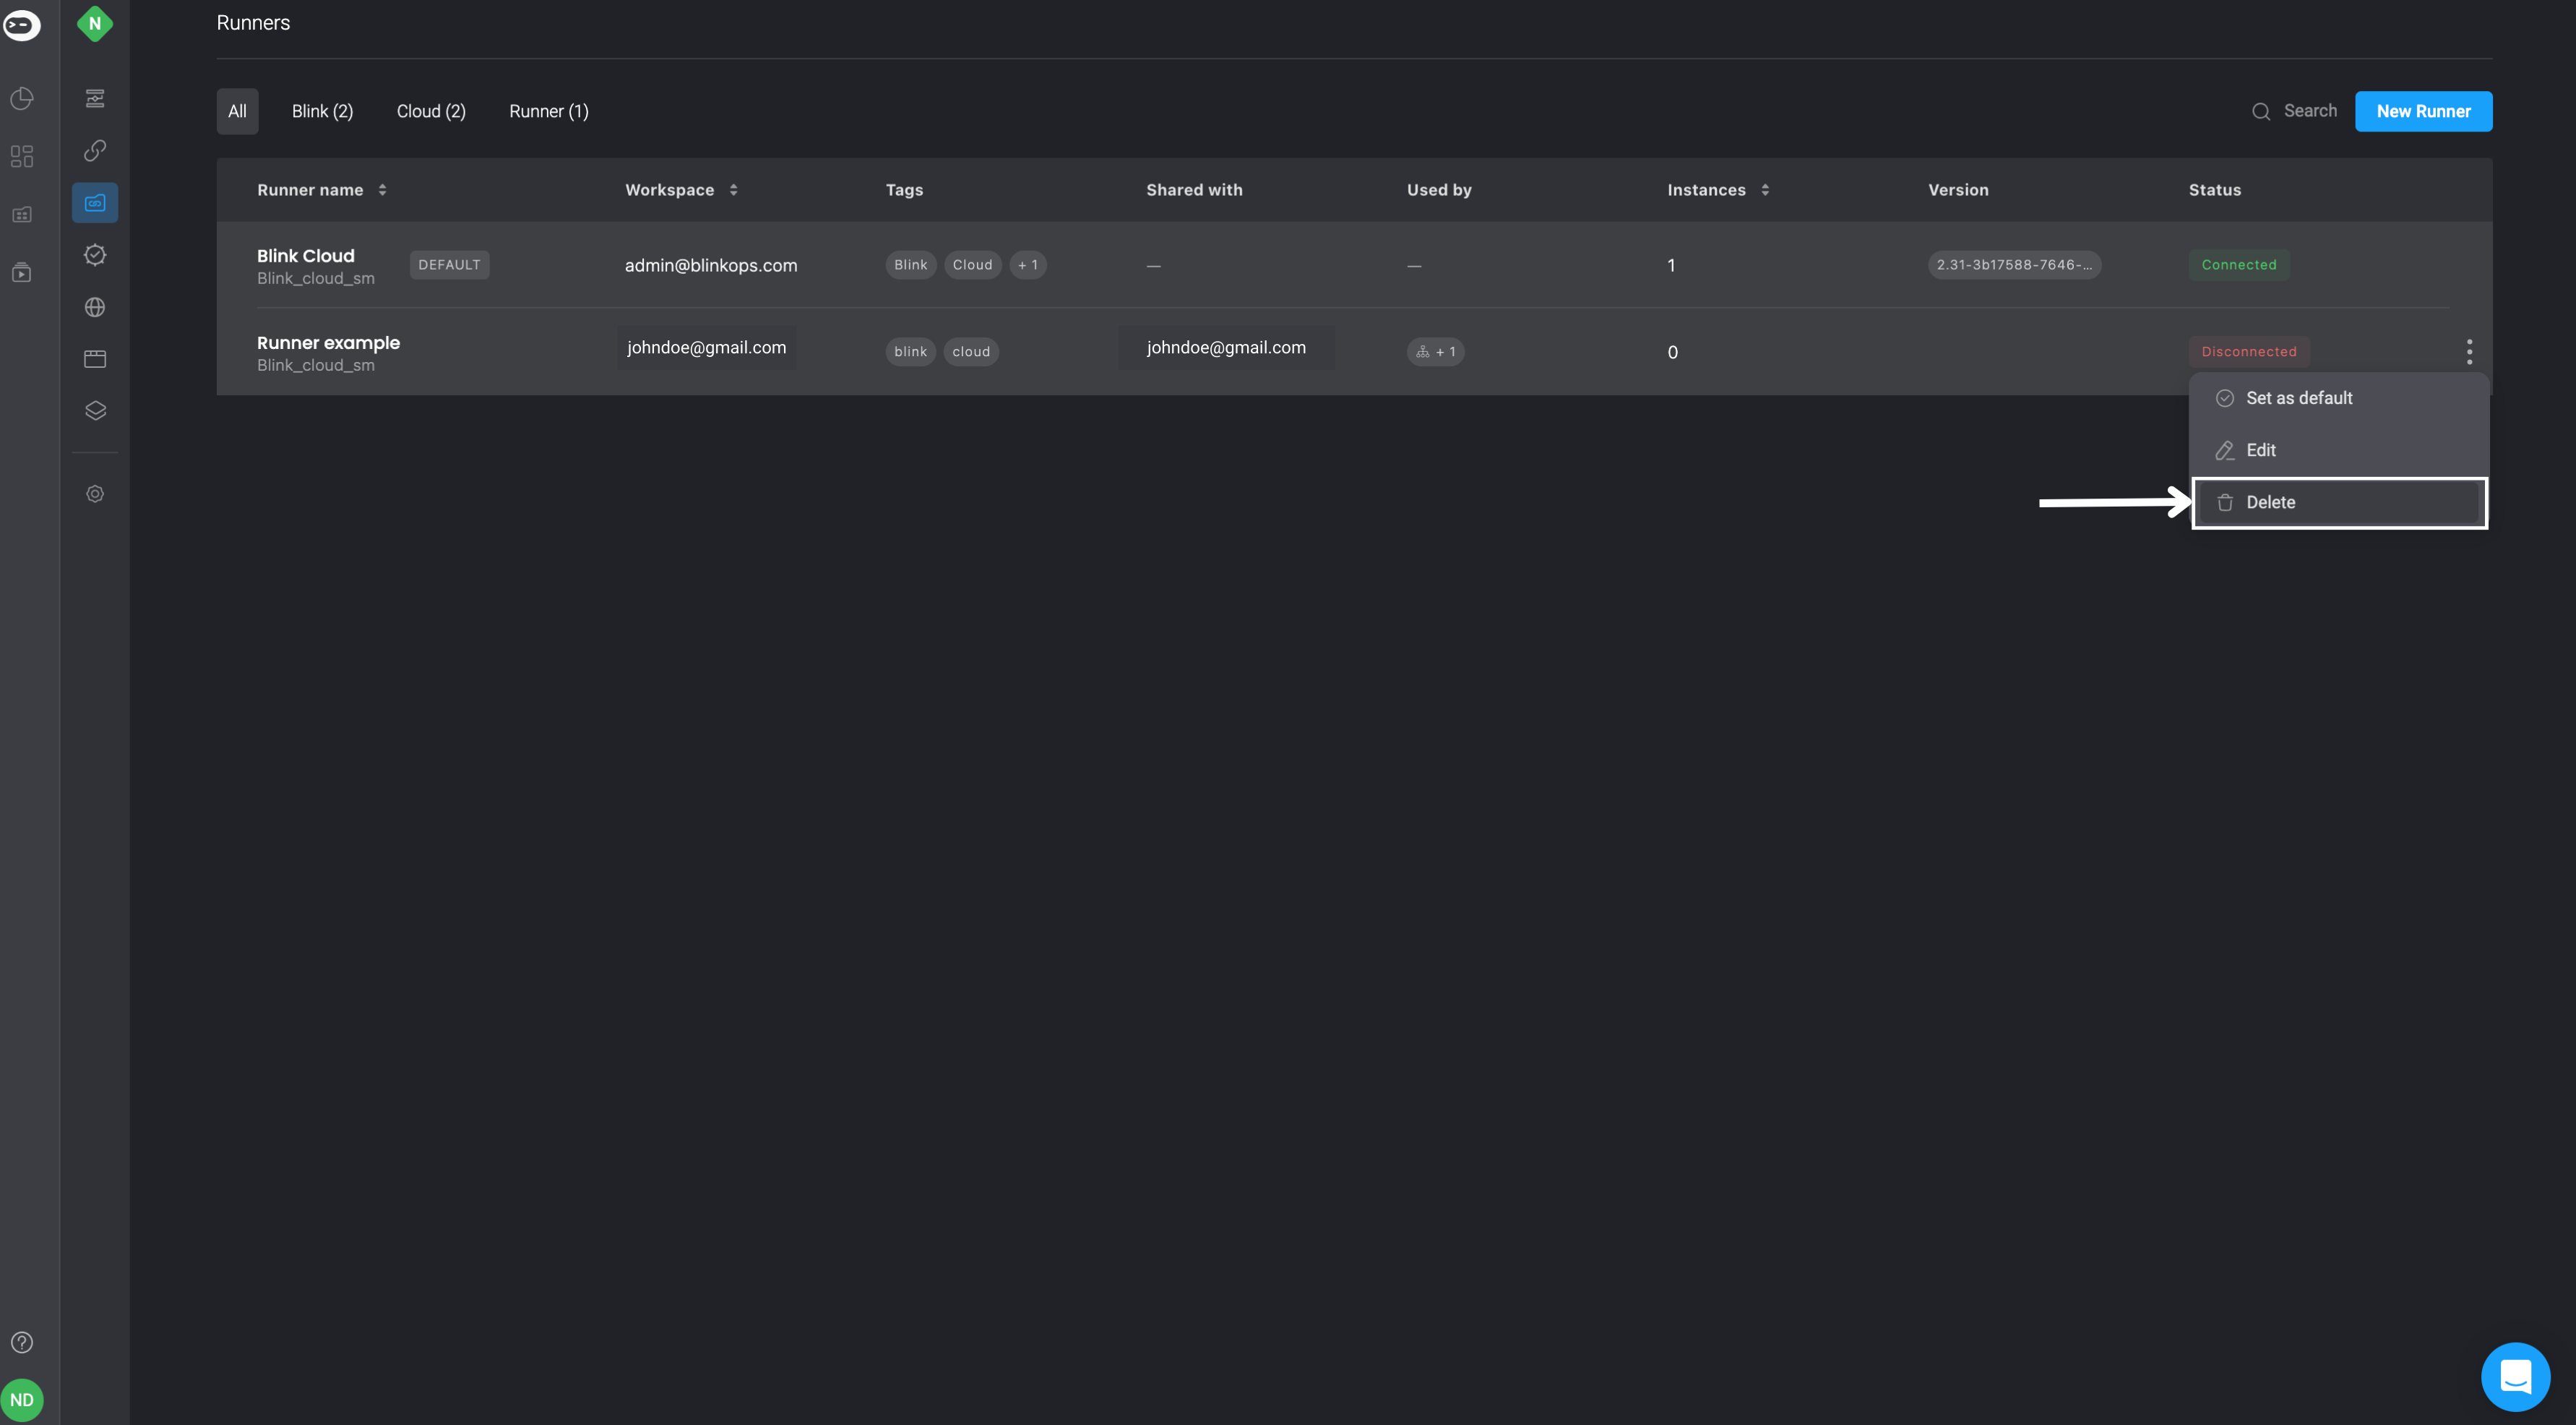
On the Runners Page, you can click the ![]() button beside a particular runner and then pick from these options: set as default, edit, or delete.
button beside a particular runner and then pick from these options: set as default, edit, or delete.
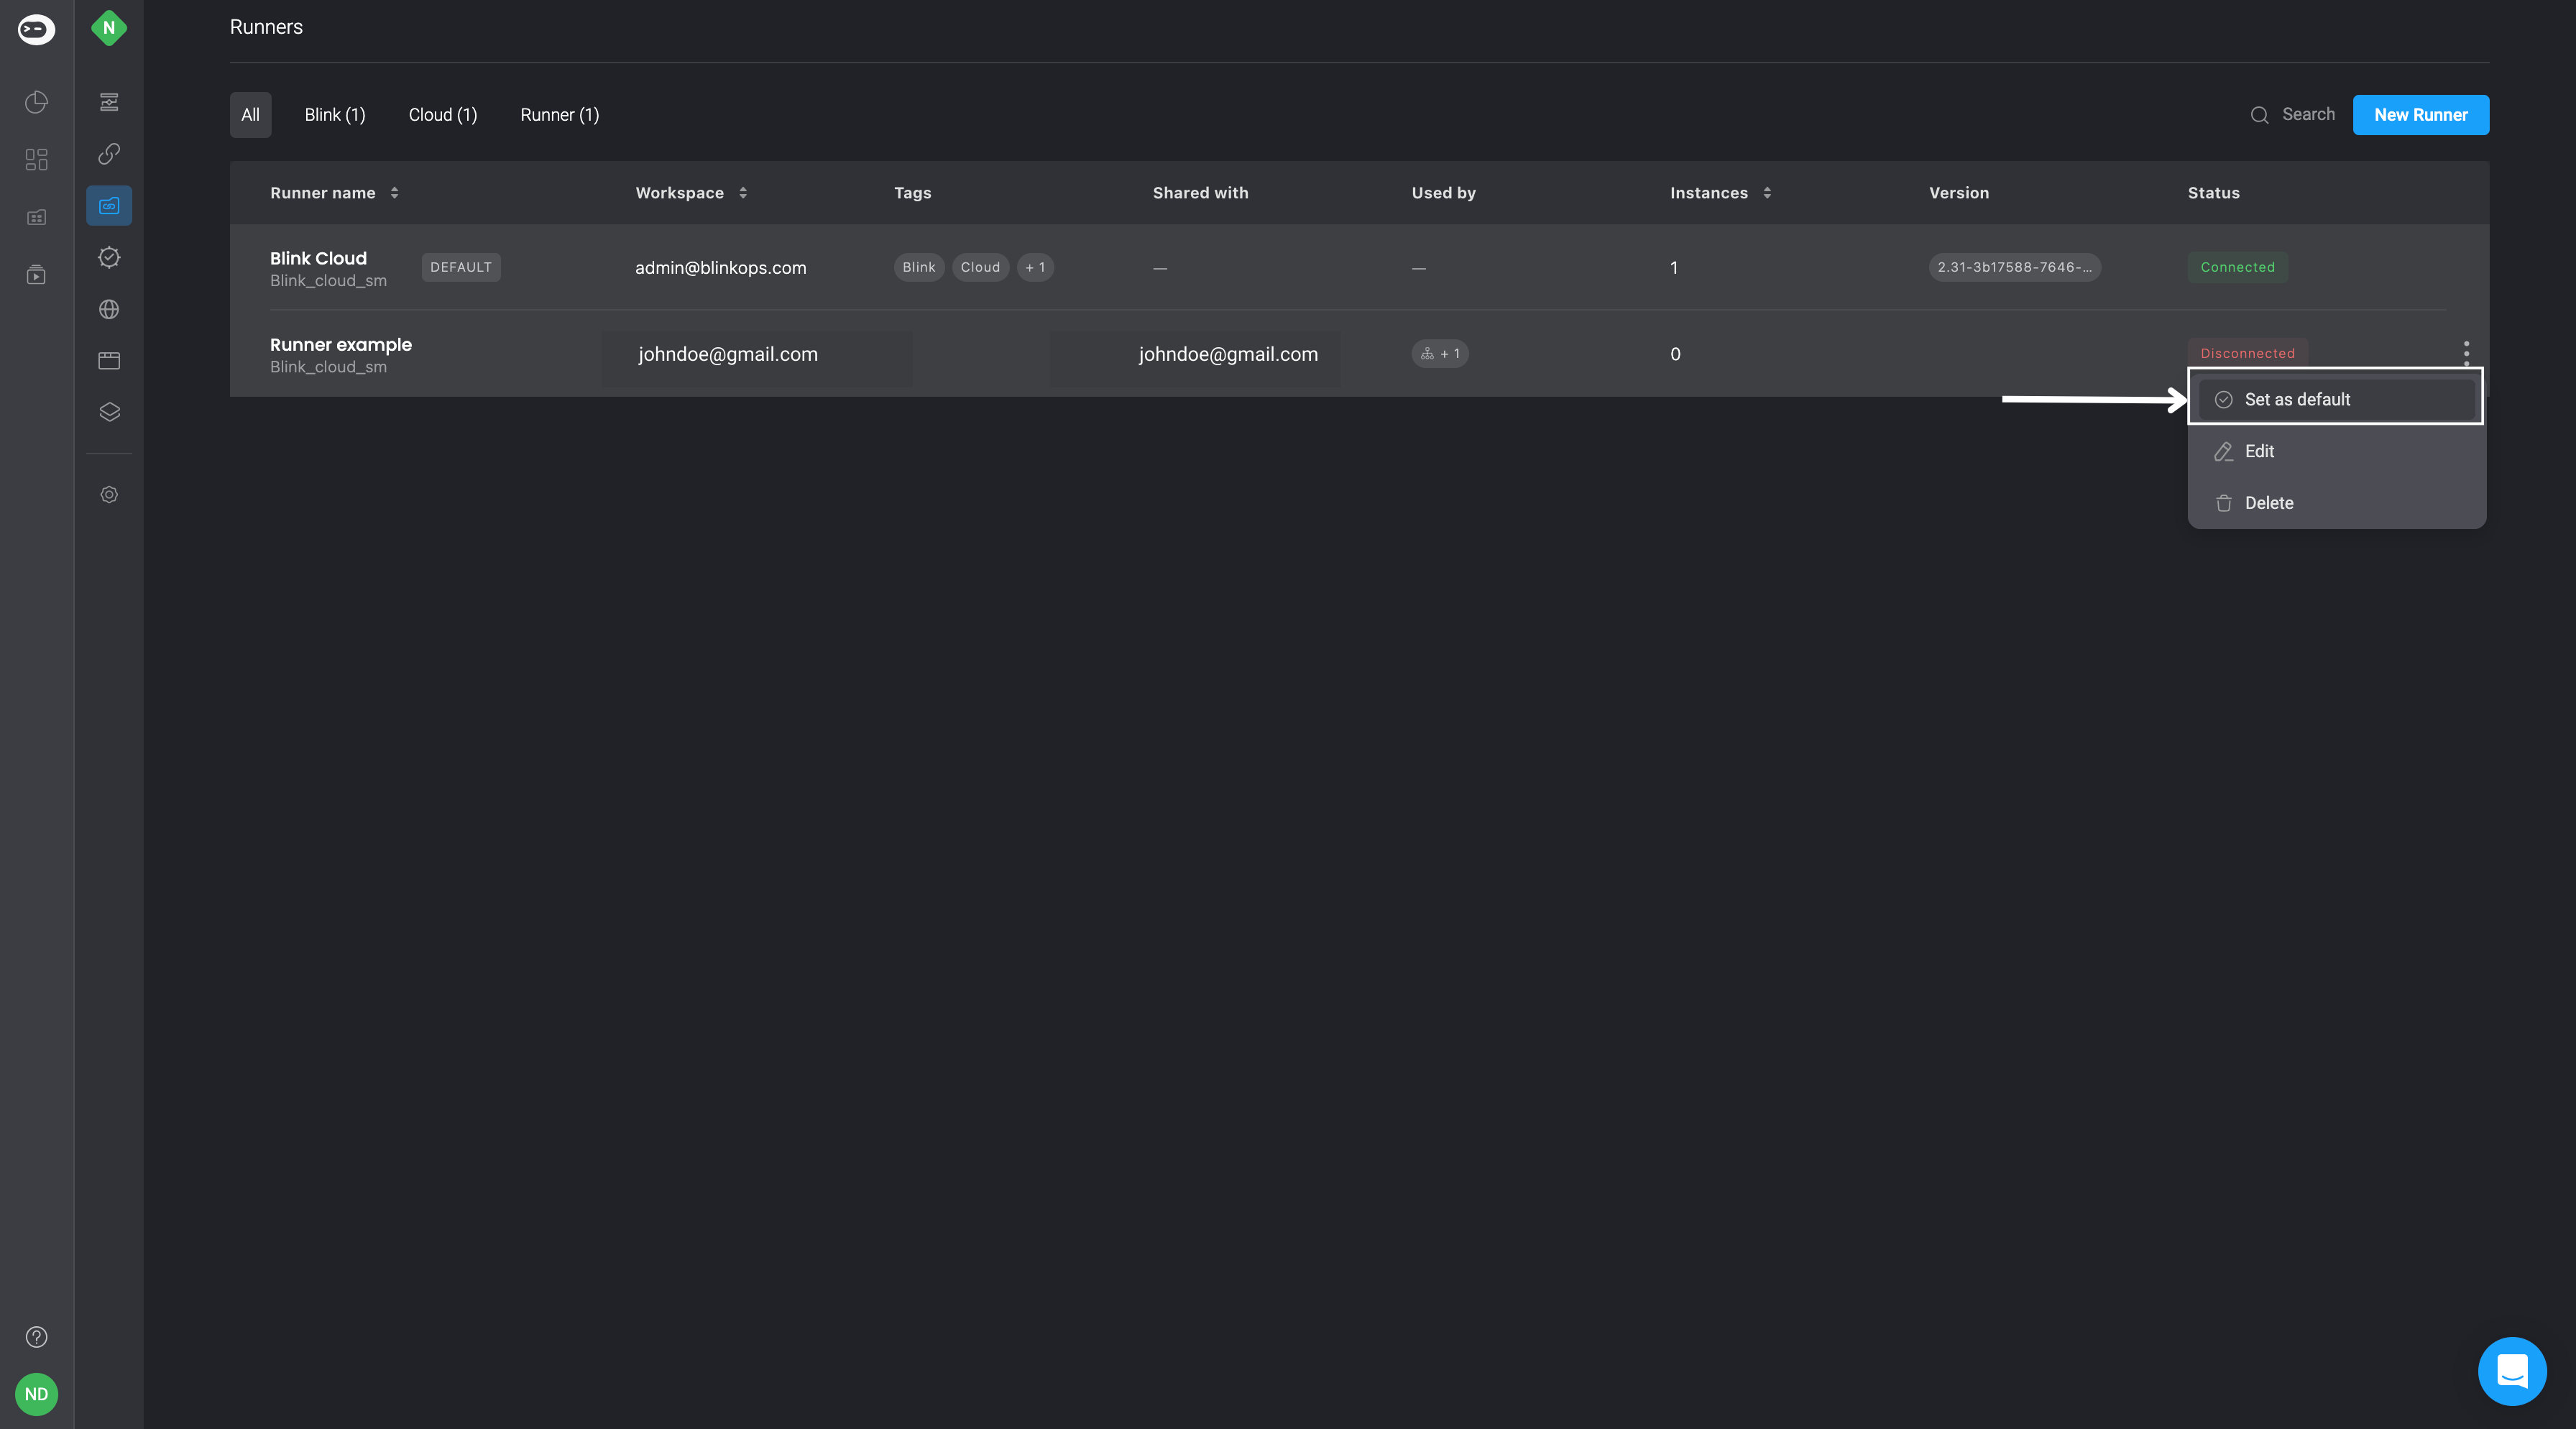
Set Runner as Default
- By choosing the set as default option, you designate the selected runner as the default runner.
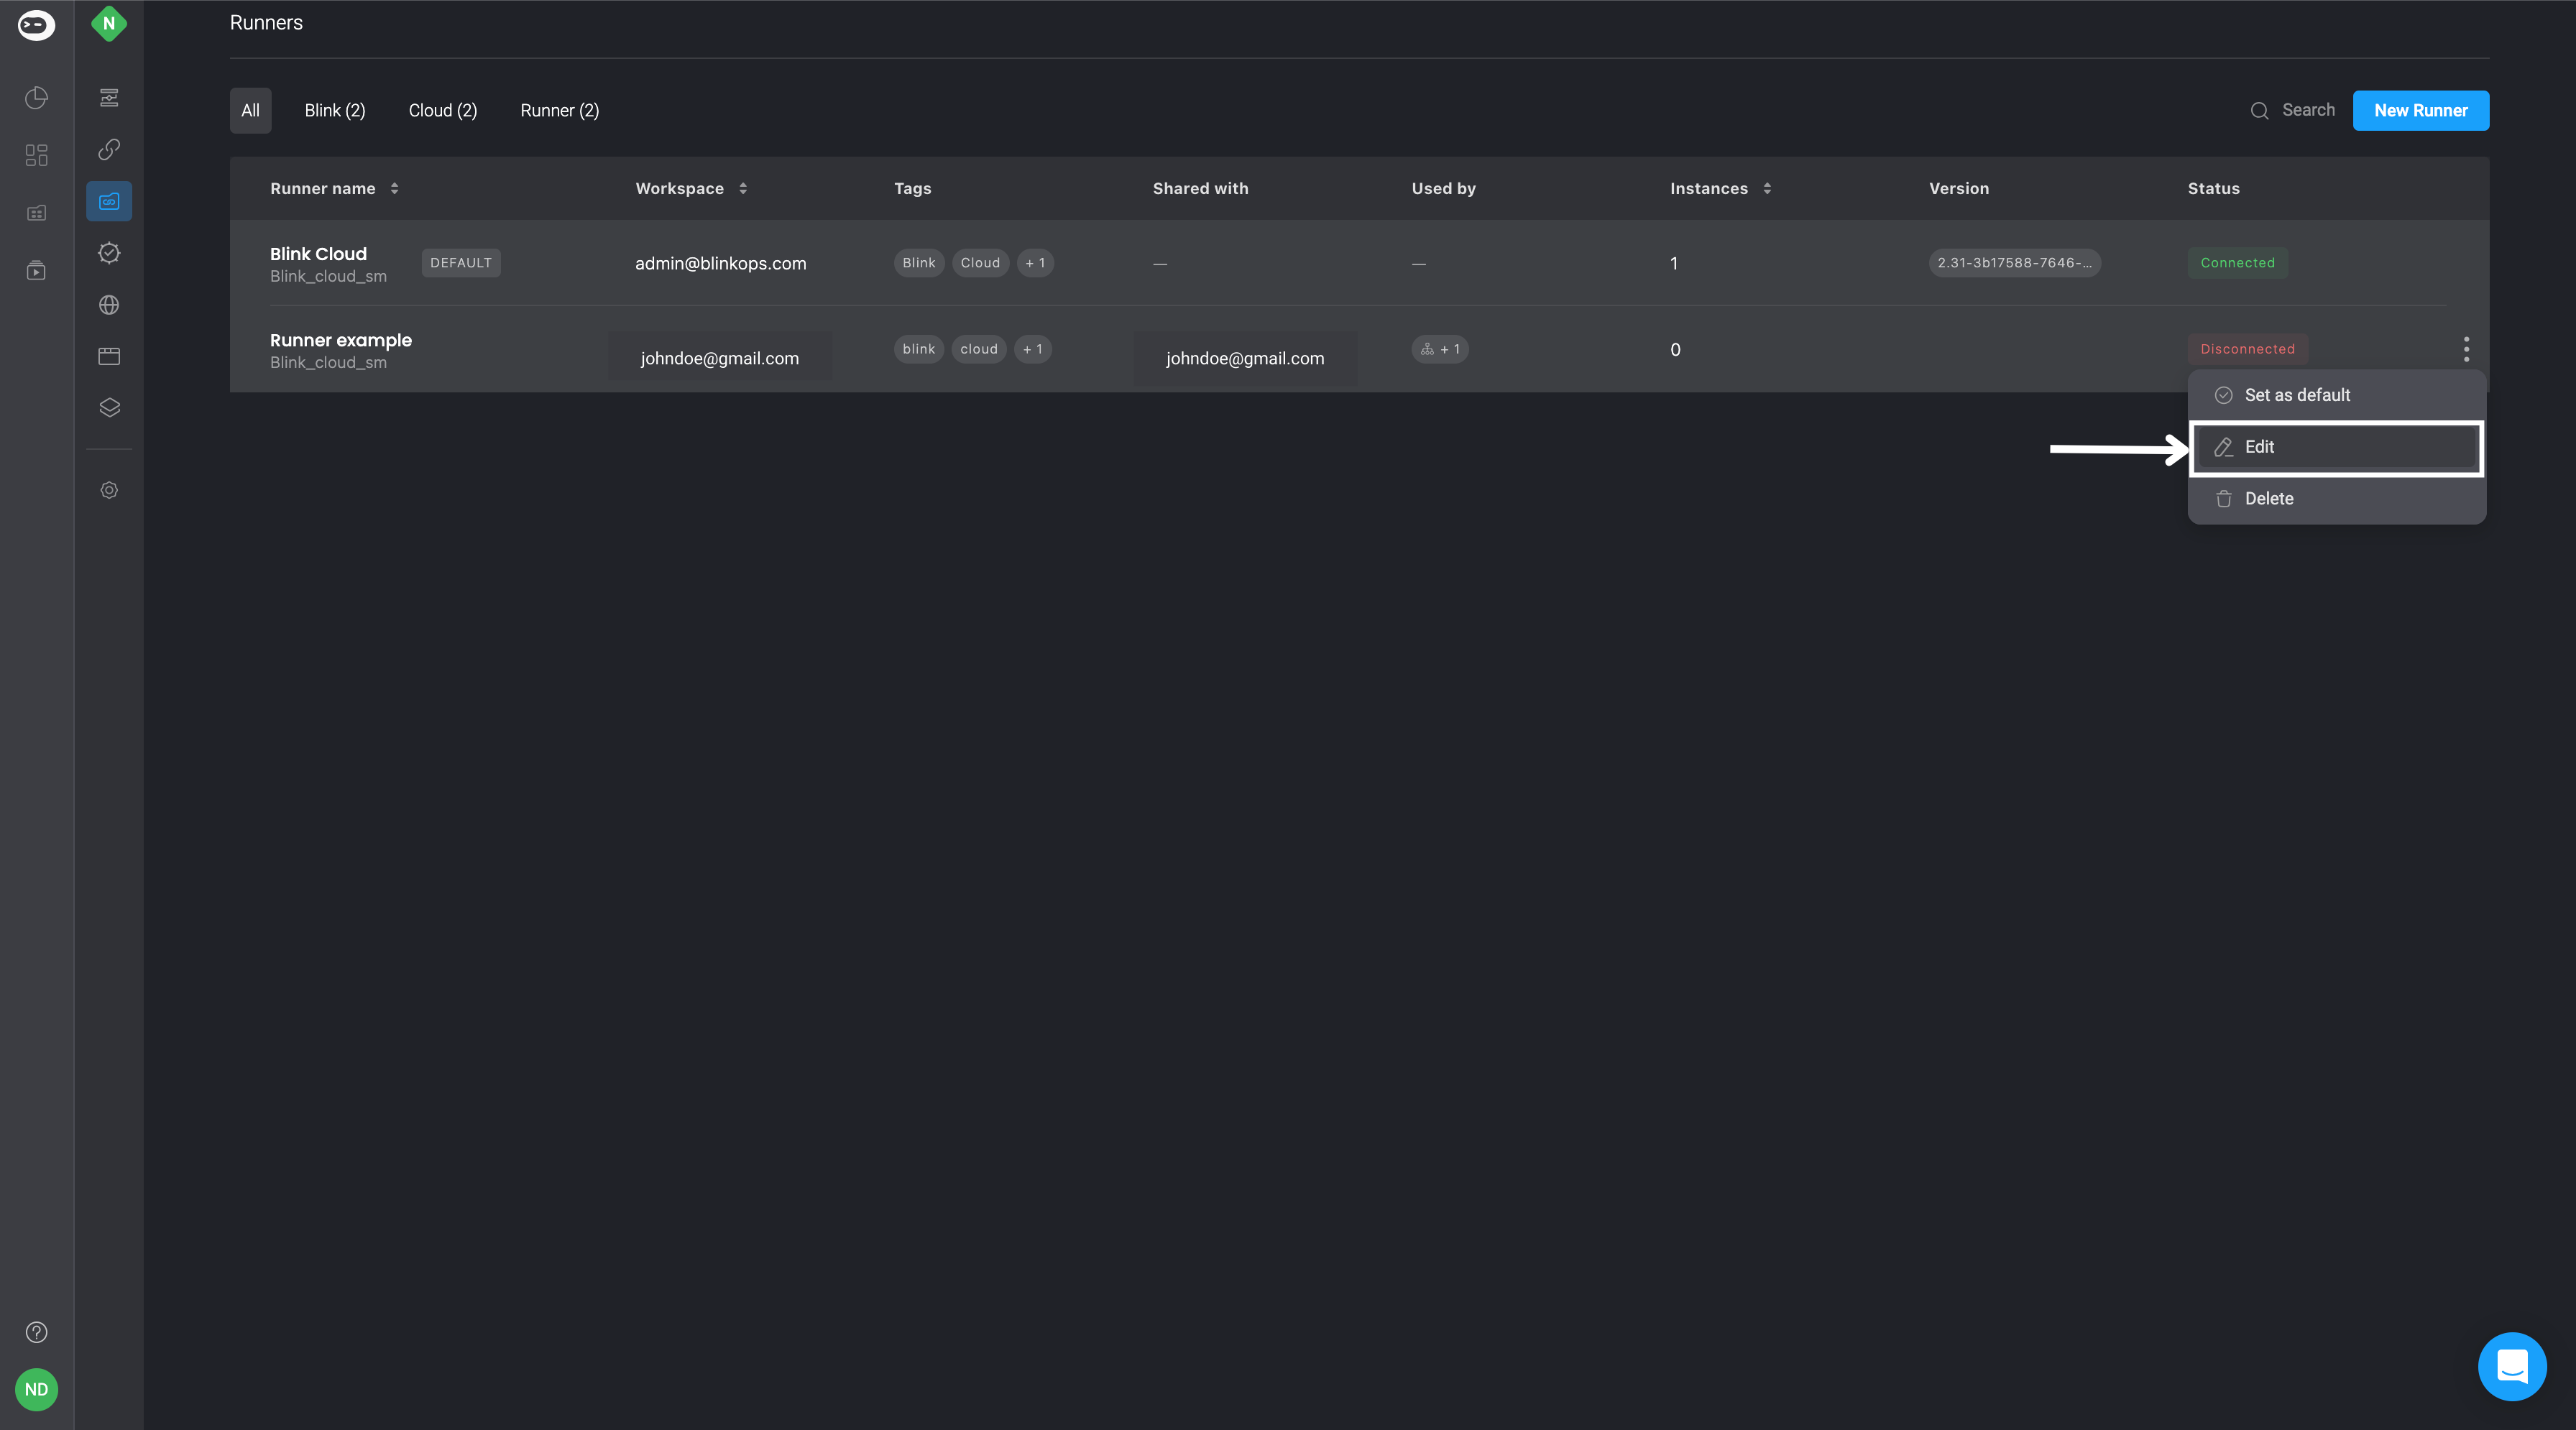
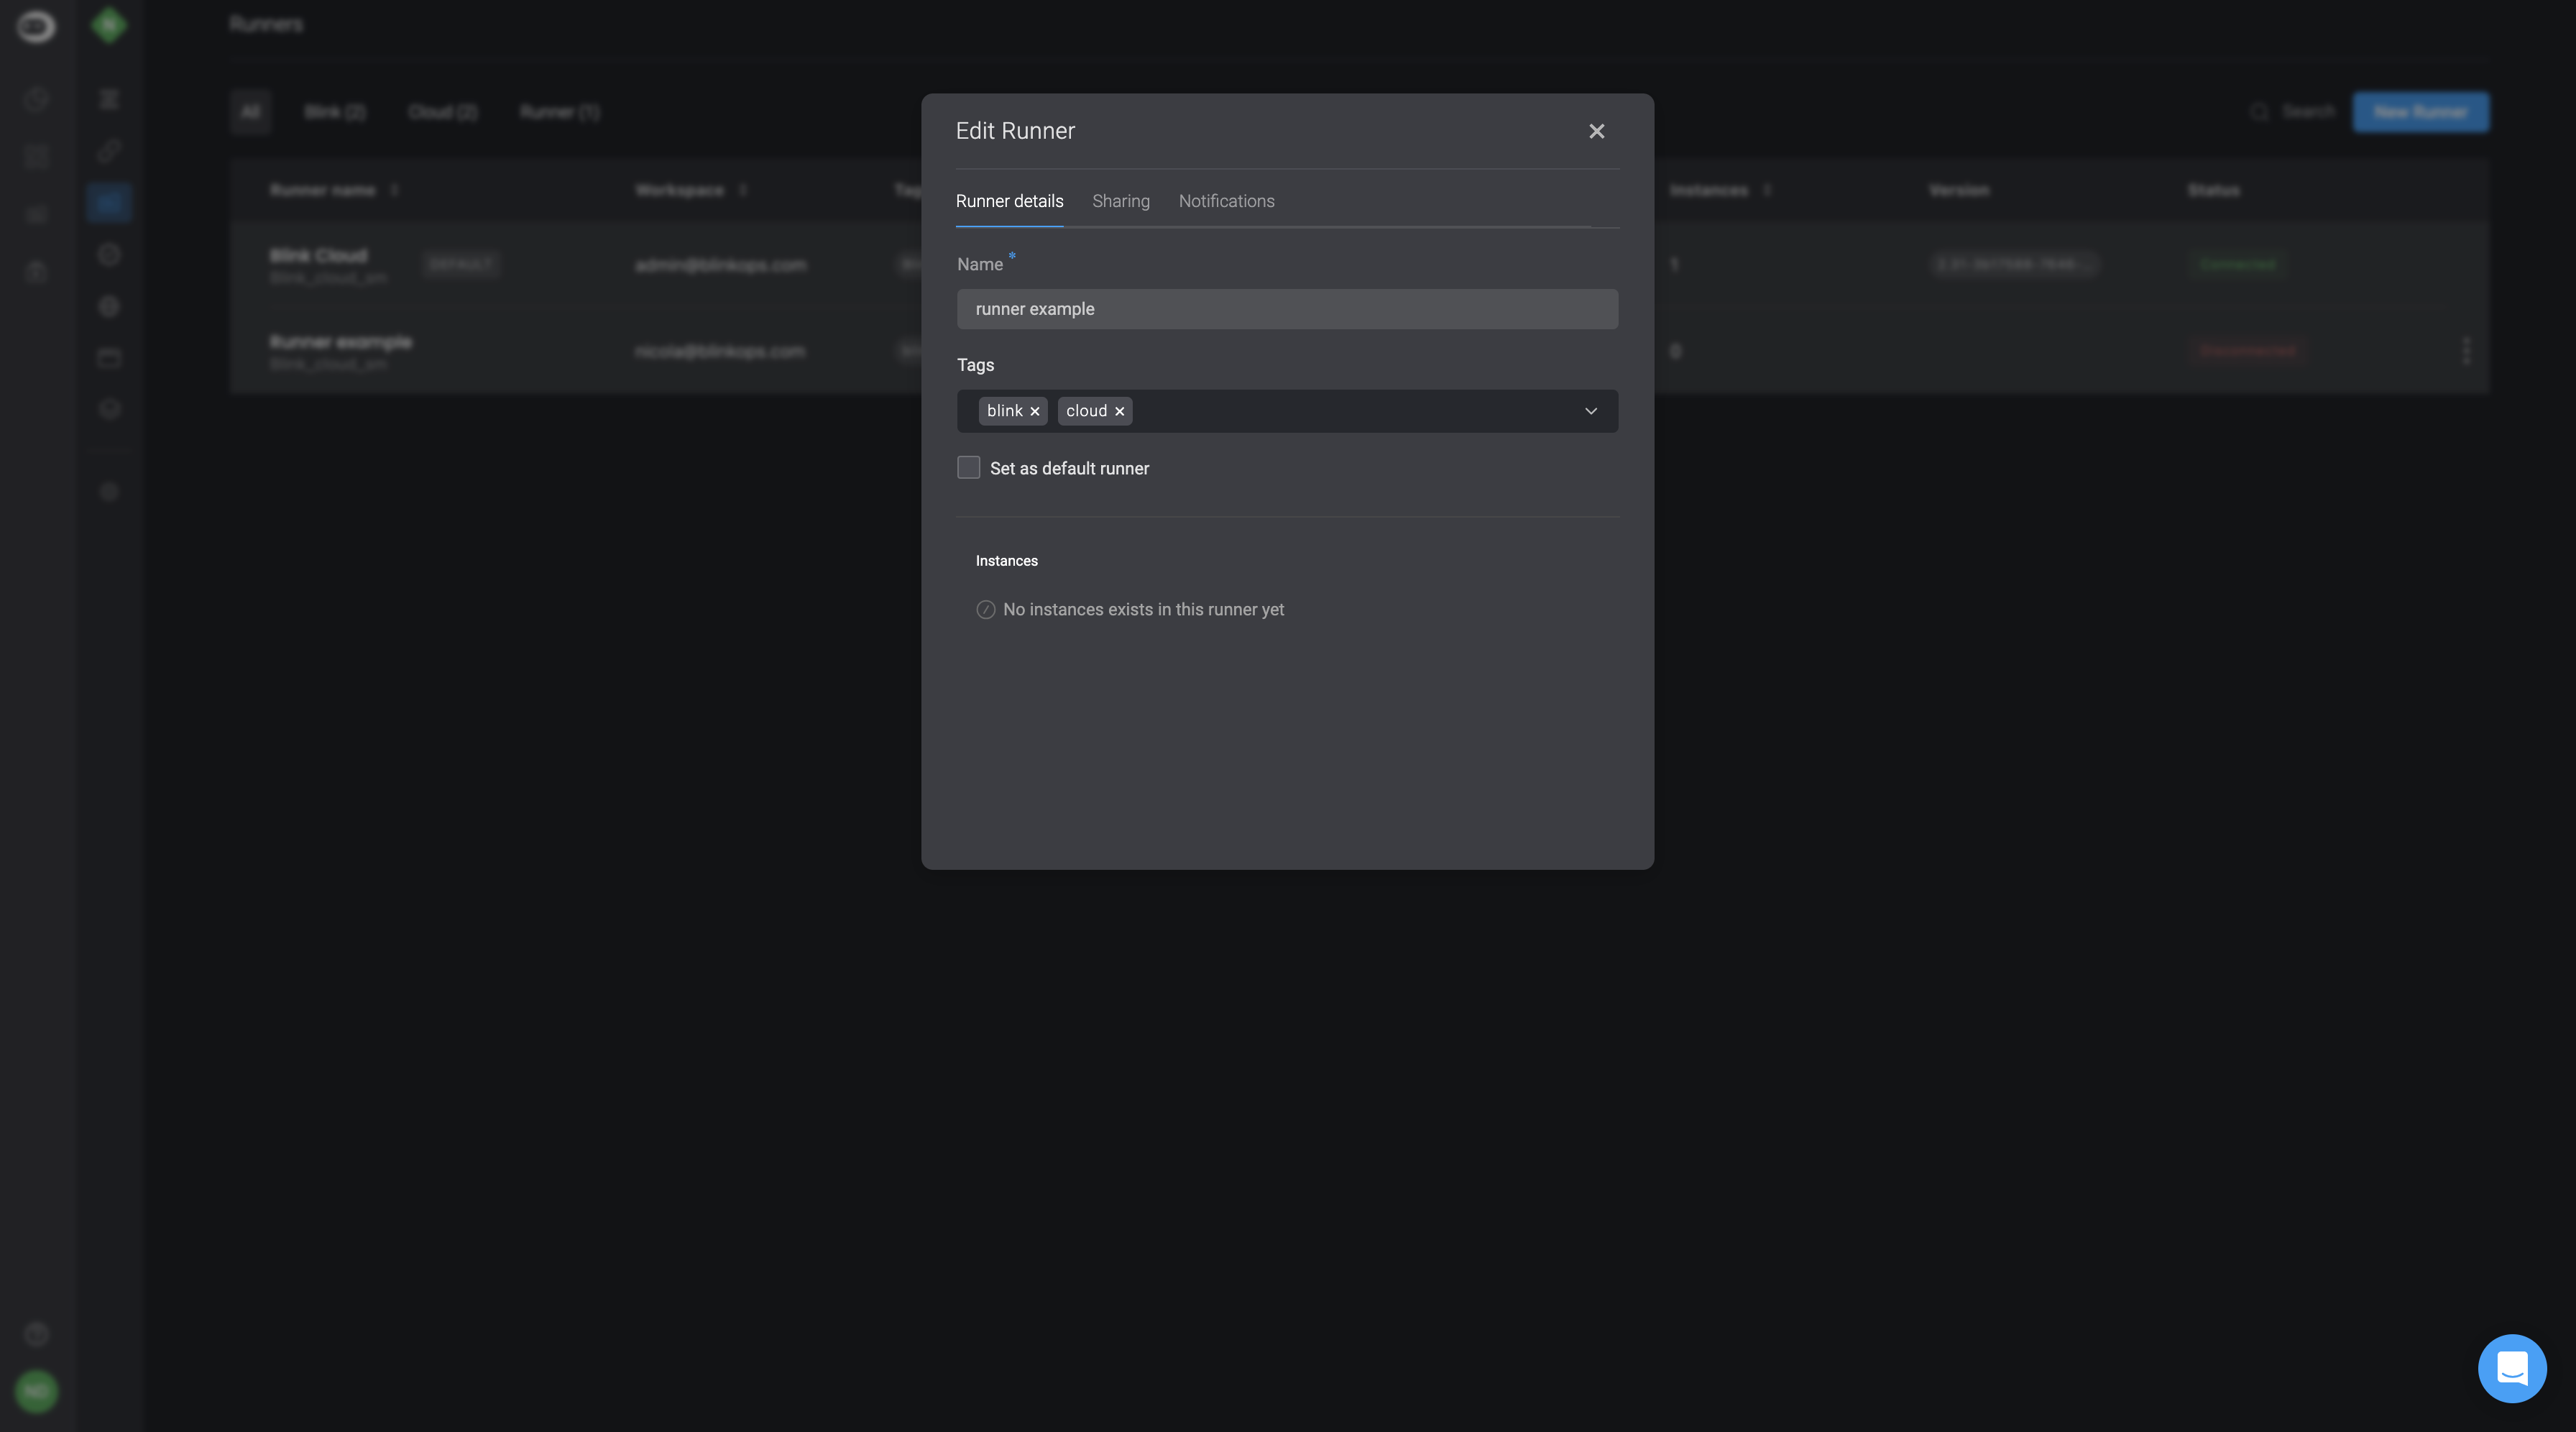
Edit Runner
- Choosing for the Edit Runner option triggers a popup where you can conveniently modify the details of the selected runner.
- Enhance your chosen Runner by selecting tags from the dynamic dropdown menu. Additionally, you can select the runner as the Default Runner by checking the designated checkbox.
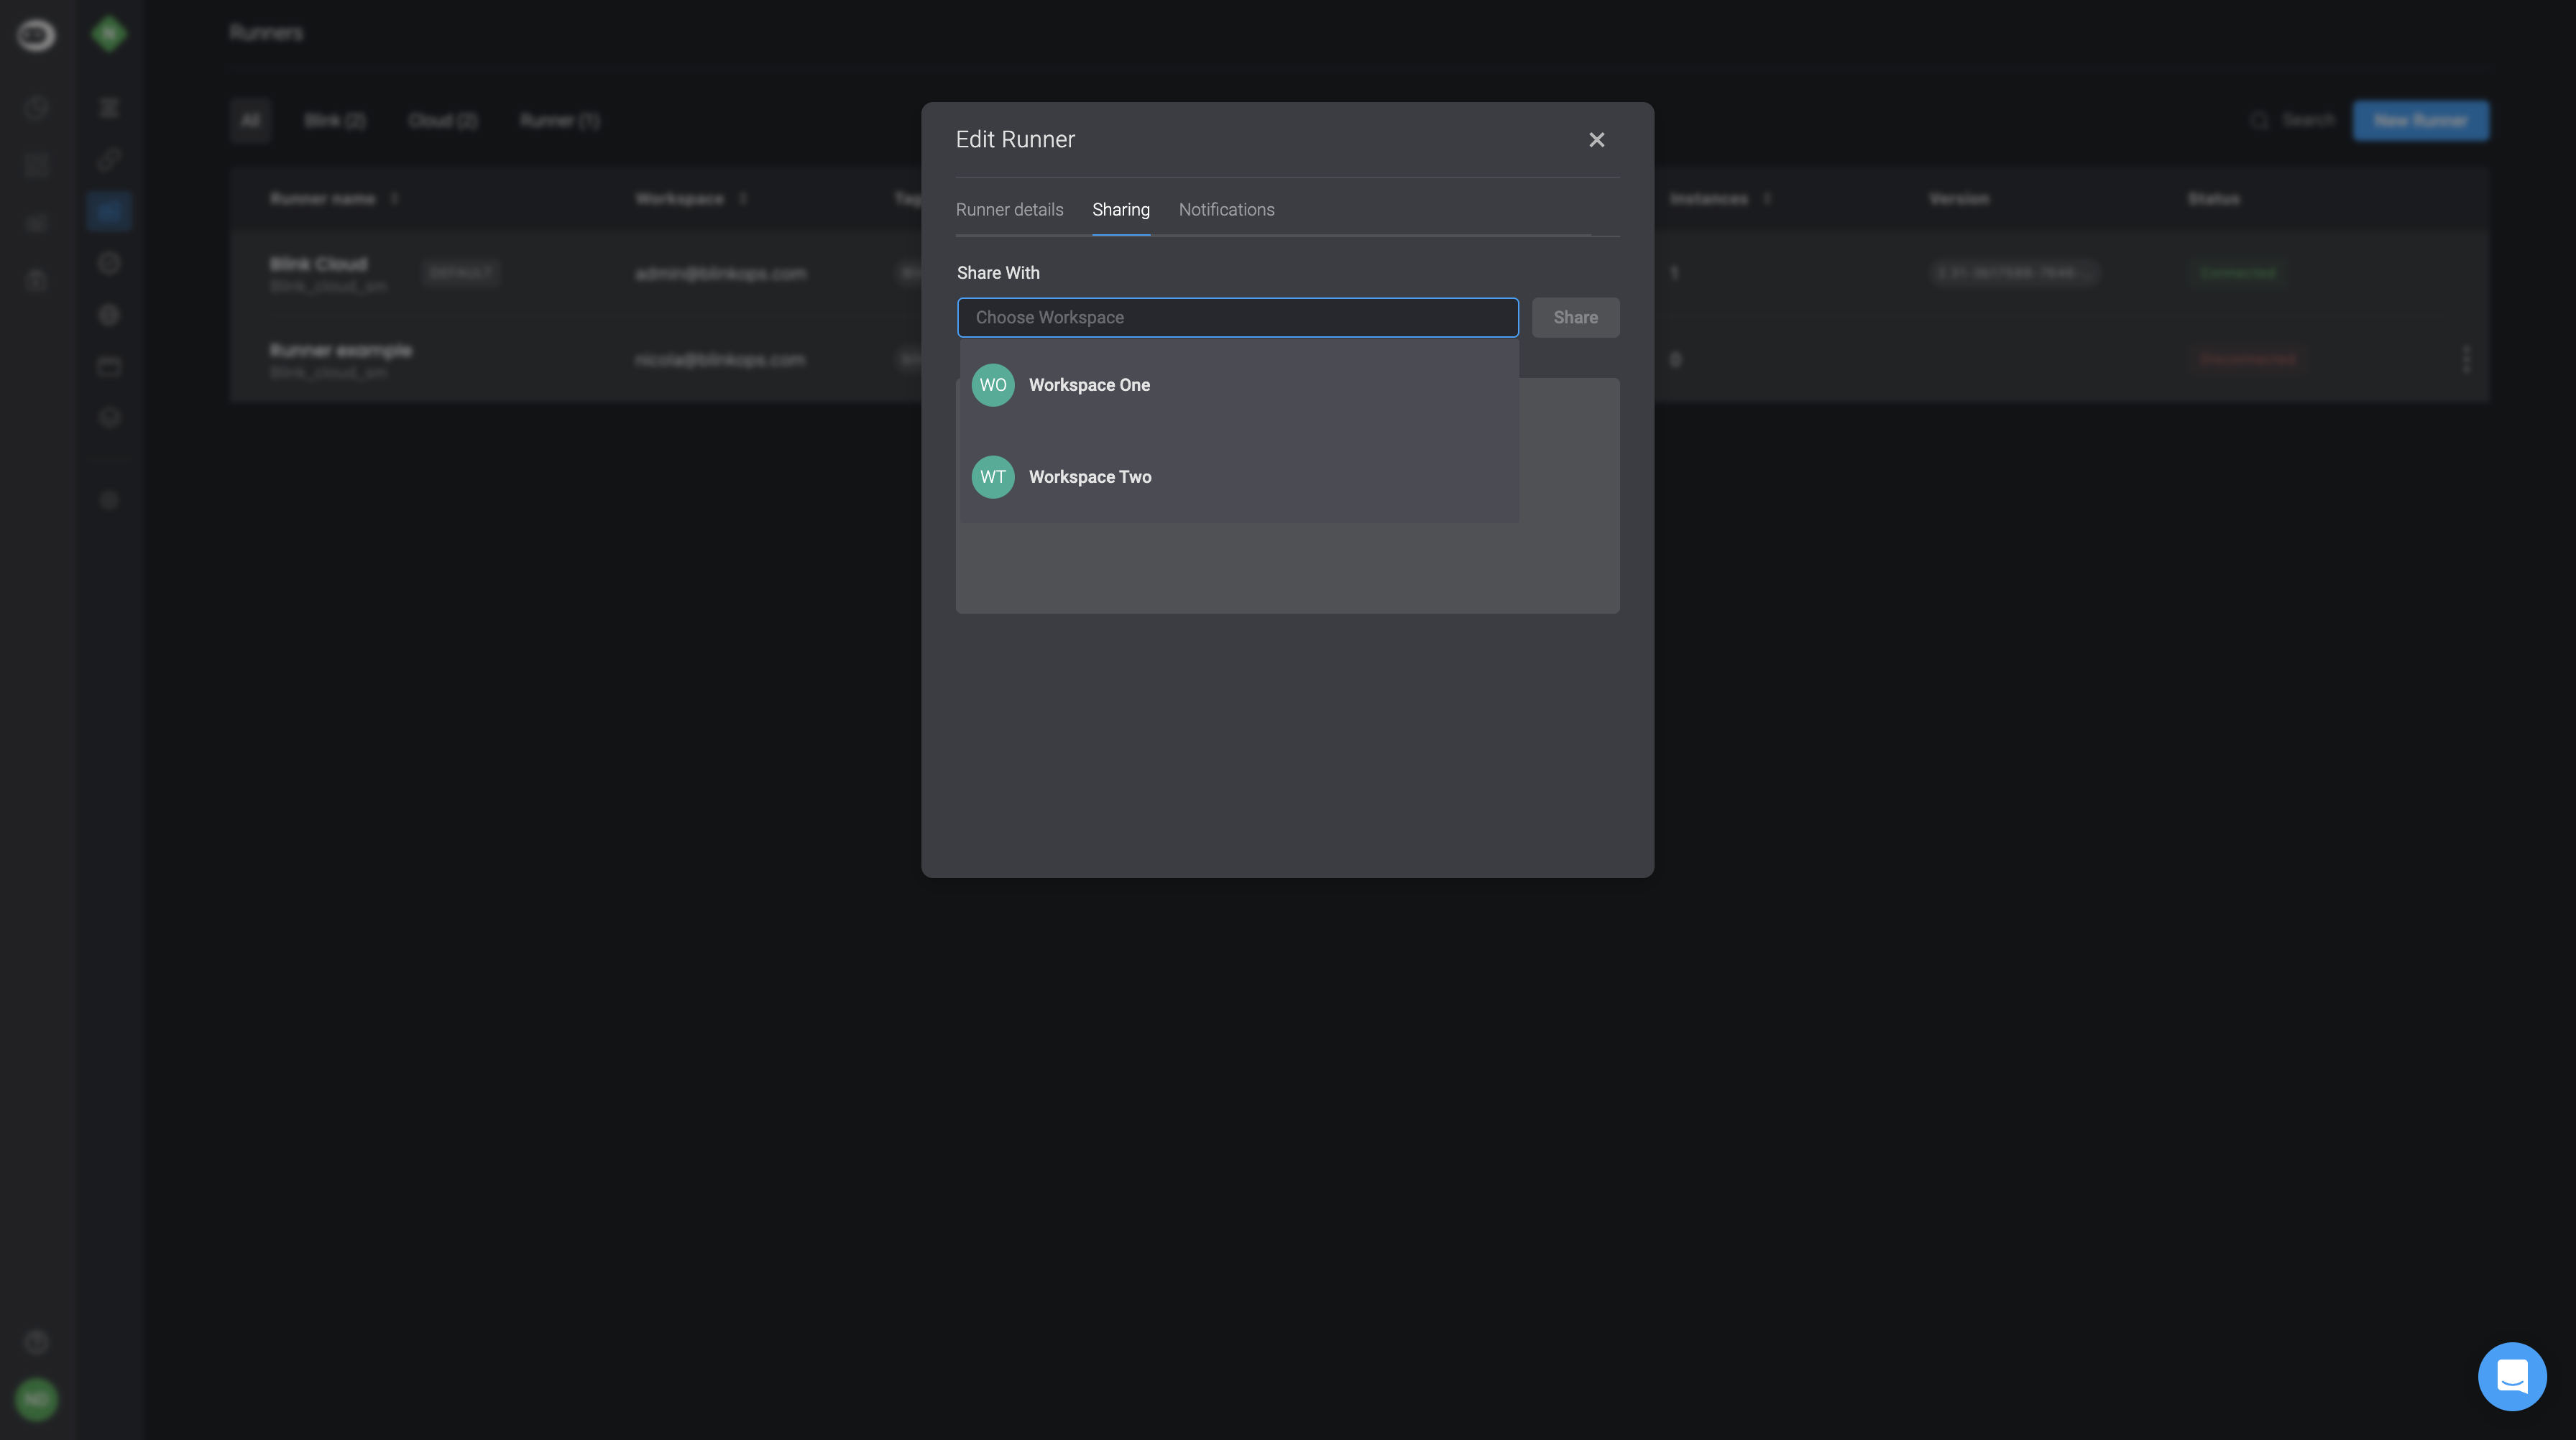
- Easily share a runner with one or more Workspaces by going to the sharing tab in the Edit Runner popup. Choose the specific Workspace(s) you want to share the selected runner with from the dynamic dropdown menu.
How to Set up a Runner Notification Automation
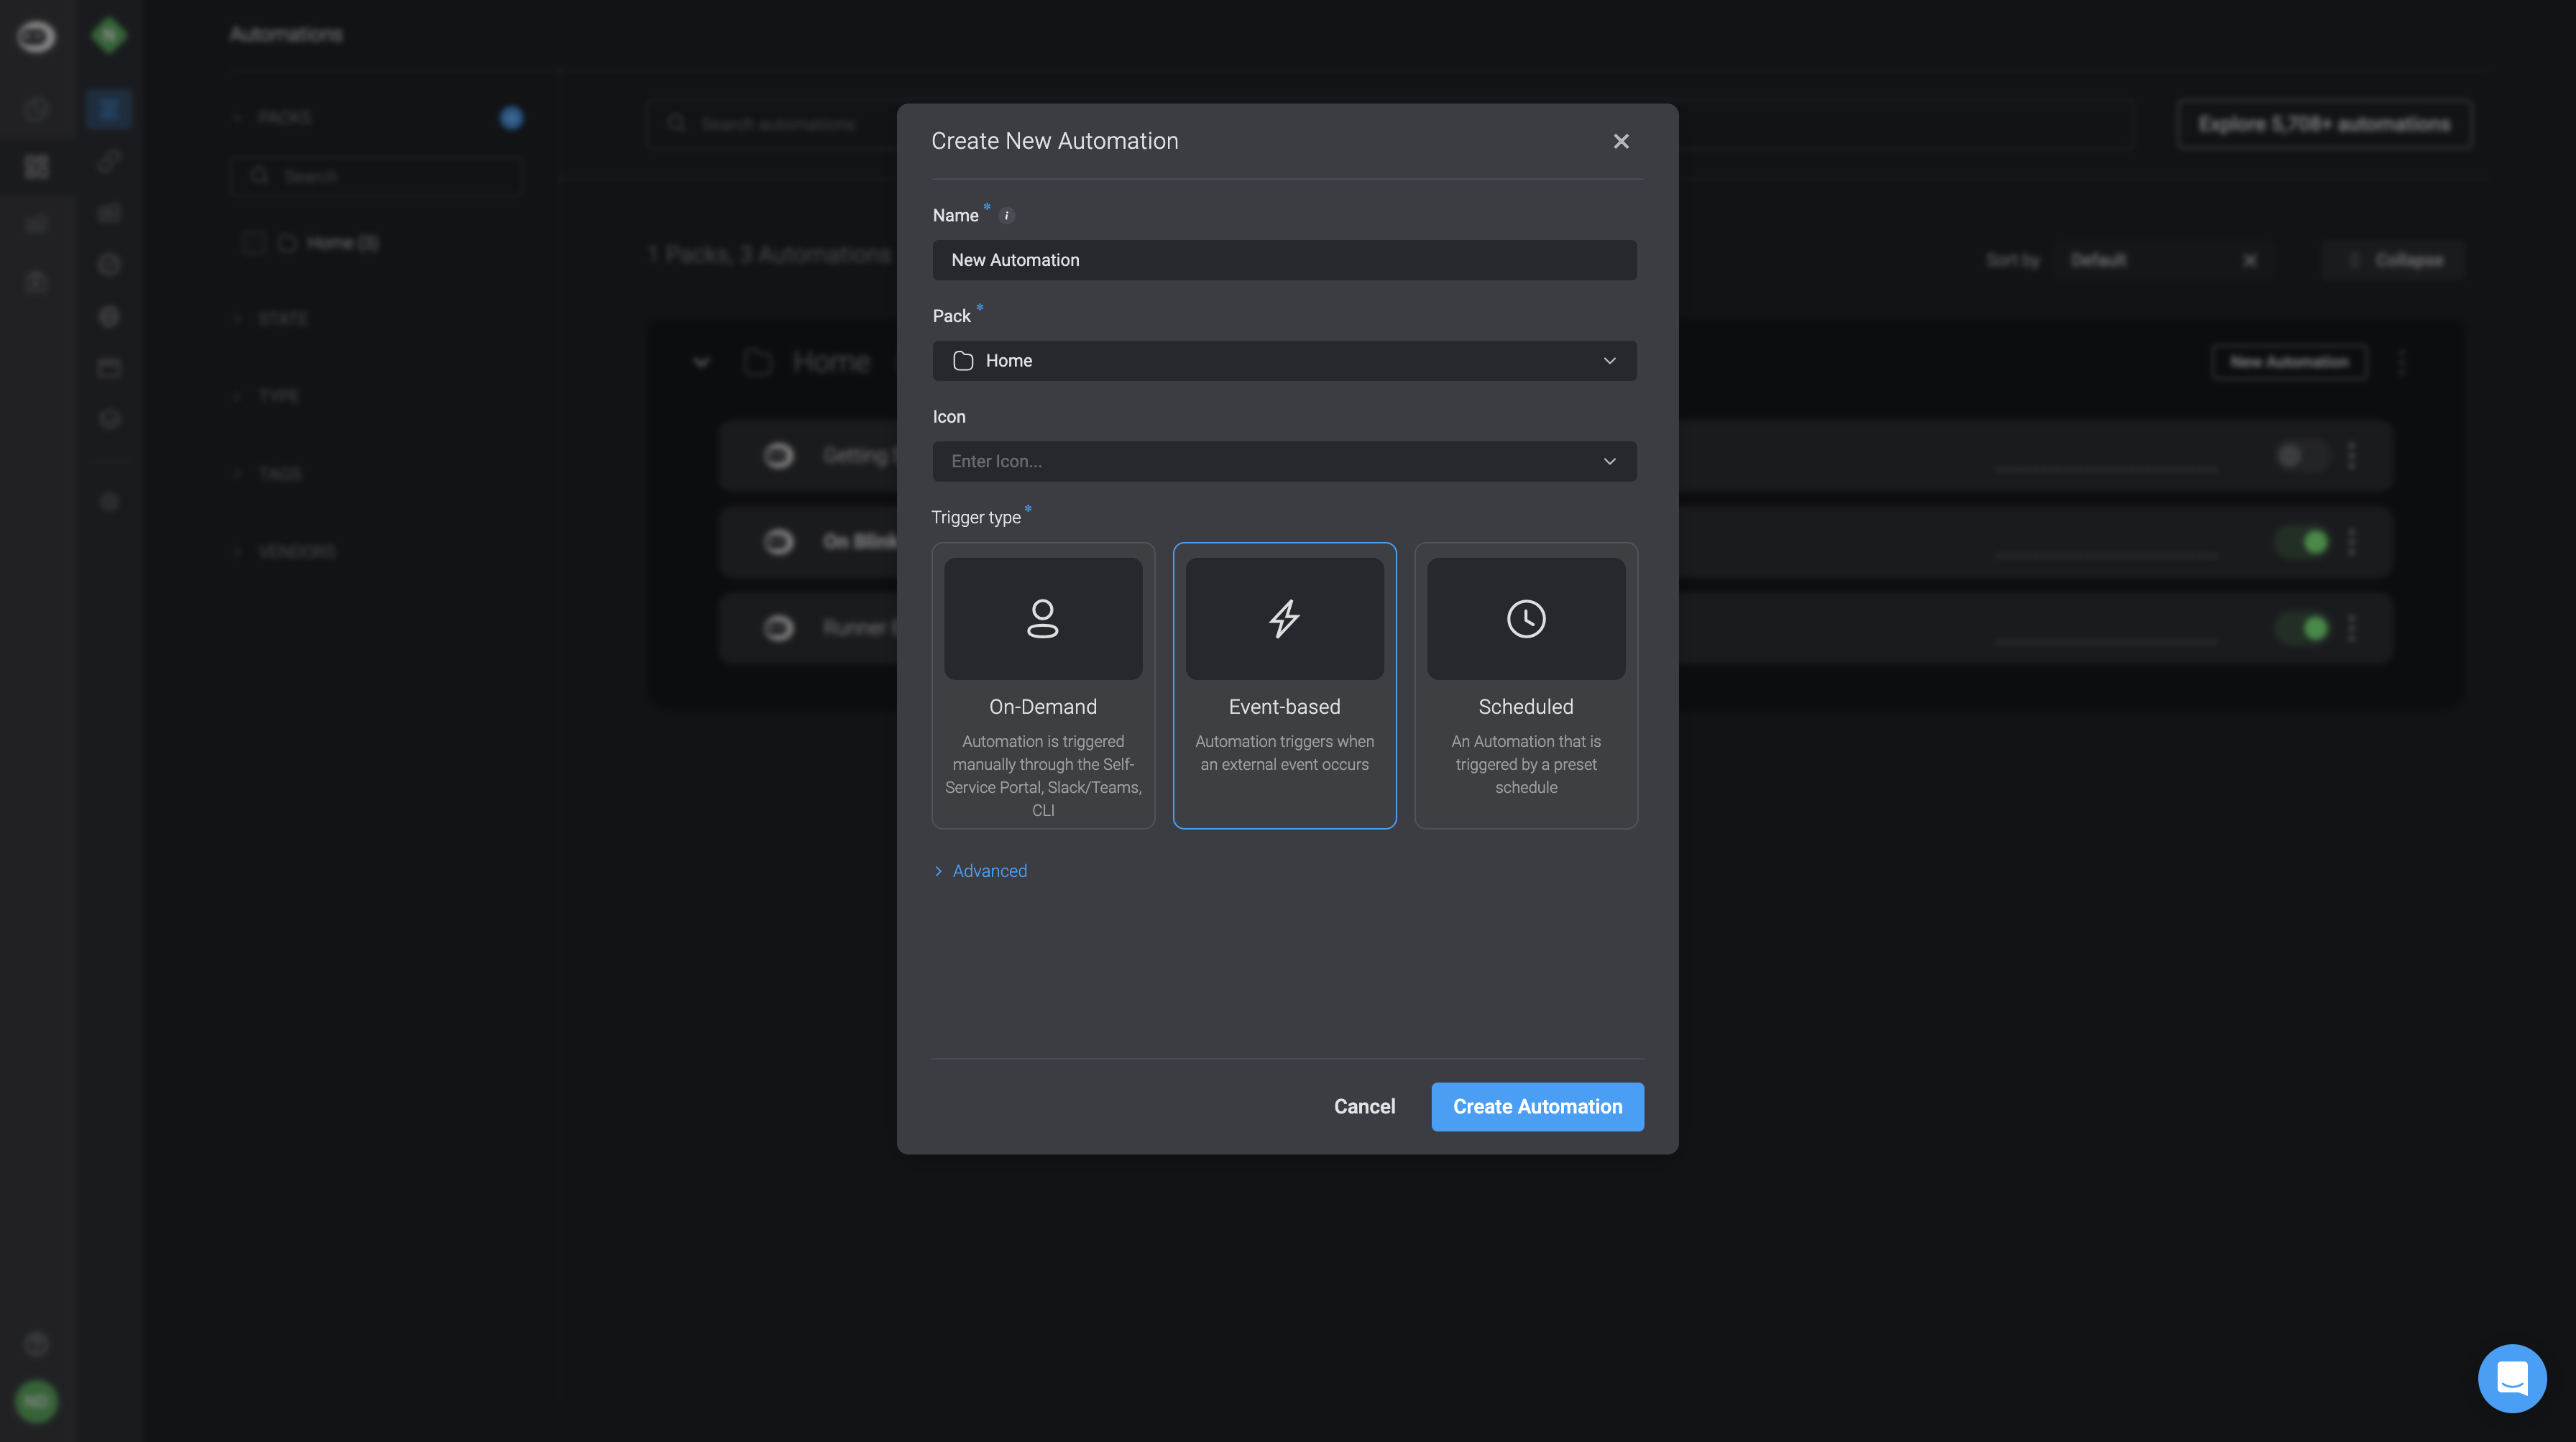
Create a new automation by selecting the New Automation option located in the top-right corner of your selected pack.
Select the continue to editor option where you must assign your automation a name, select an automation pack, an optional icon for the automation, and select the event-based trigger type. Then proceed by selecting the create automation button in the bottom-left corner.
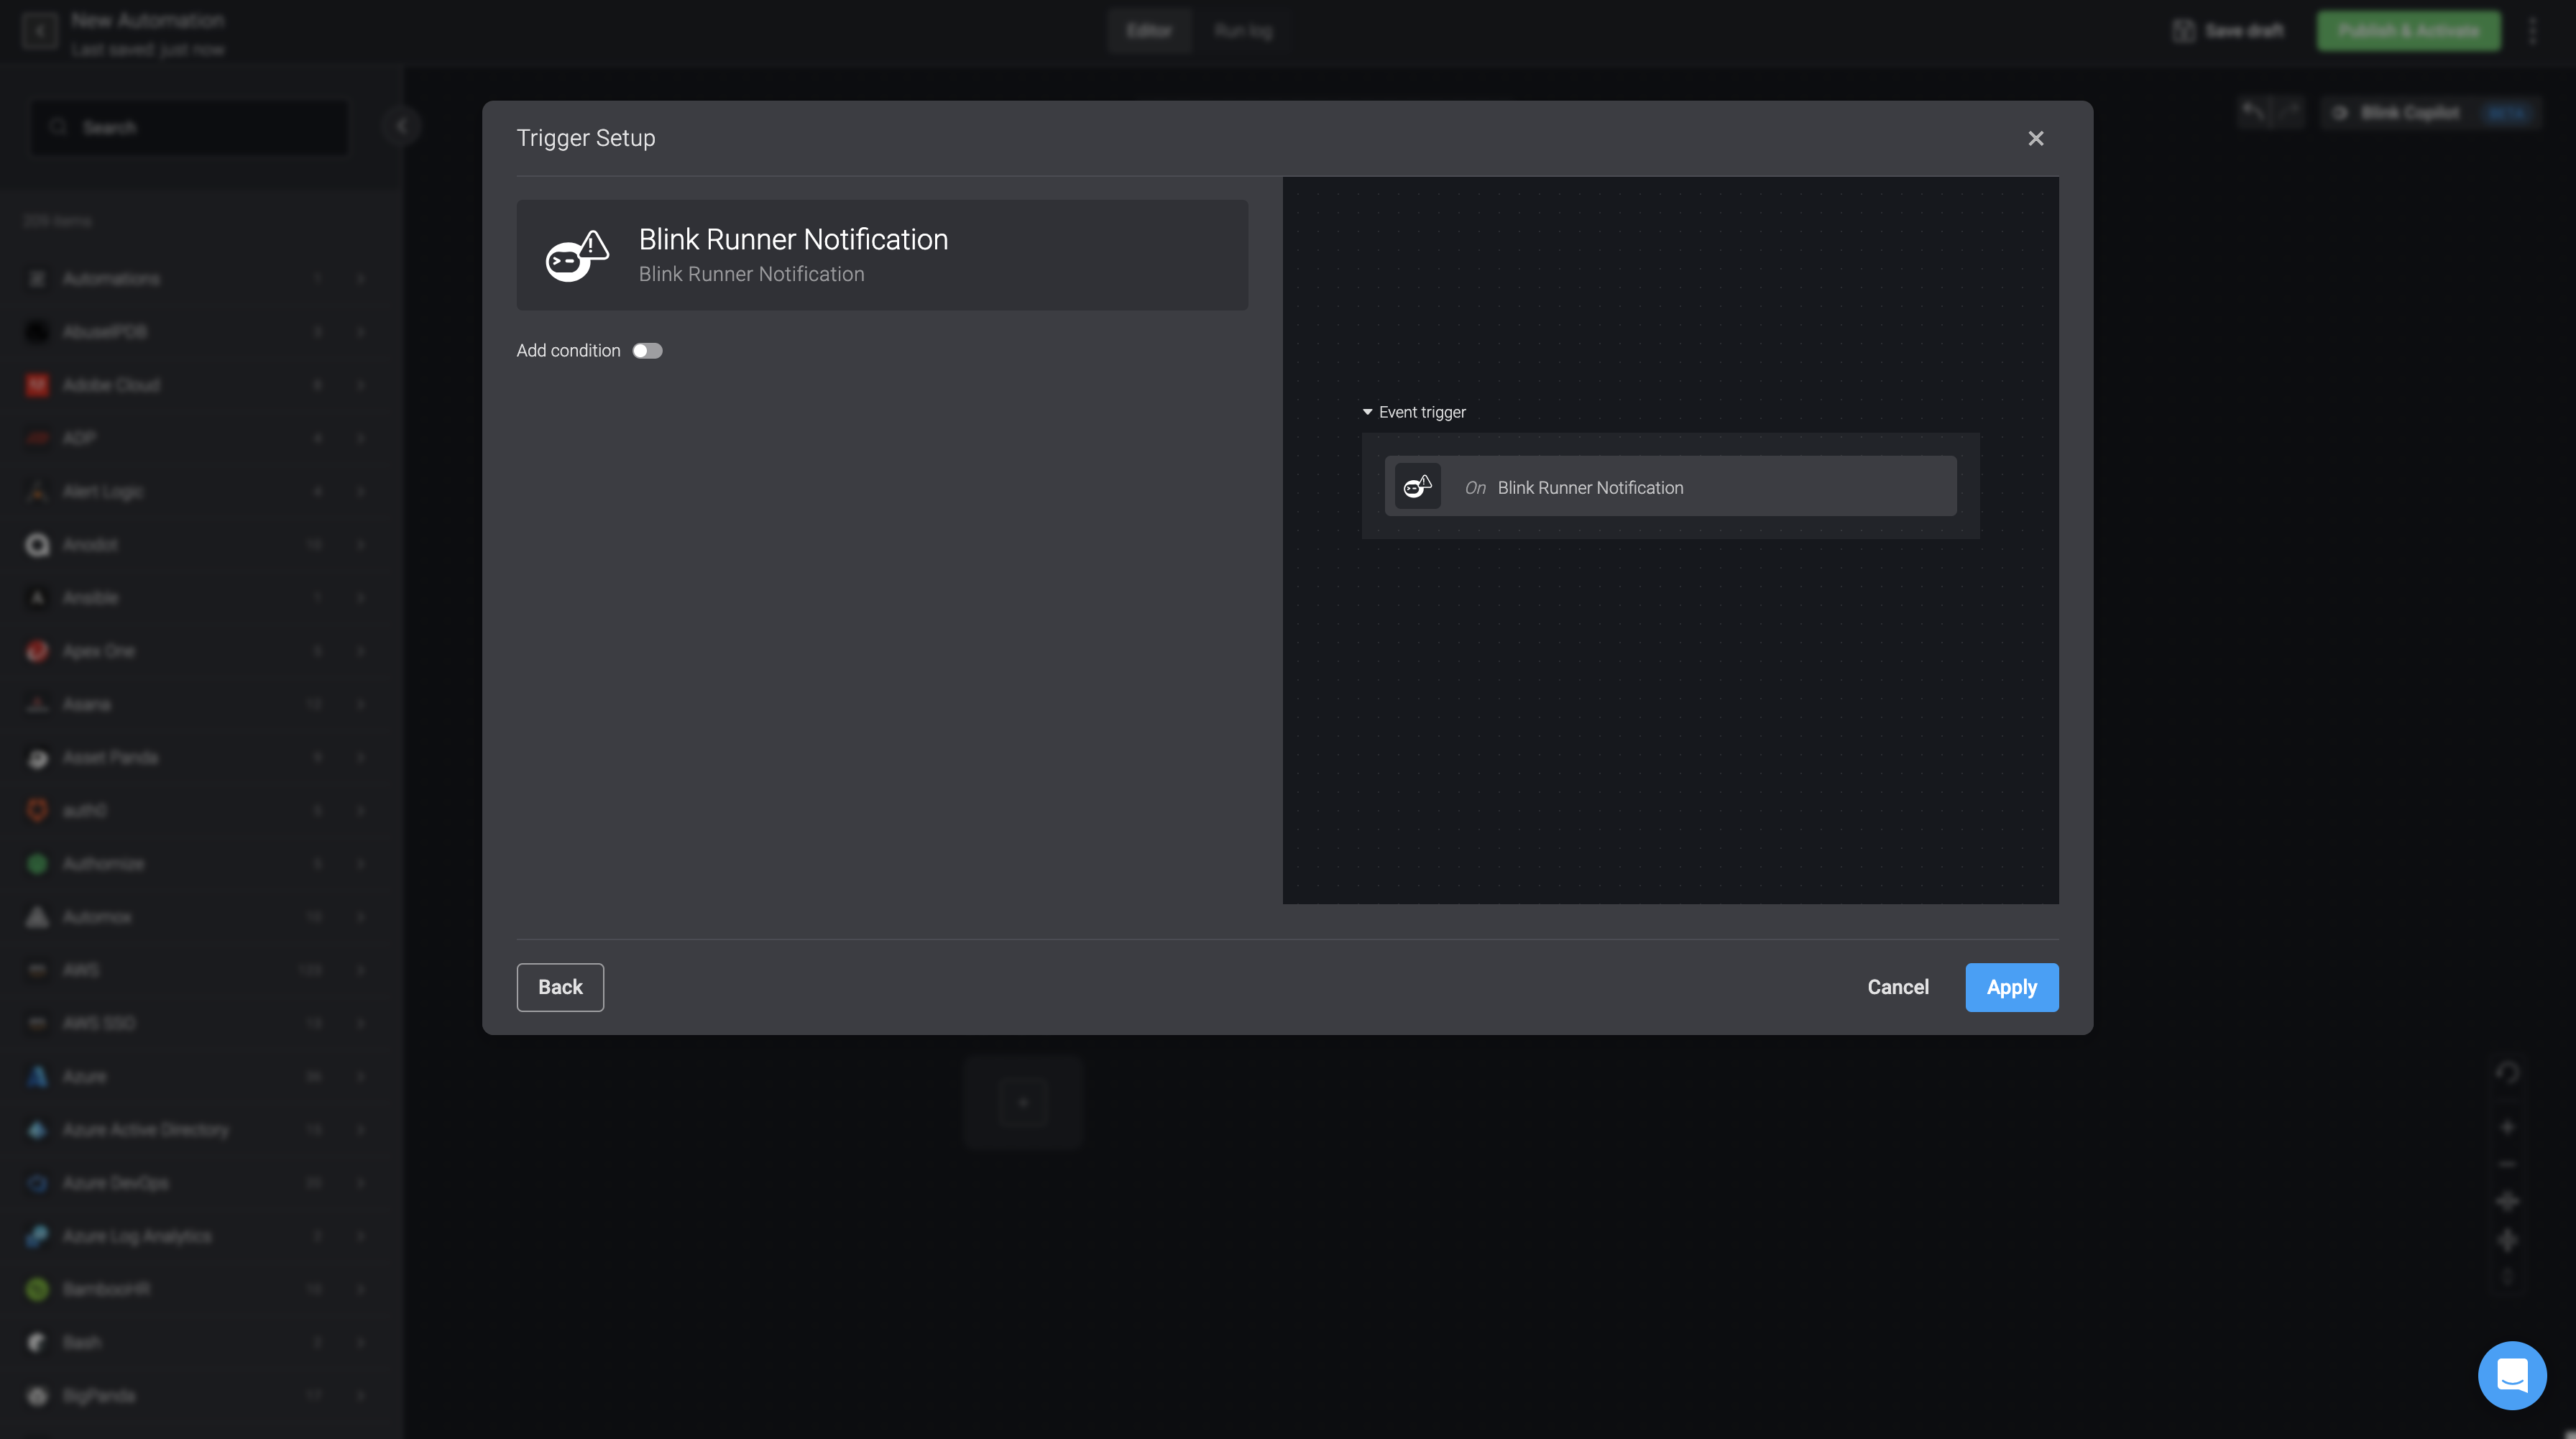
- You will be directed to the Automation Editor. Select the Trigger Setup and then select the Blink Runner Notification option. Press the continue button in the bottom-right corner.
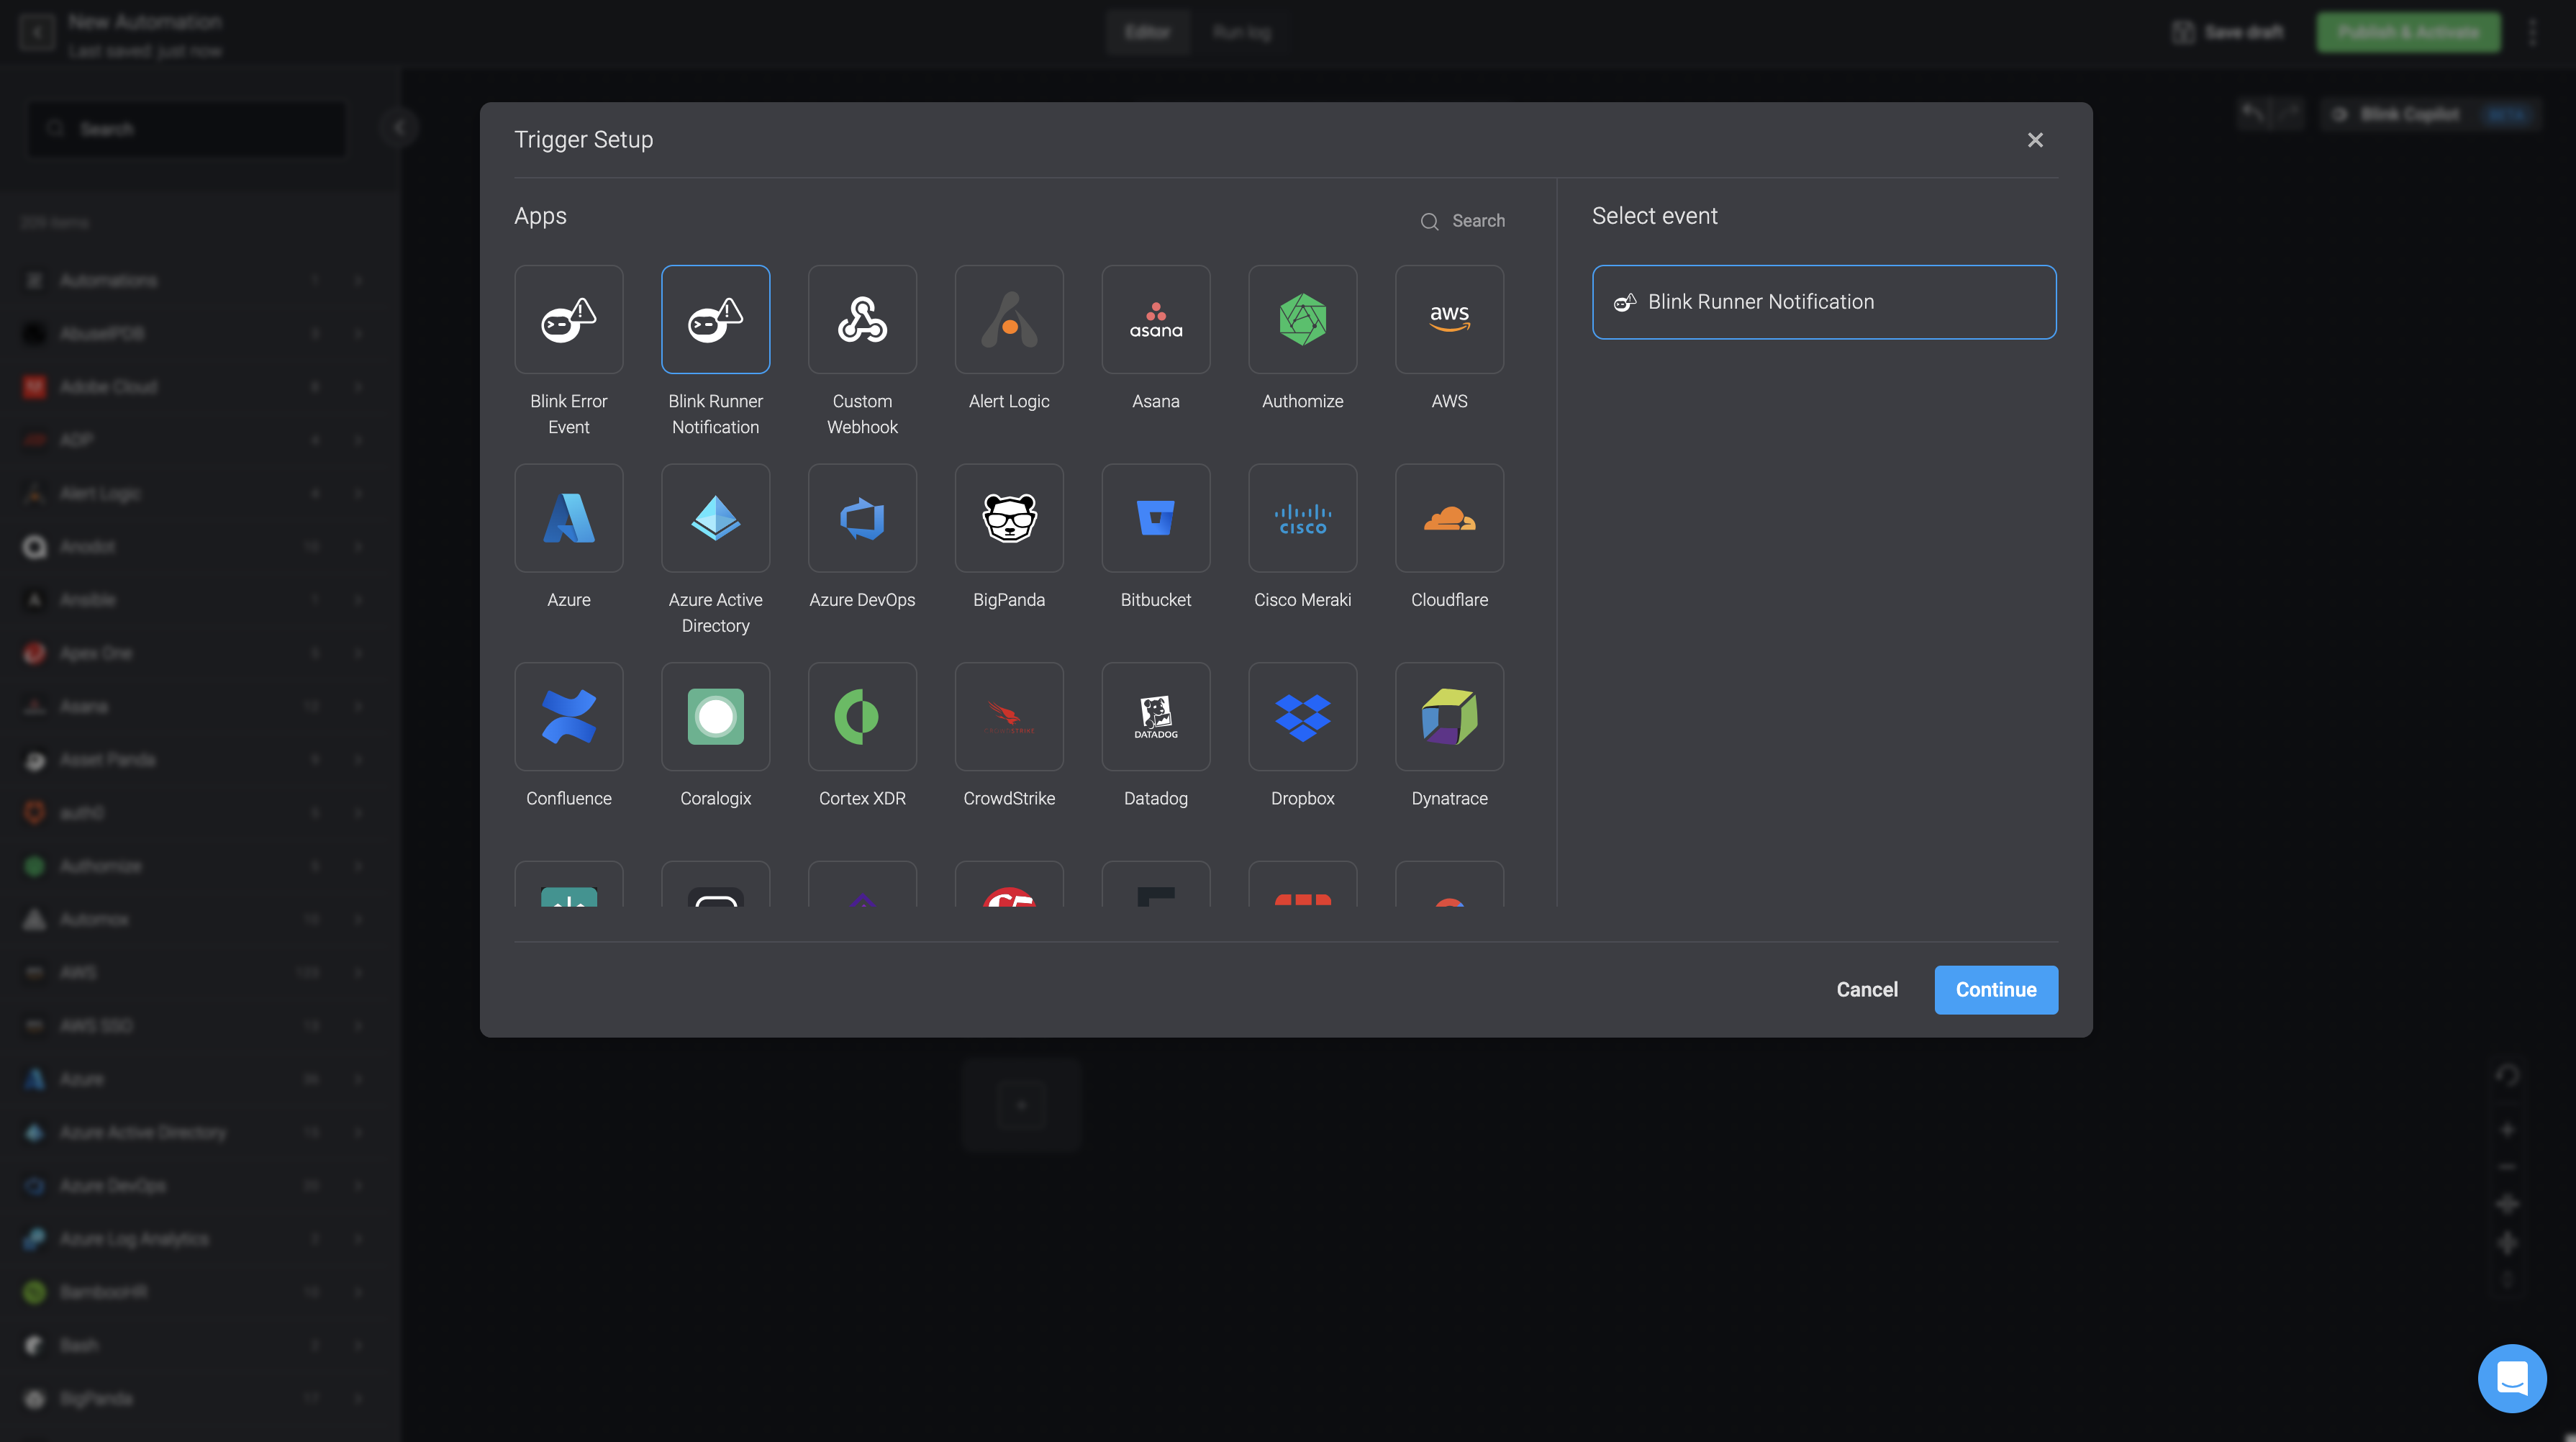
- Confirm the Trigger Setup by clicking the the apply button in the bottom-right corner and continue to build your desired automation.
- Upon completion of creating your automation, proceed to publish and activate it.
Please note that the automation has to be published and activated in order to for the Runner Notification Automation feature to work.
- Proceed by navigating to the Runners Page and select the click the
 button beside a particular runner and select the Edit Runner option.
- Access the Notifications tab in the Edit Runner popup. Customize your notification preferences—whether via email or via an automation. You will only be able to choose from the Event-Based Blink Runner Notification Trigger Type automation options that have been published and activated

It is recommended to use the Notify via Email feature as a backup in case the notification automation fails for any reason. In addition, if possible use the Blink Cloud Runner for the runner running the notification automation itself.
- You can receive three types of different notifications:
Runner Outdated: When the runner version is outdated, and automatic runner updates are disabled.
Runner update failed: When a runner automatic update fails for any reason, when automatic updates are enabled.
Runner Disconnected: For when a Runner has been disconnected over 10 minutes.
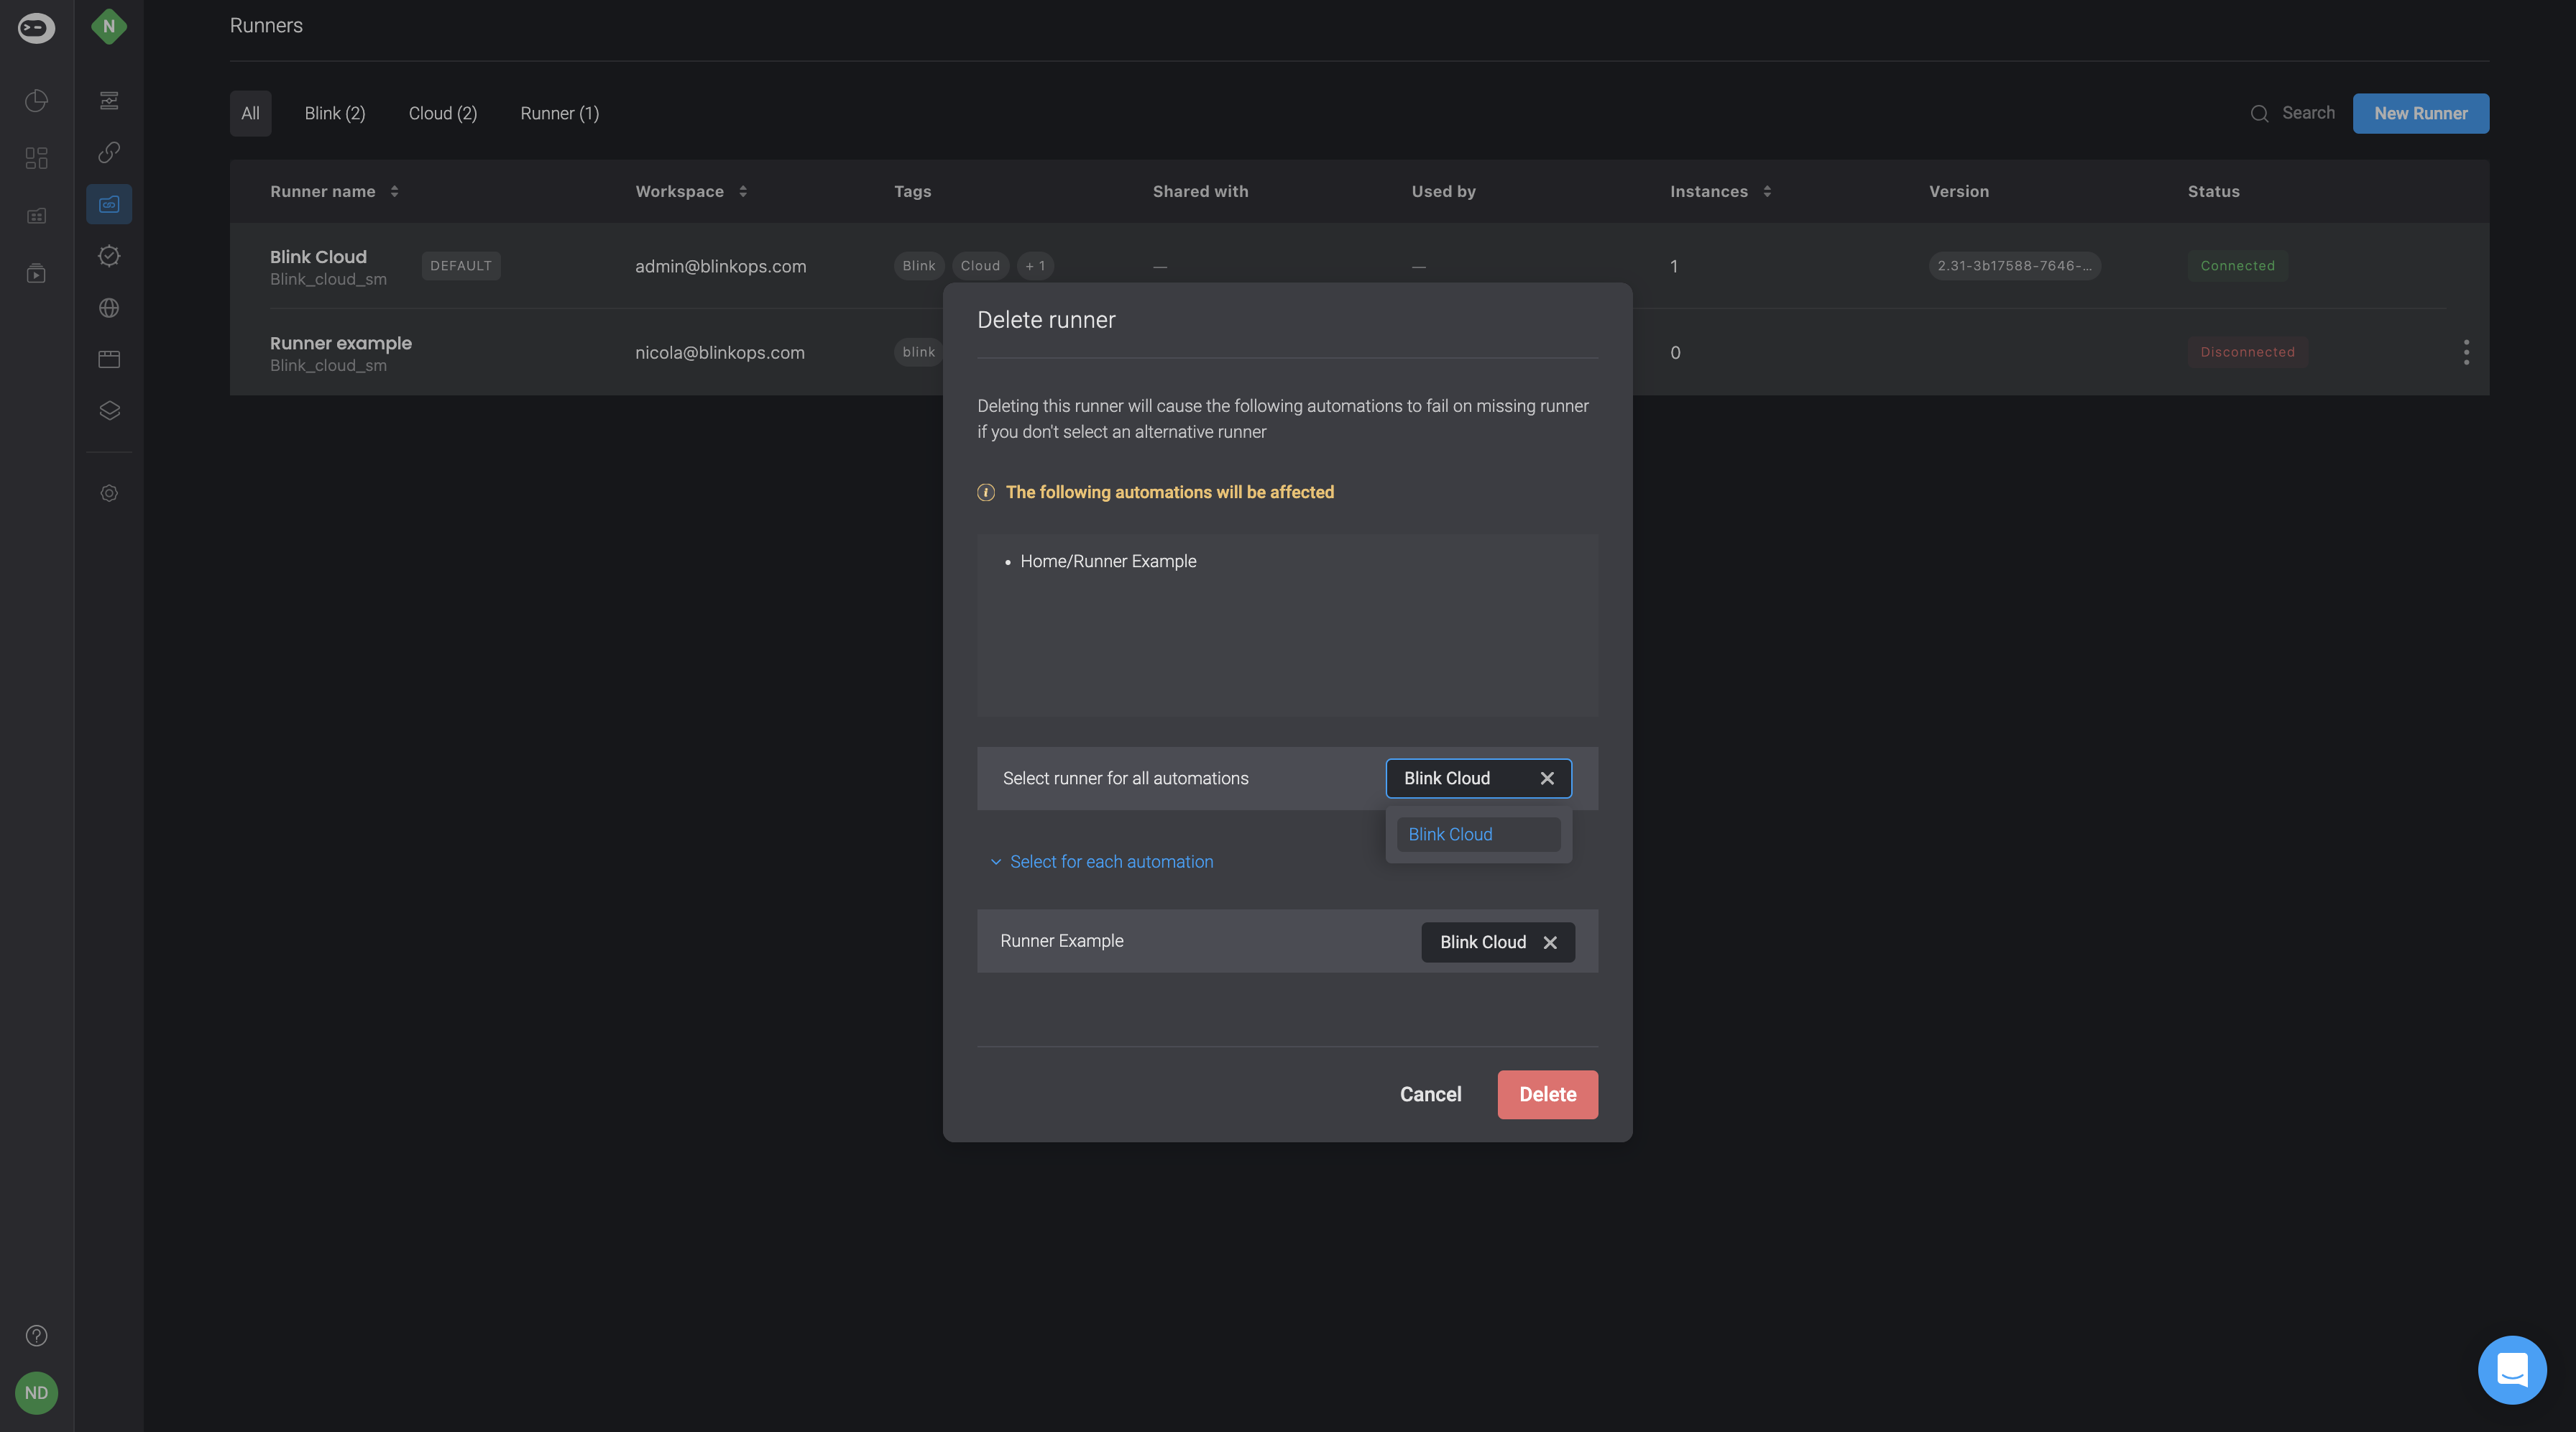
Delete Runner
- To delete a runner, click on the button next to the desired runner and choose the delete option.
- A pop-up named Delete Runner will appear, informing you about potential automation failures due to a missing runner. If you don't choose a different runner, you'll need to pick one for all automations or select a runner for each automation individually. After making your selections, you can then click the delete button located in the bottom-right corner.