Create your First Table
Table Creation
To create your first Blink table, follow this step-by-step guide:
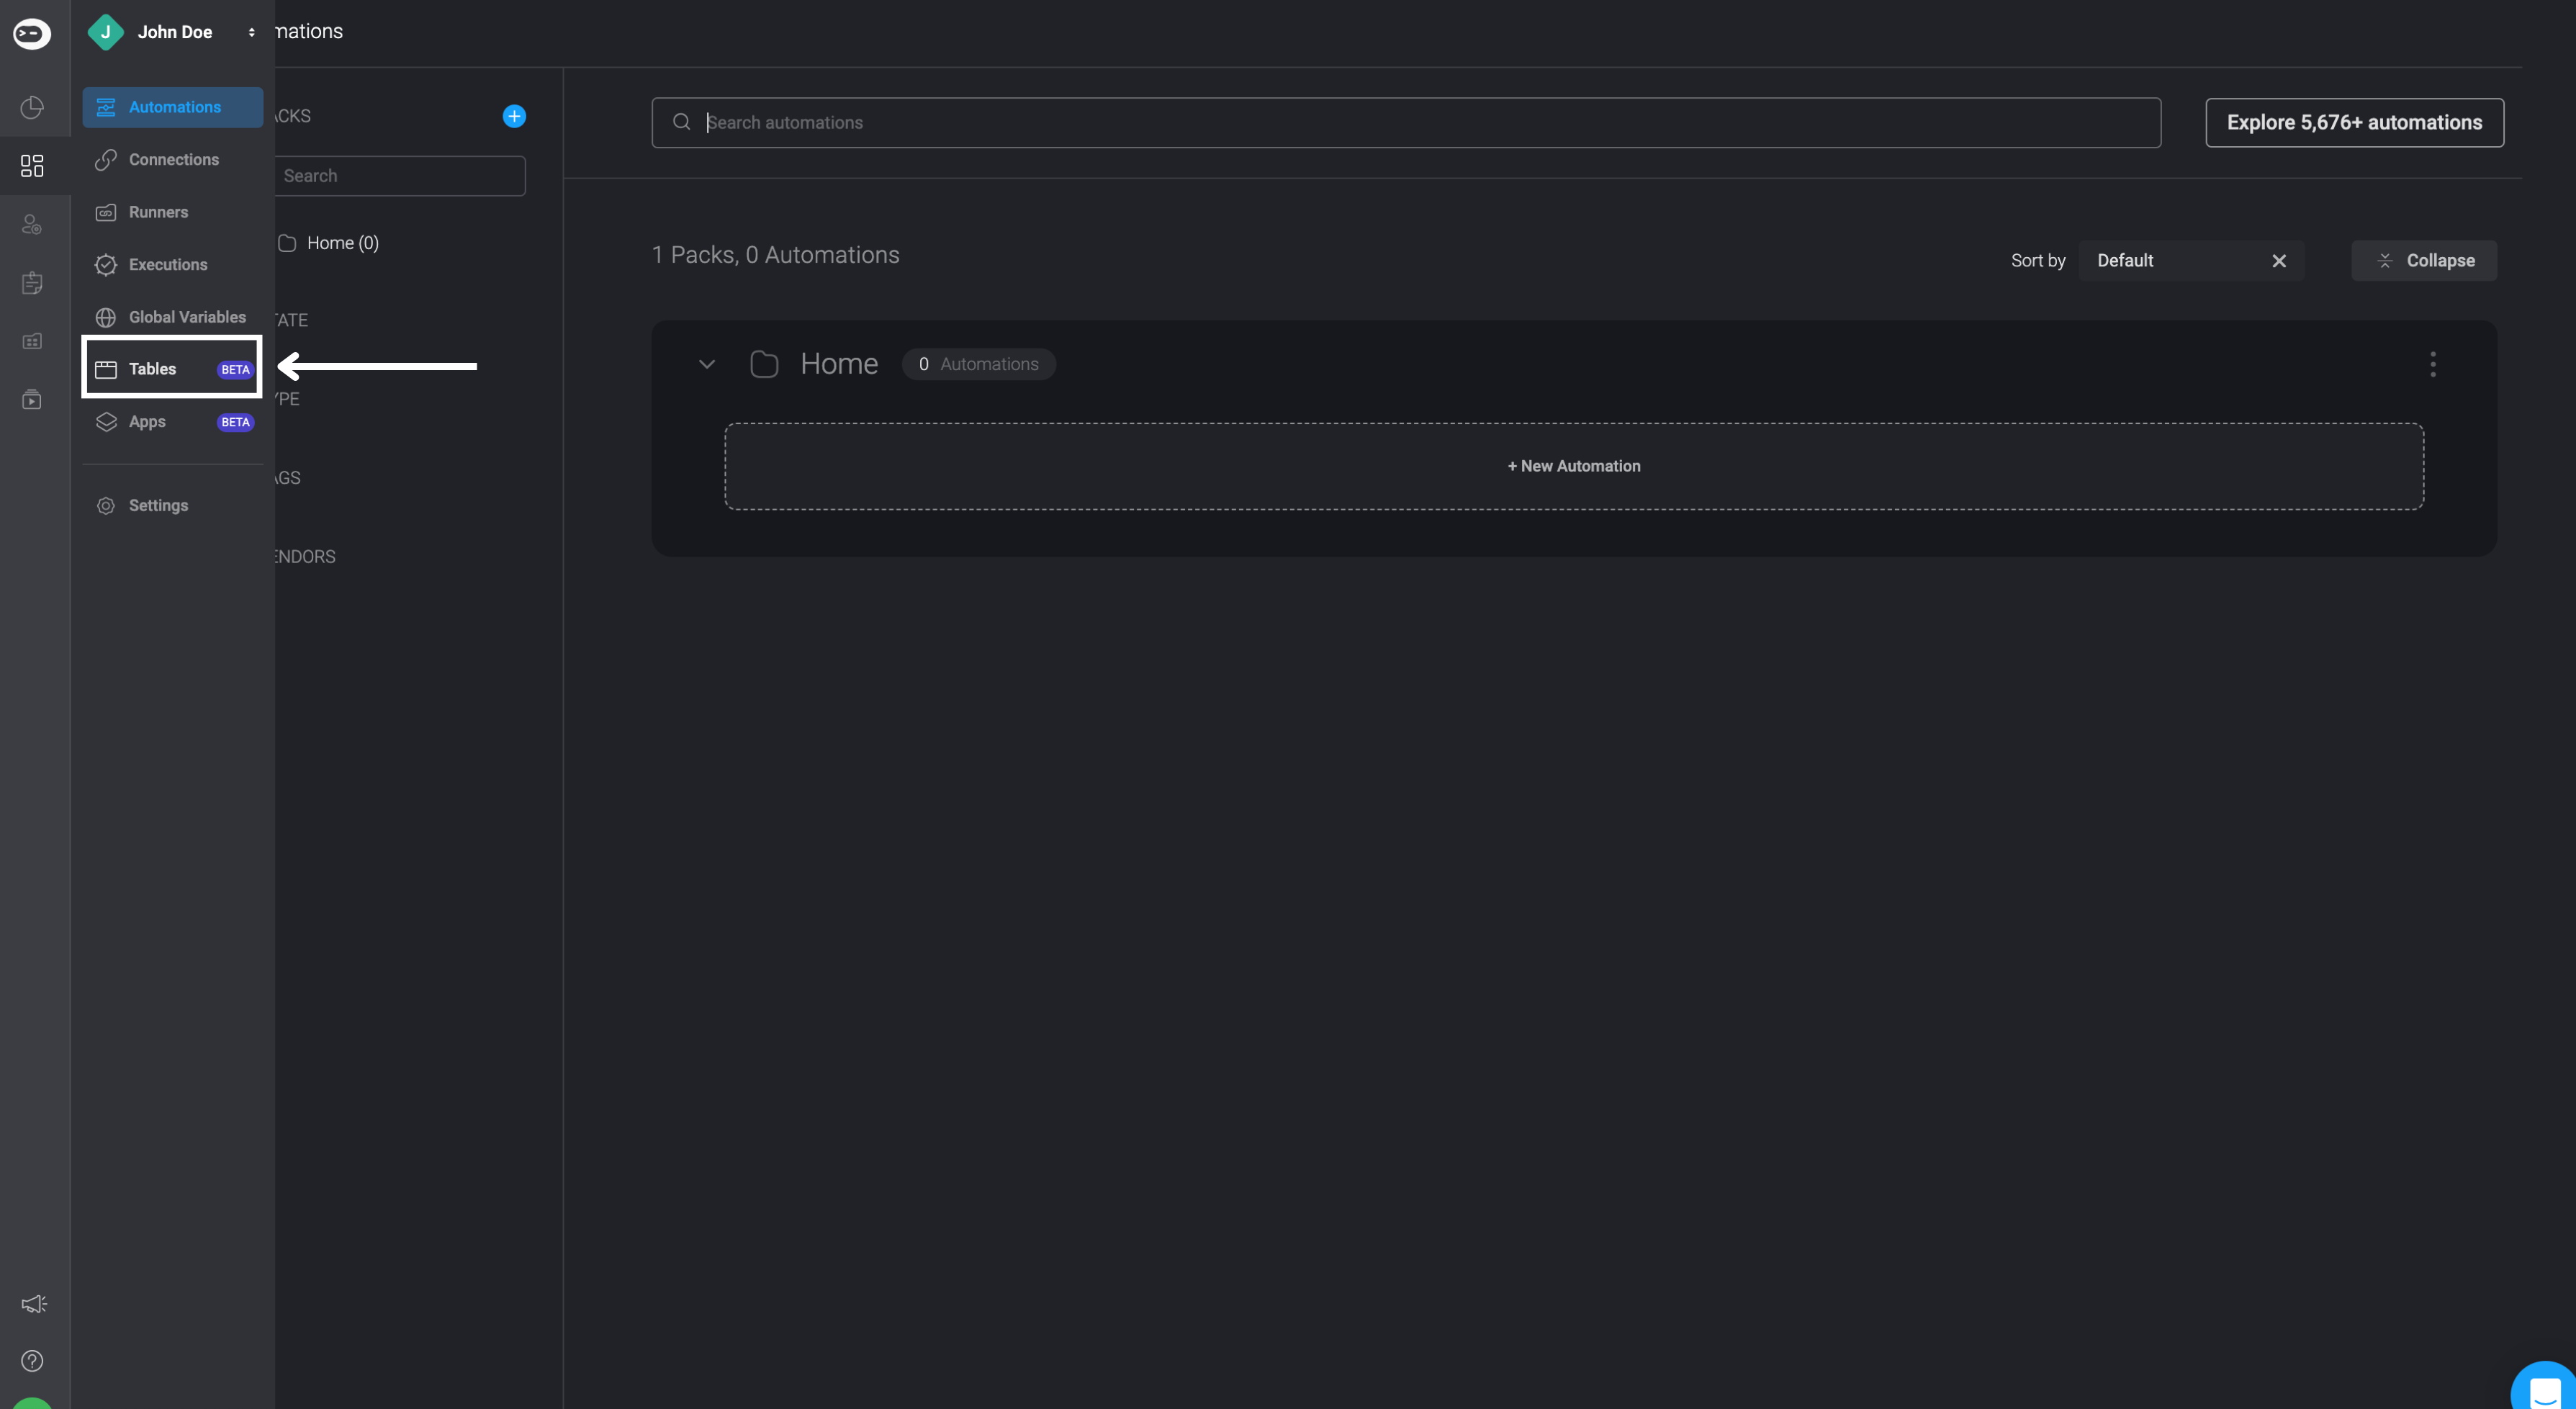
- In your selected workspace, go to the "Tables" Tab
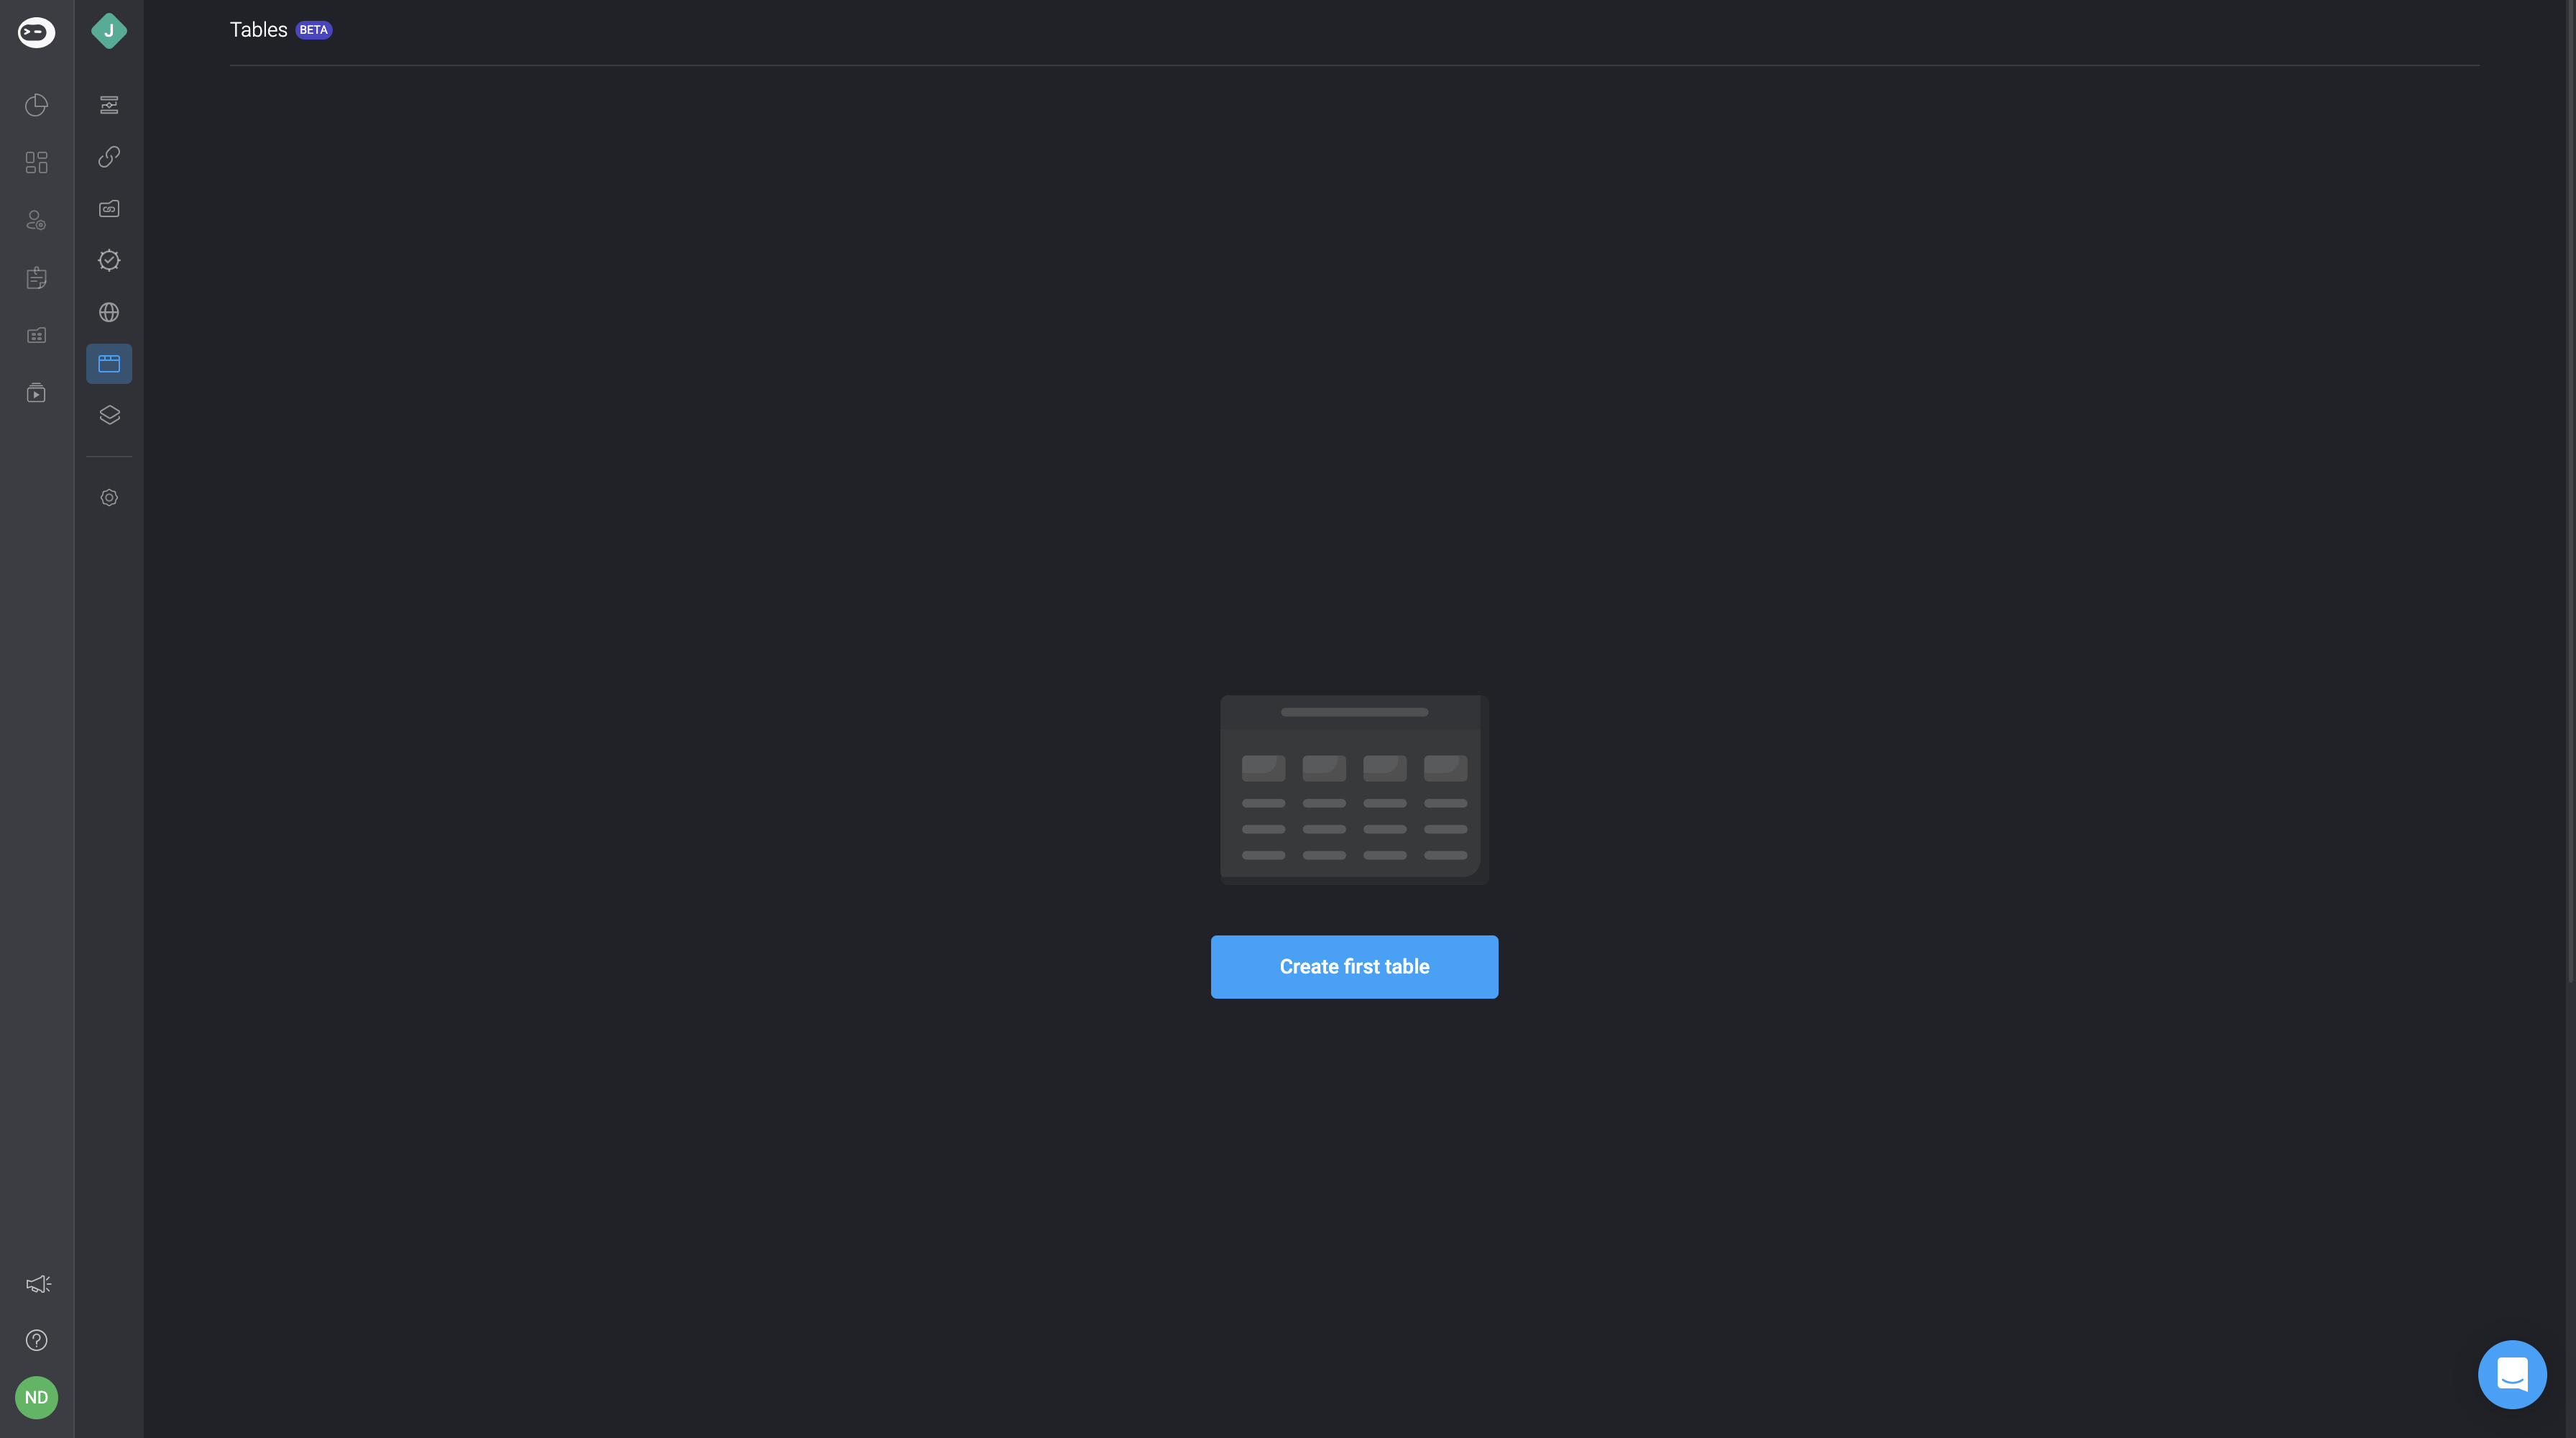
- Click the “Create first Table” button. For additional tables, click on the ‘+’ icon above the existing tables list.
- Fill in the details for your new Table. You can use the default table name or edit it and add a description.

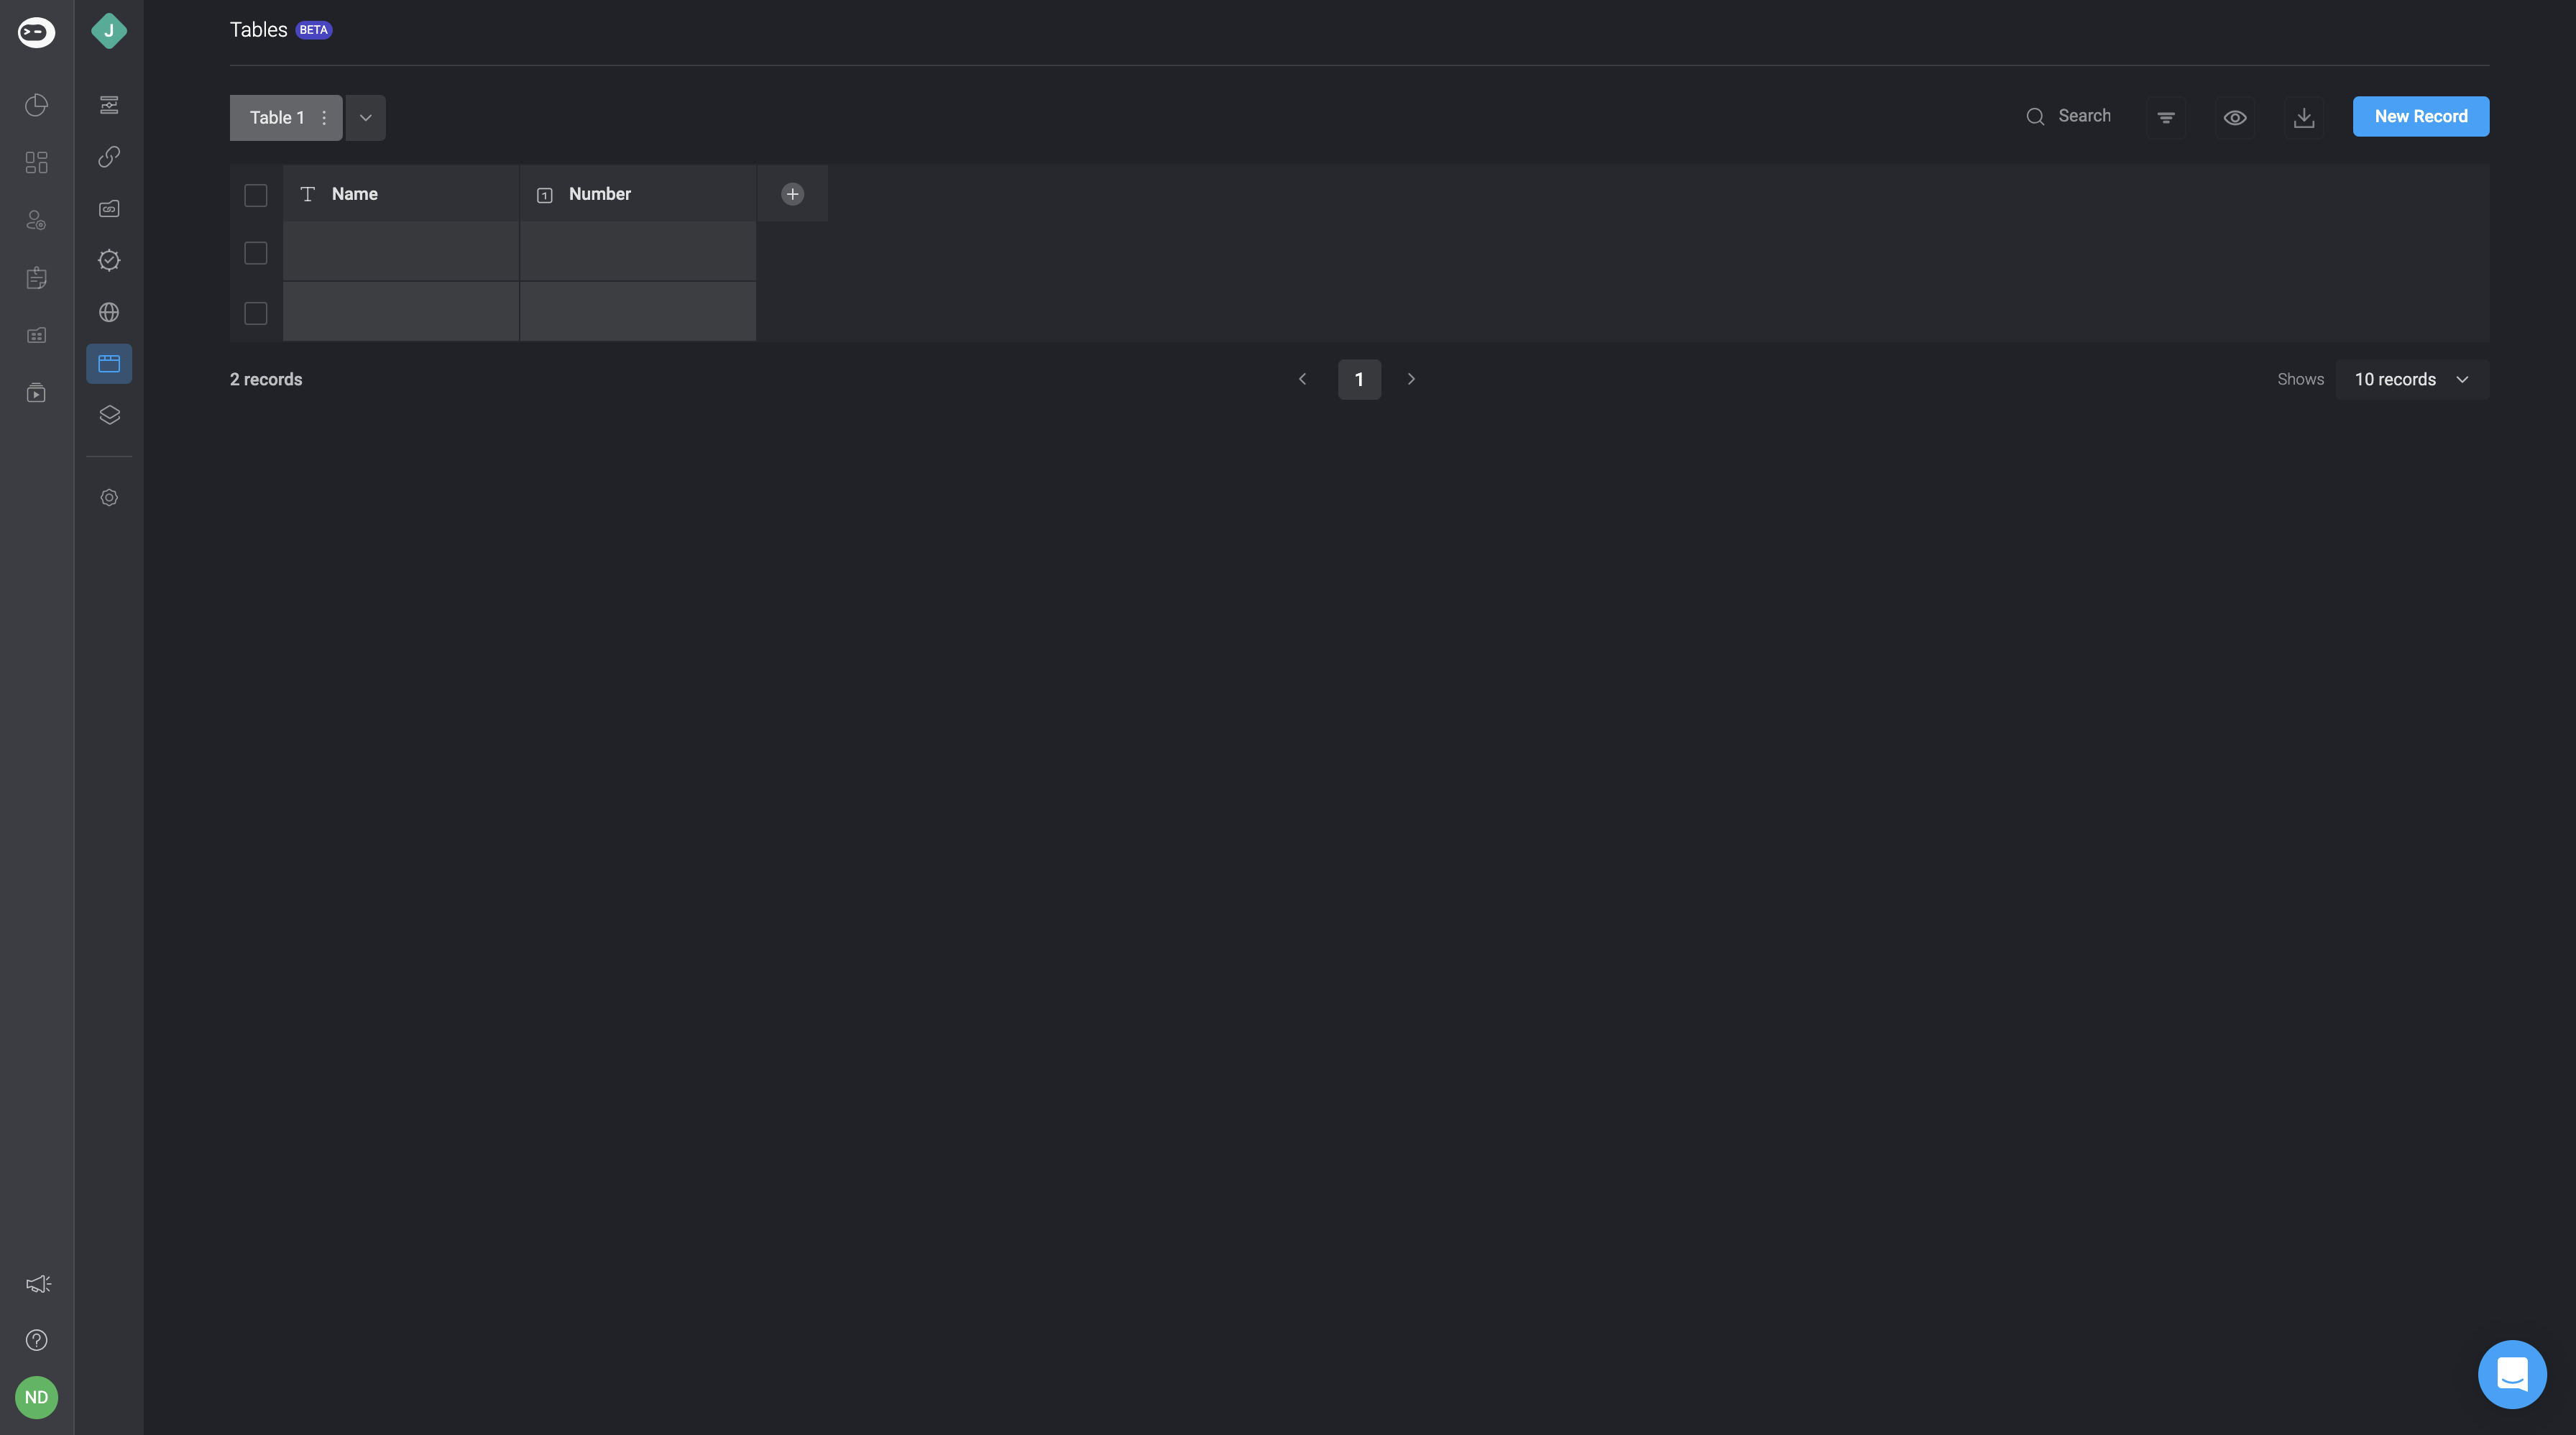
- Click on Create Table to create a new Table. It will be added to the Tables list in the left-hand pane. By default, the Table will include: two fields, one Text type, one Number type, and two empty records.
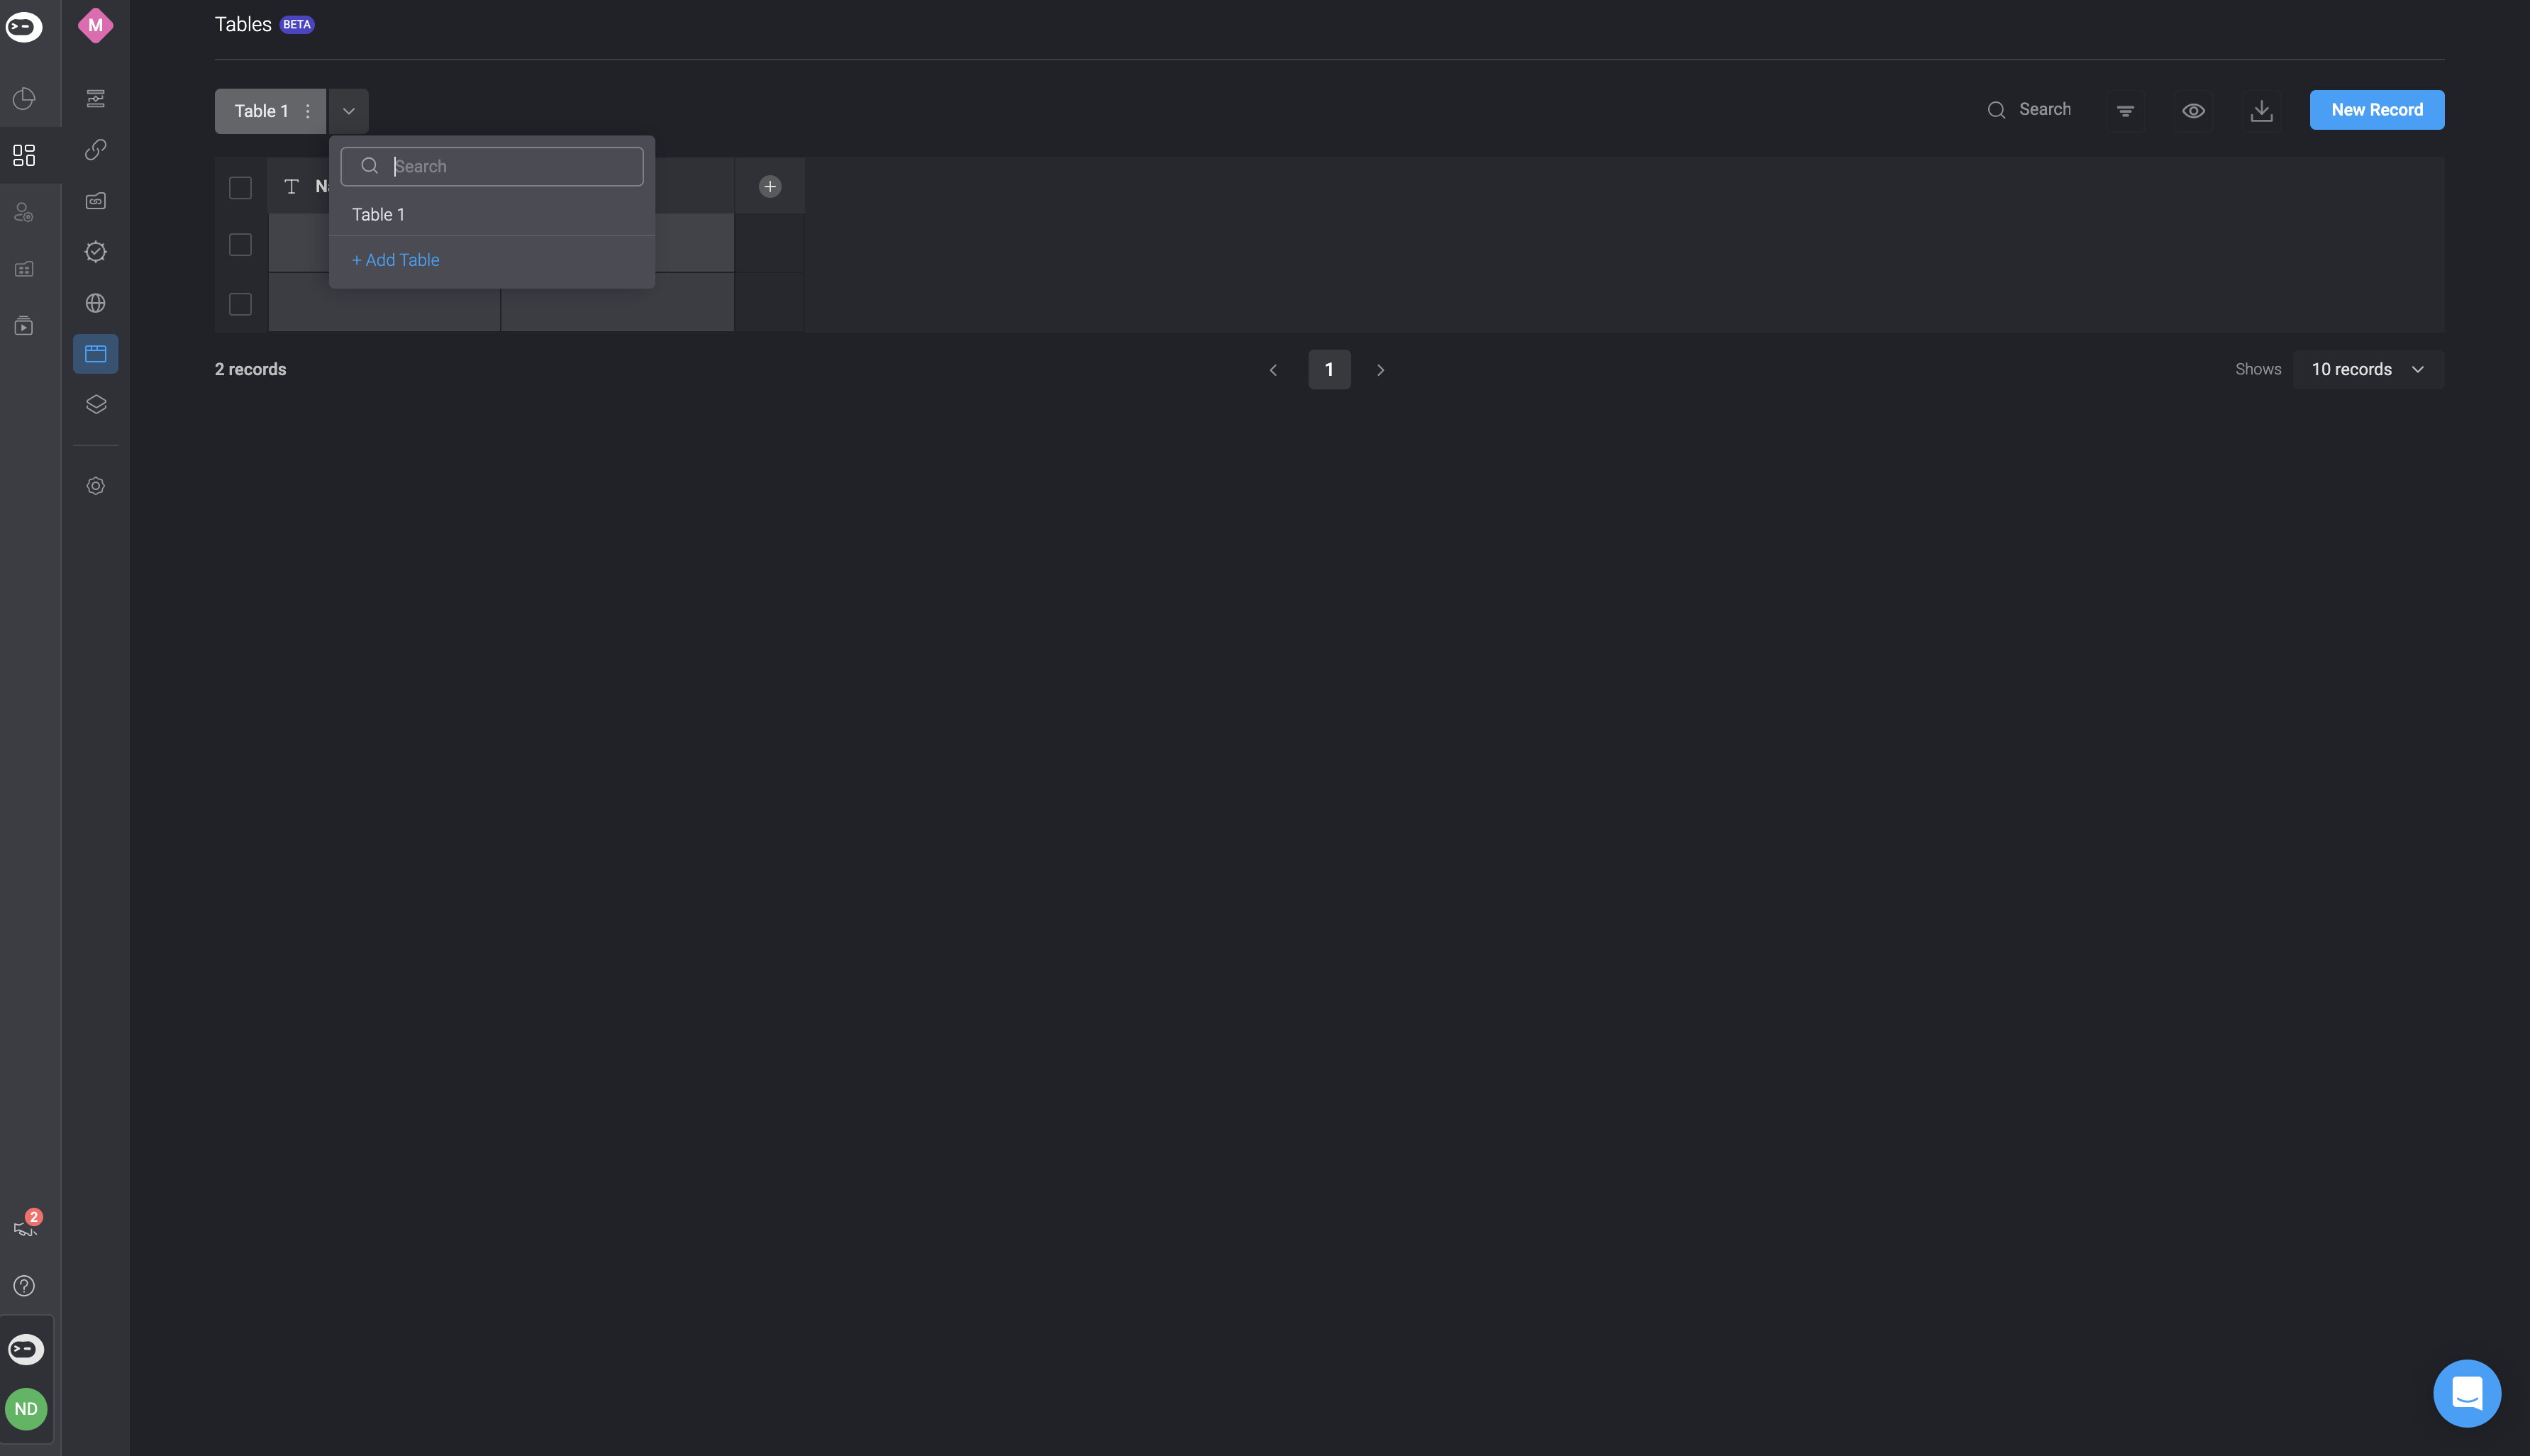
- You can add multiple tables by clicking on the downward facing arrow and selecting Add table. Then, simply input the necessary details for your new table and click Create Table. It will be added to the Tables list in the left-hand pane.
Adding Fields
- Clicking on the ‘+’ button next to the field headers will open the “New Field” modal.
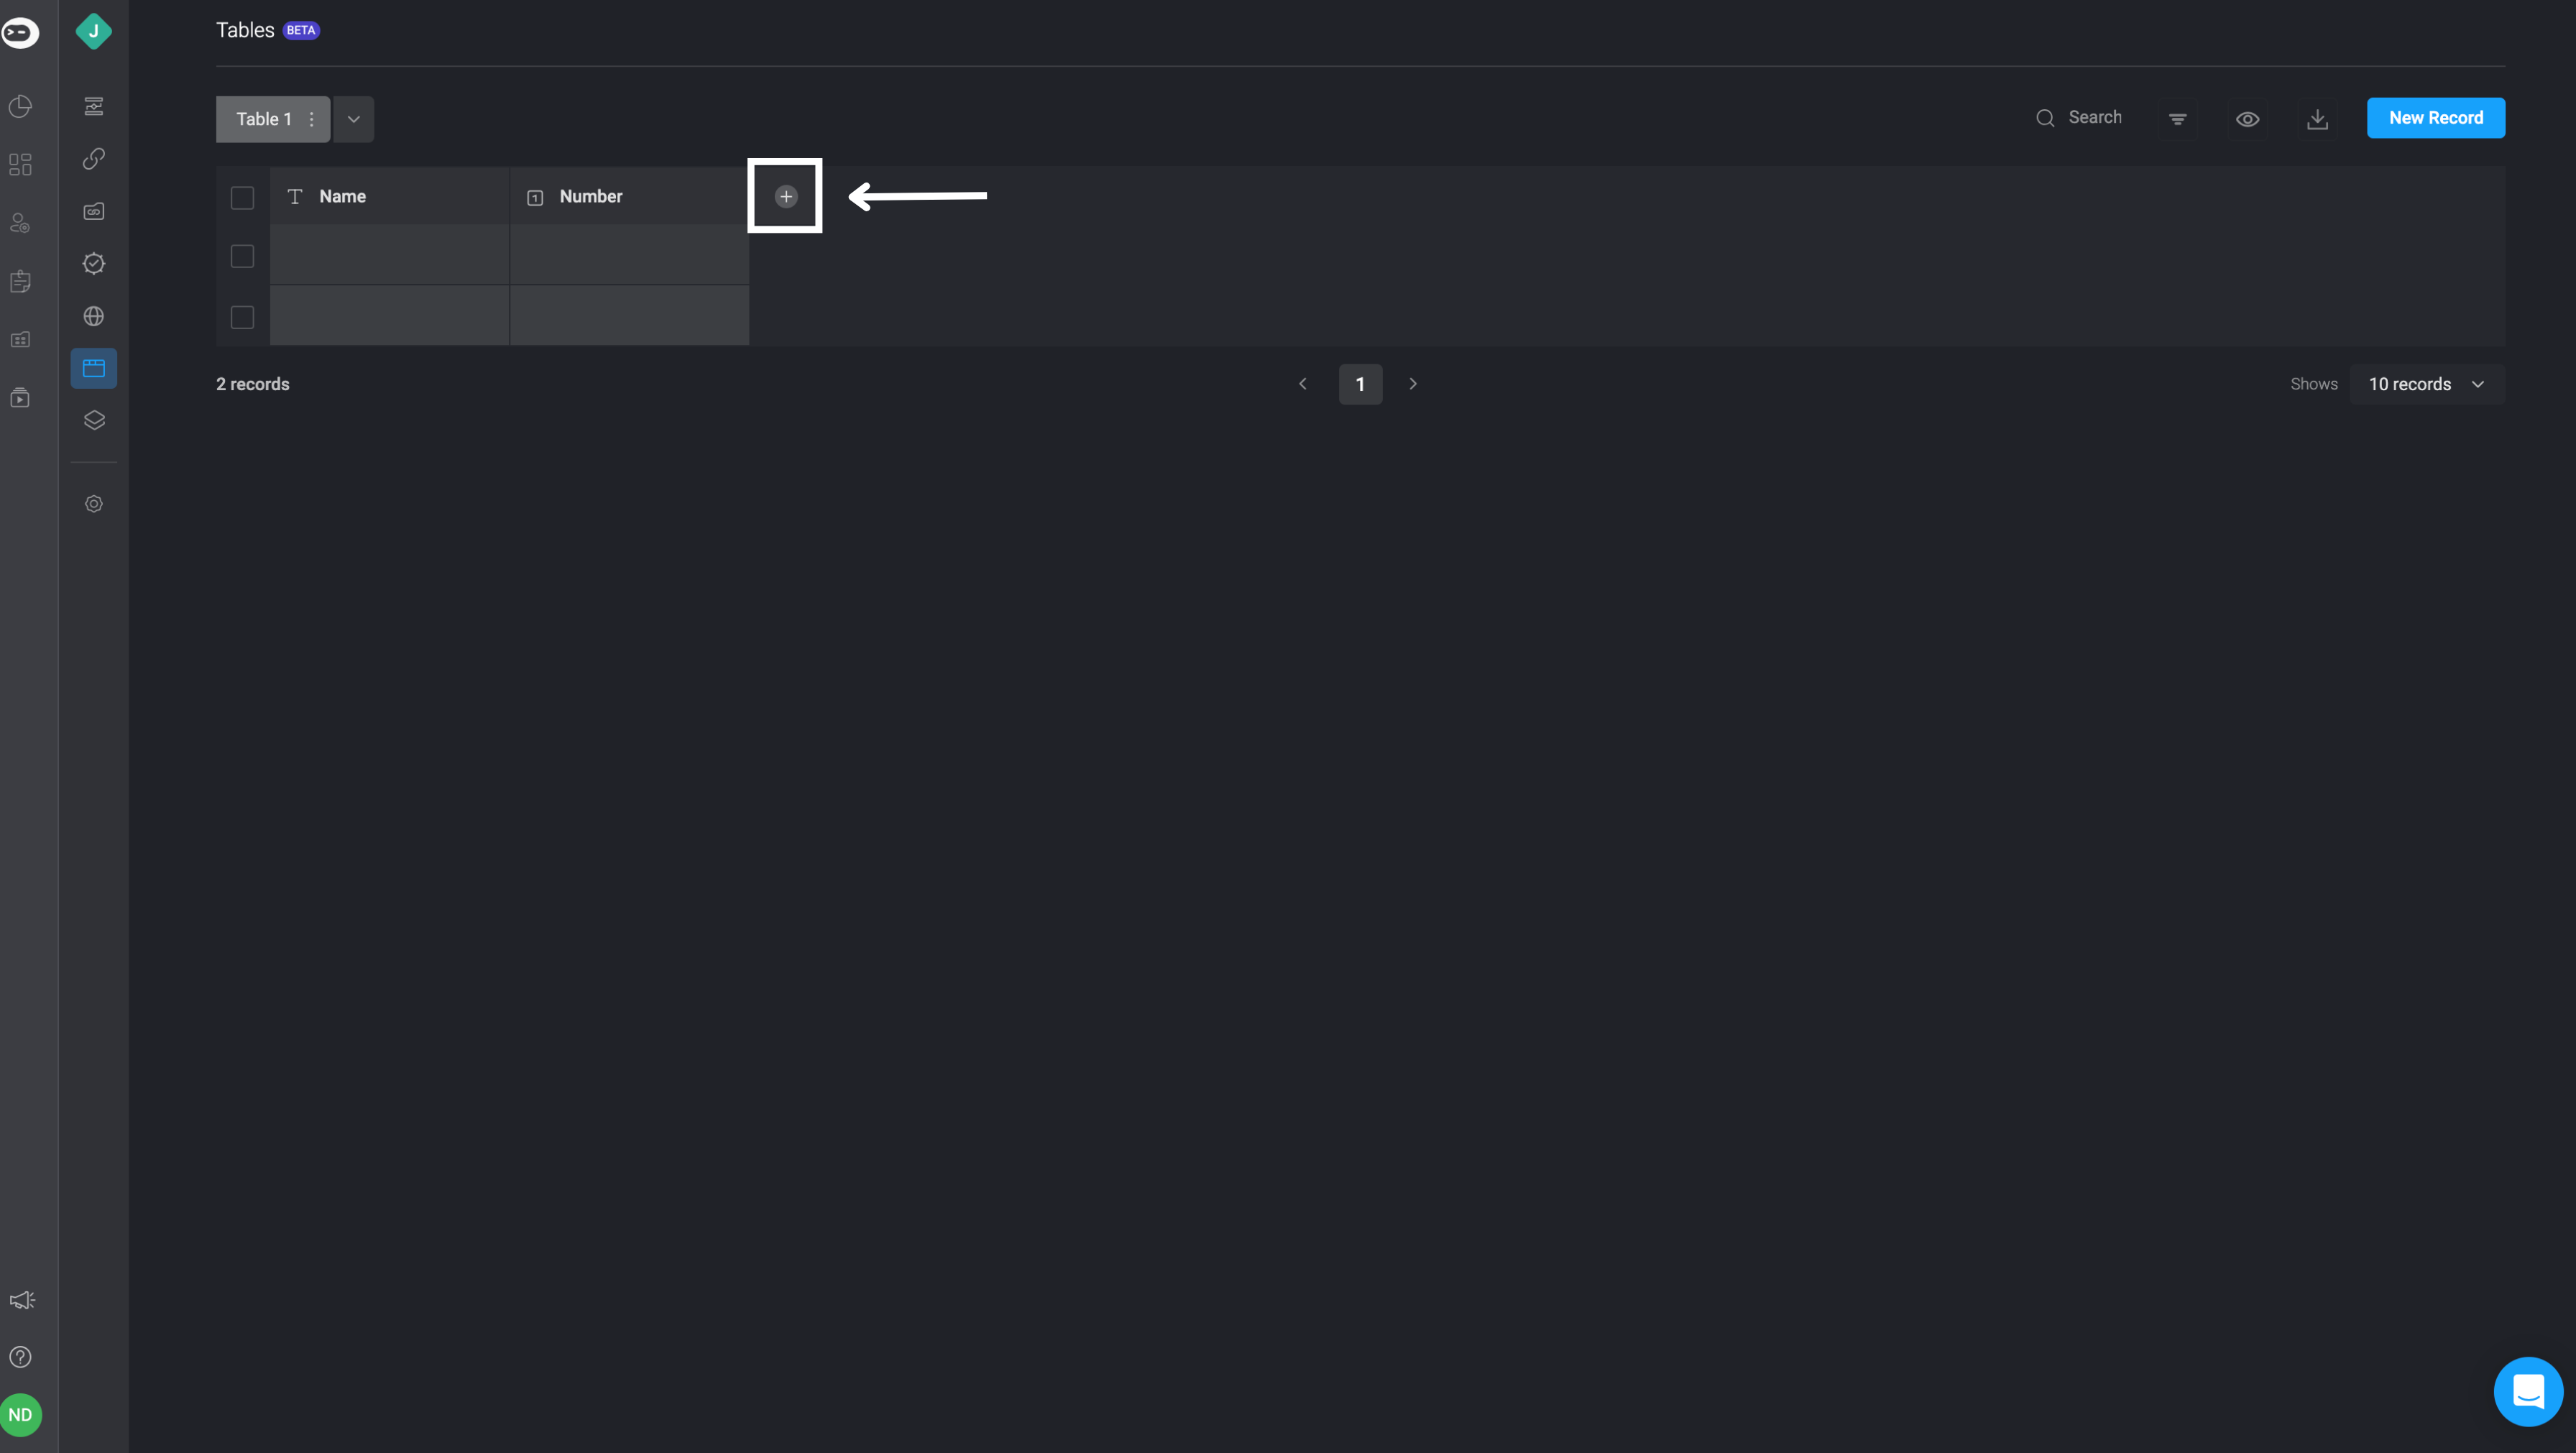
- Set the field name, field type and fill in any advanced parameters. Field type cannot be changed after creation.
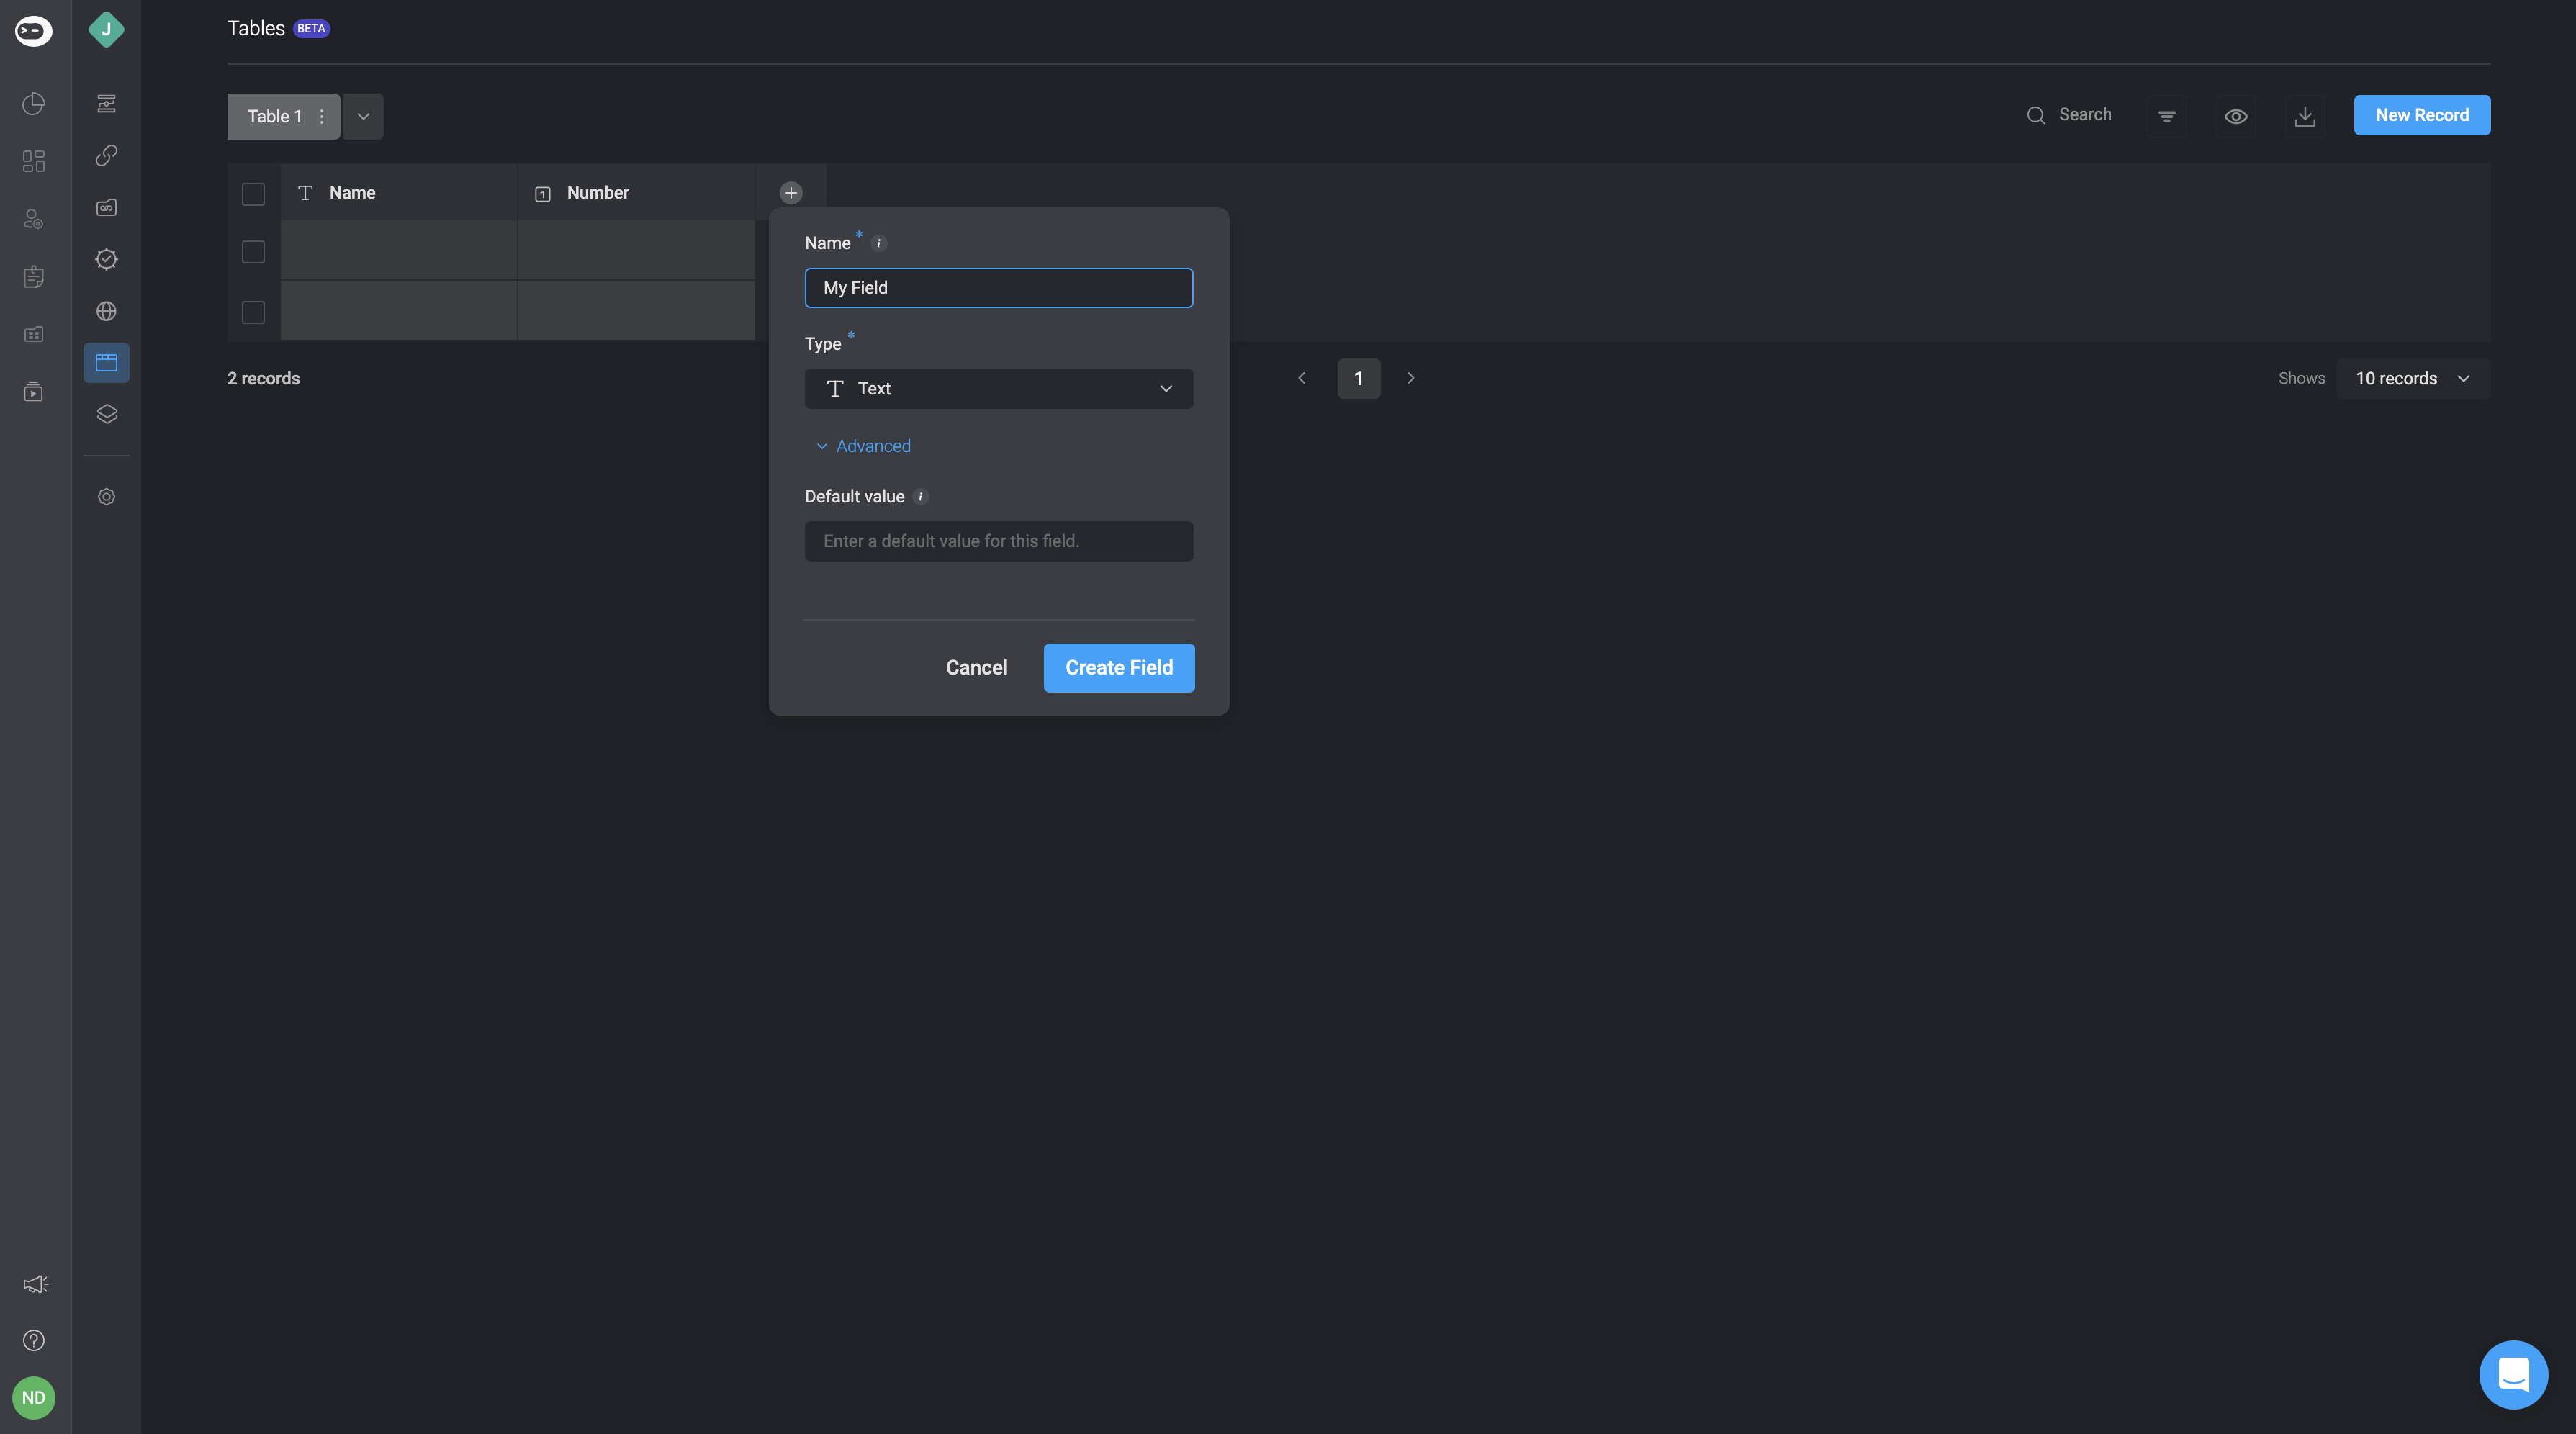
Table Field Types with Unique Values
This feature ensures that no duplicate values are allowed in a particular column within the table. The Text, Numbers, Users, and Time field types only offer the option to enable unique values option within a column.
- When adding a table field, you have the option to activate the unique values feature by choosing the advanced option and checking the box next to unique values option. After that, simply click on create field.
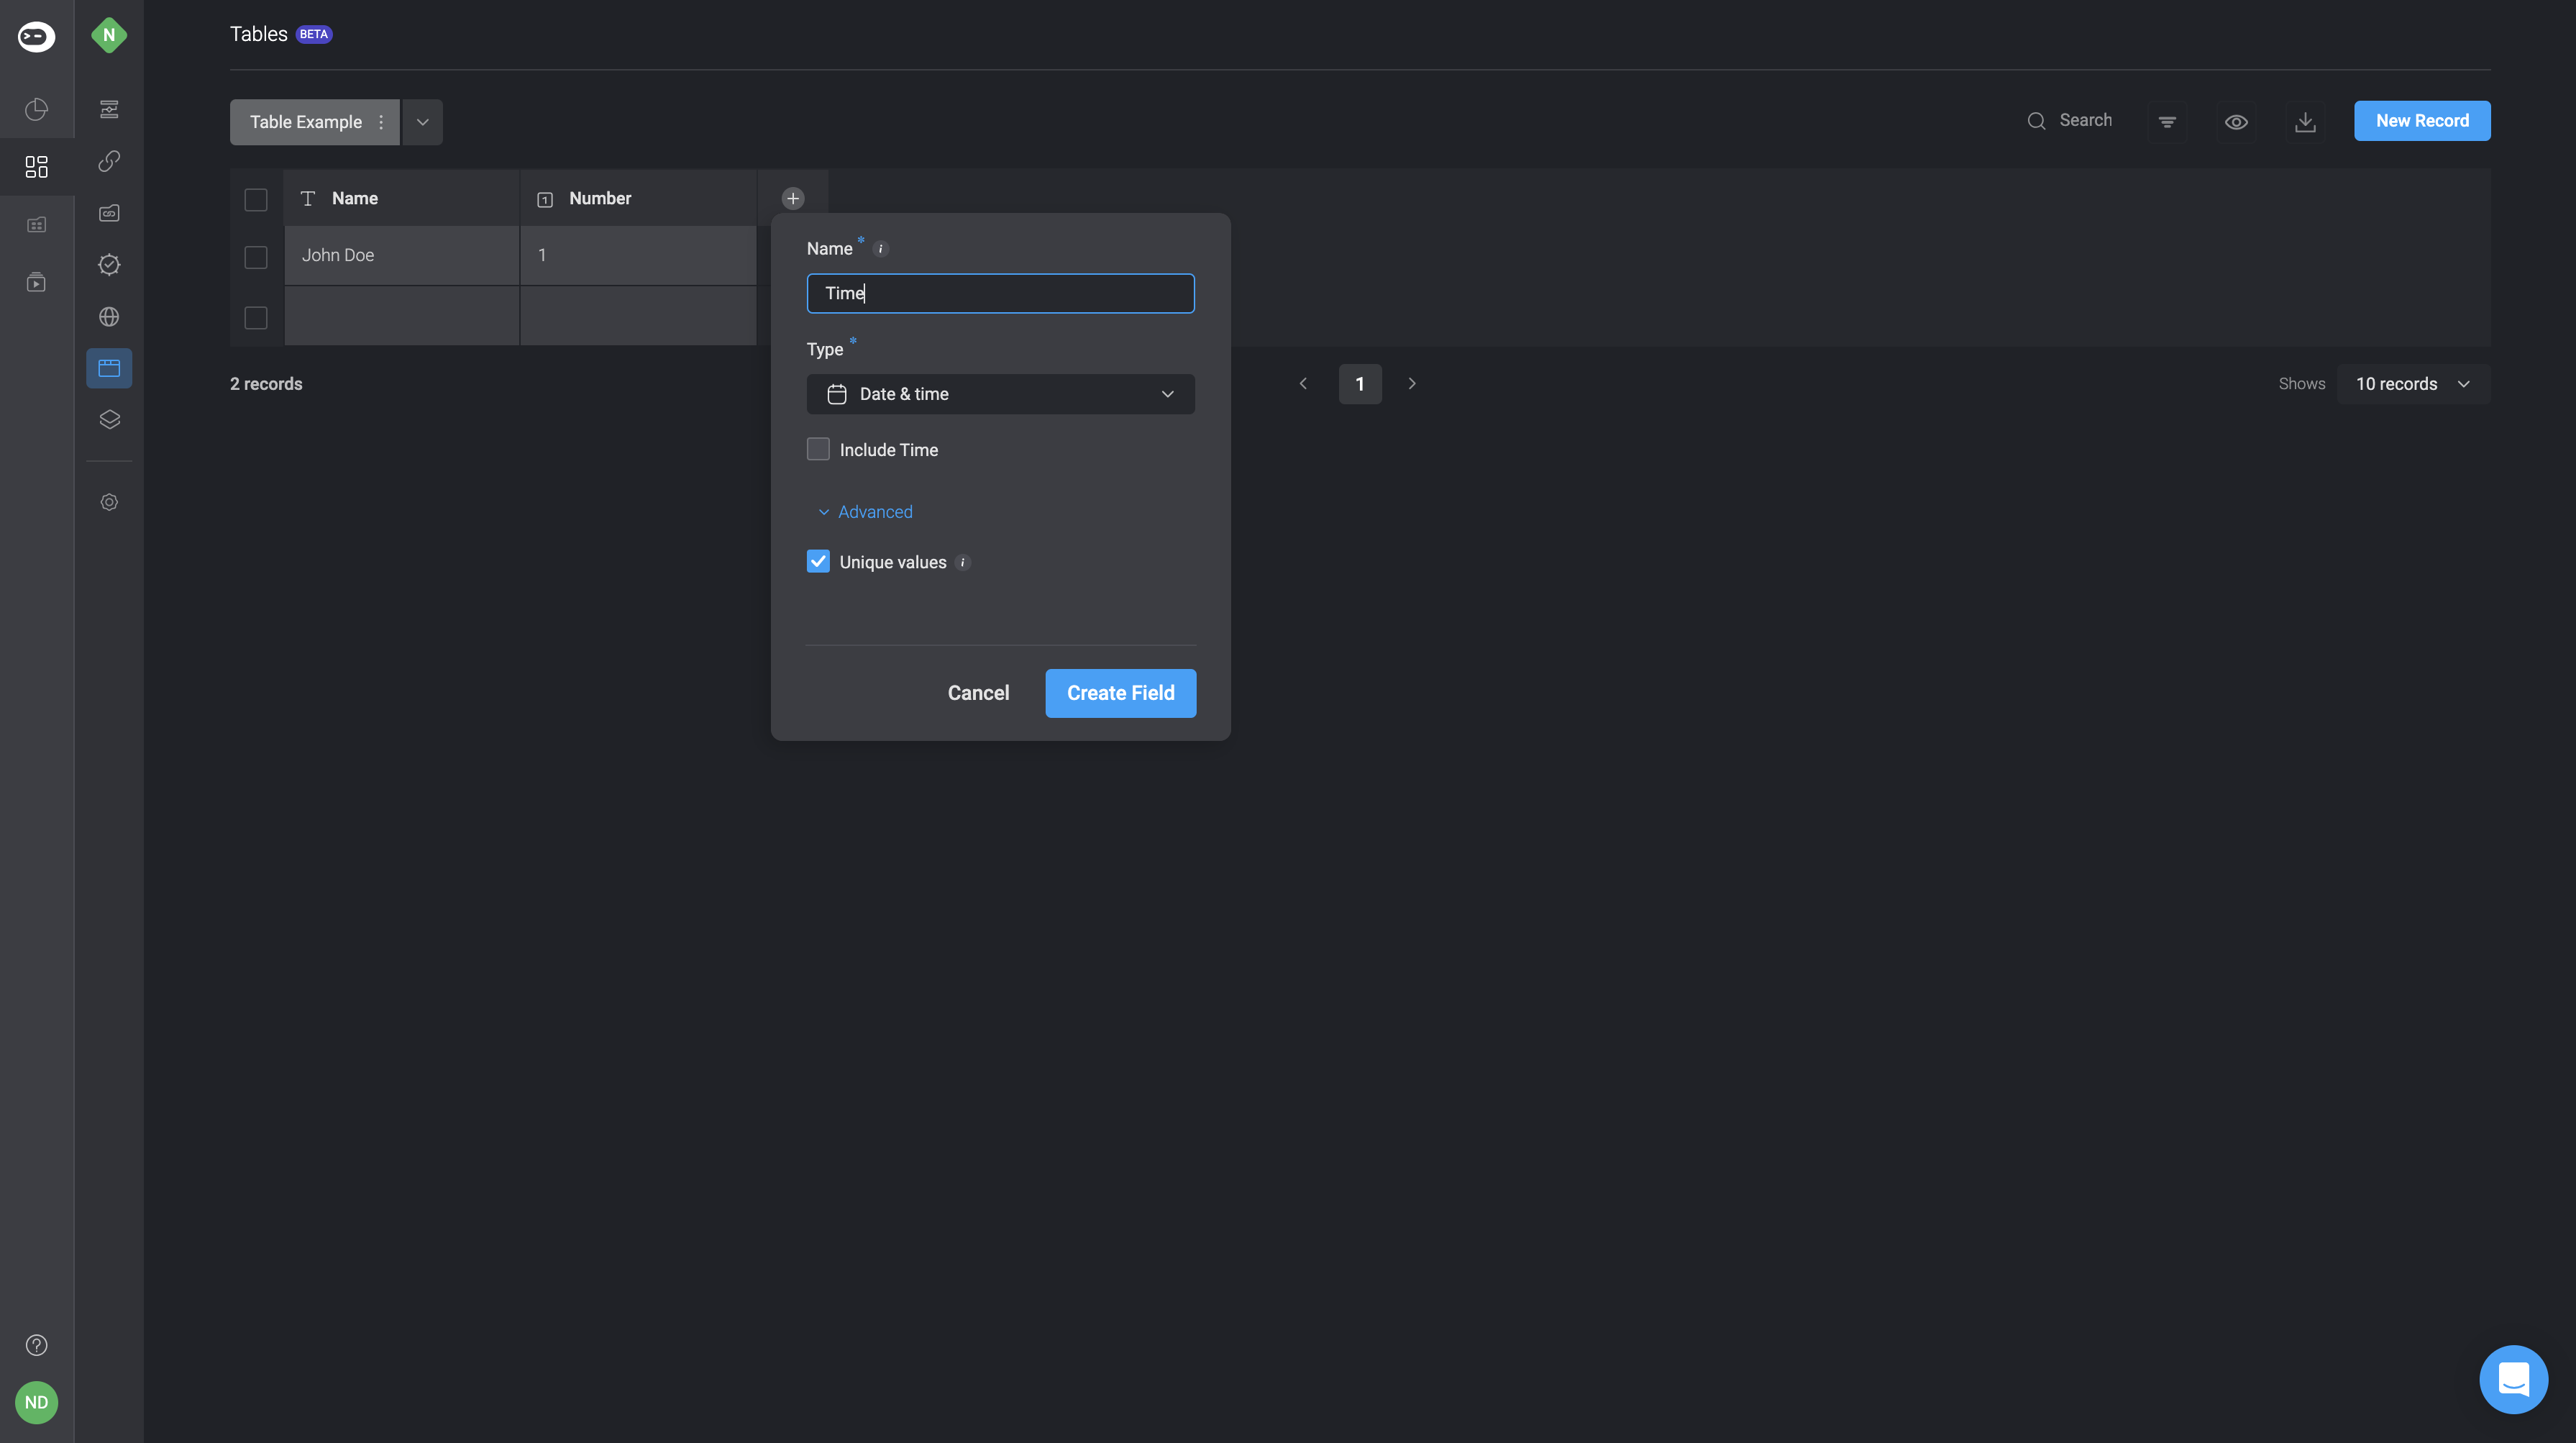
Table Field Types
The following field types are supported:
- Text
- Long Text
- Number
- Single-select
- Multi-select
- Checkbox
- Date & Time
- User
- Risk management
- Button
- Reference
Adding Records
- Click on the “New Record” button at the top-right corner of the Table
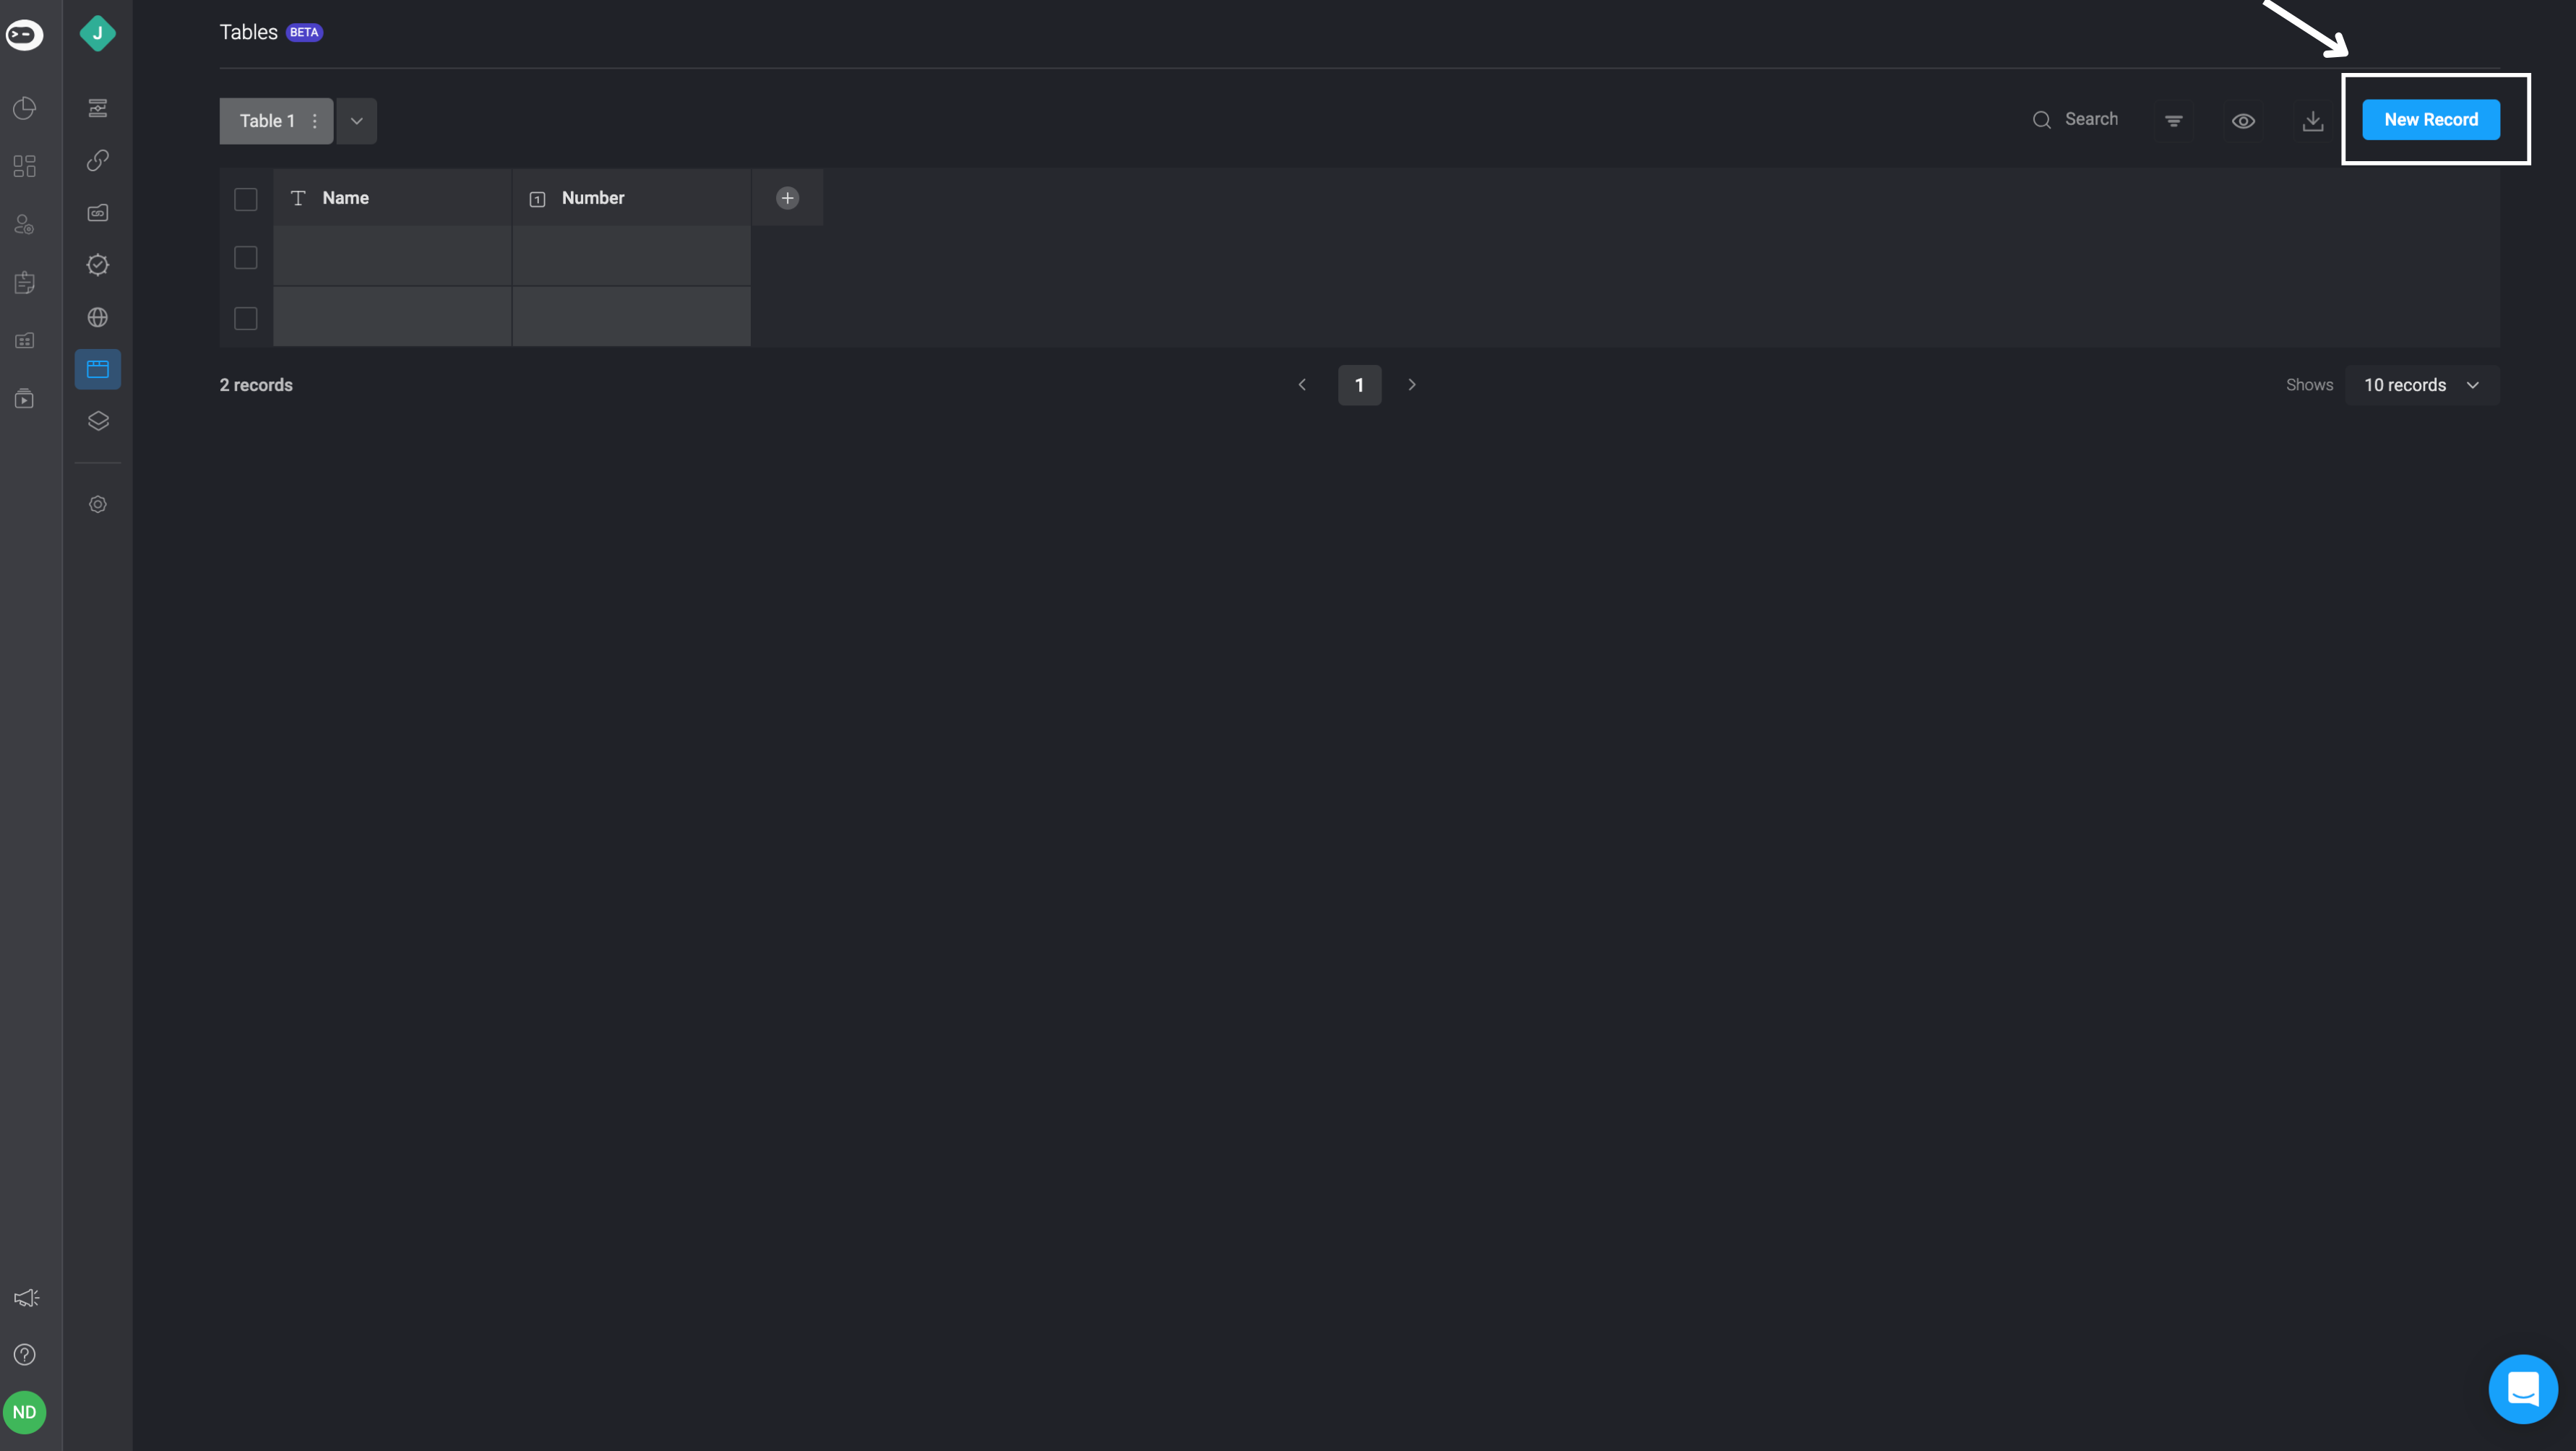
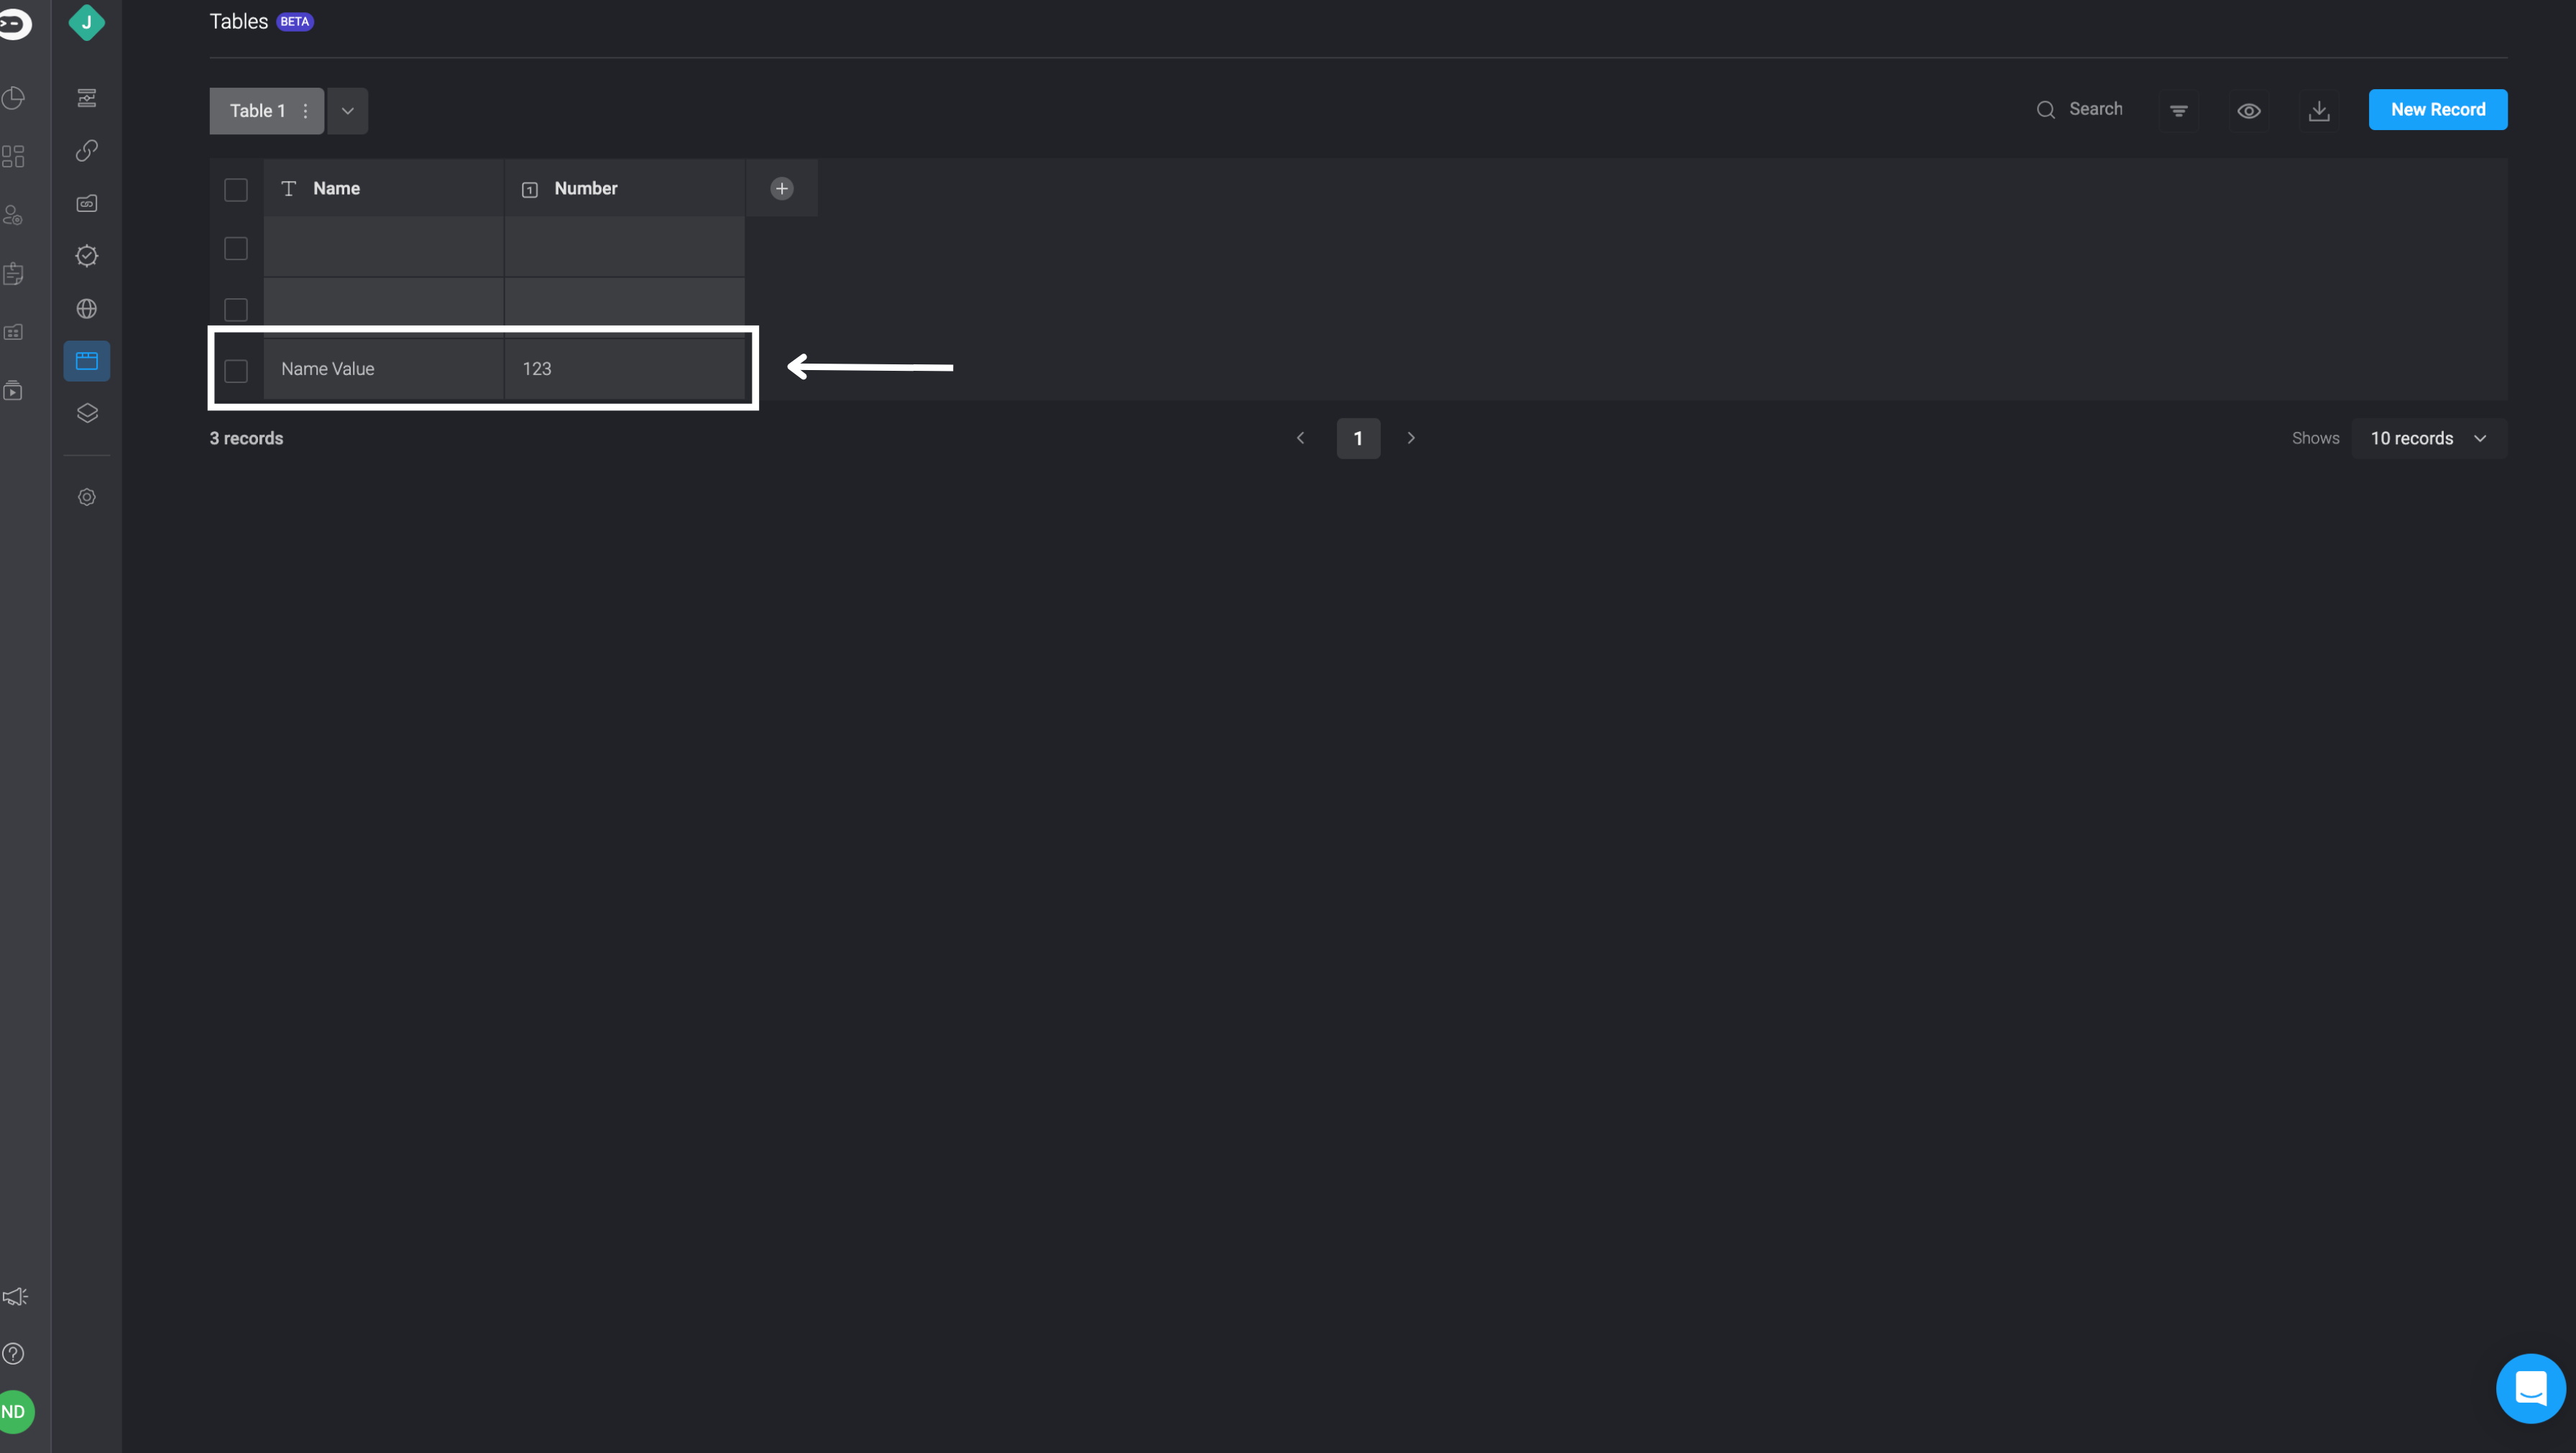
- Enter the data for the new record and click “Add Record”.
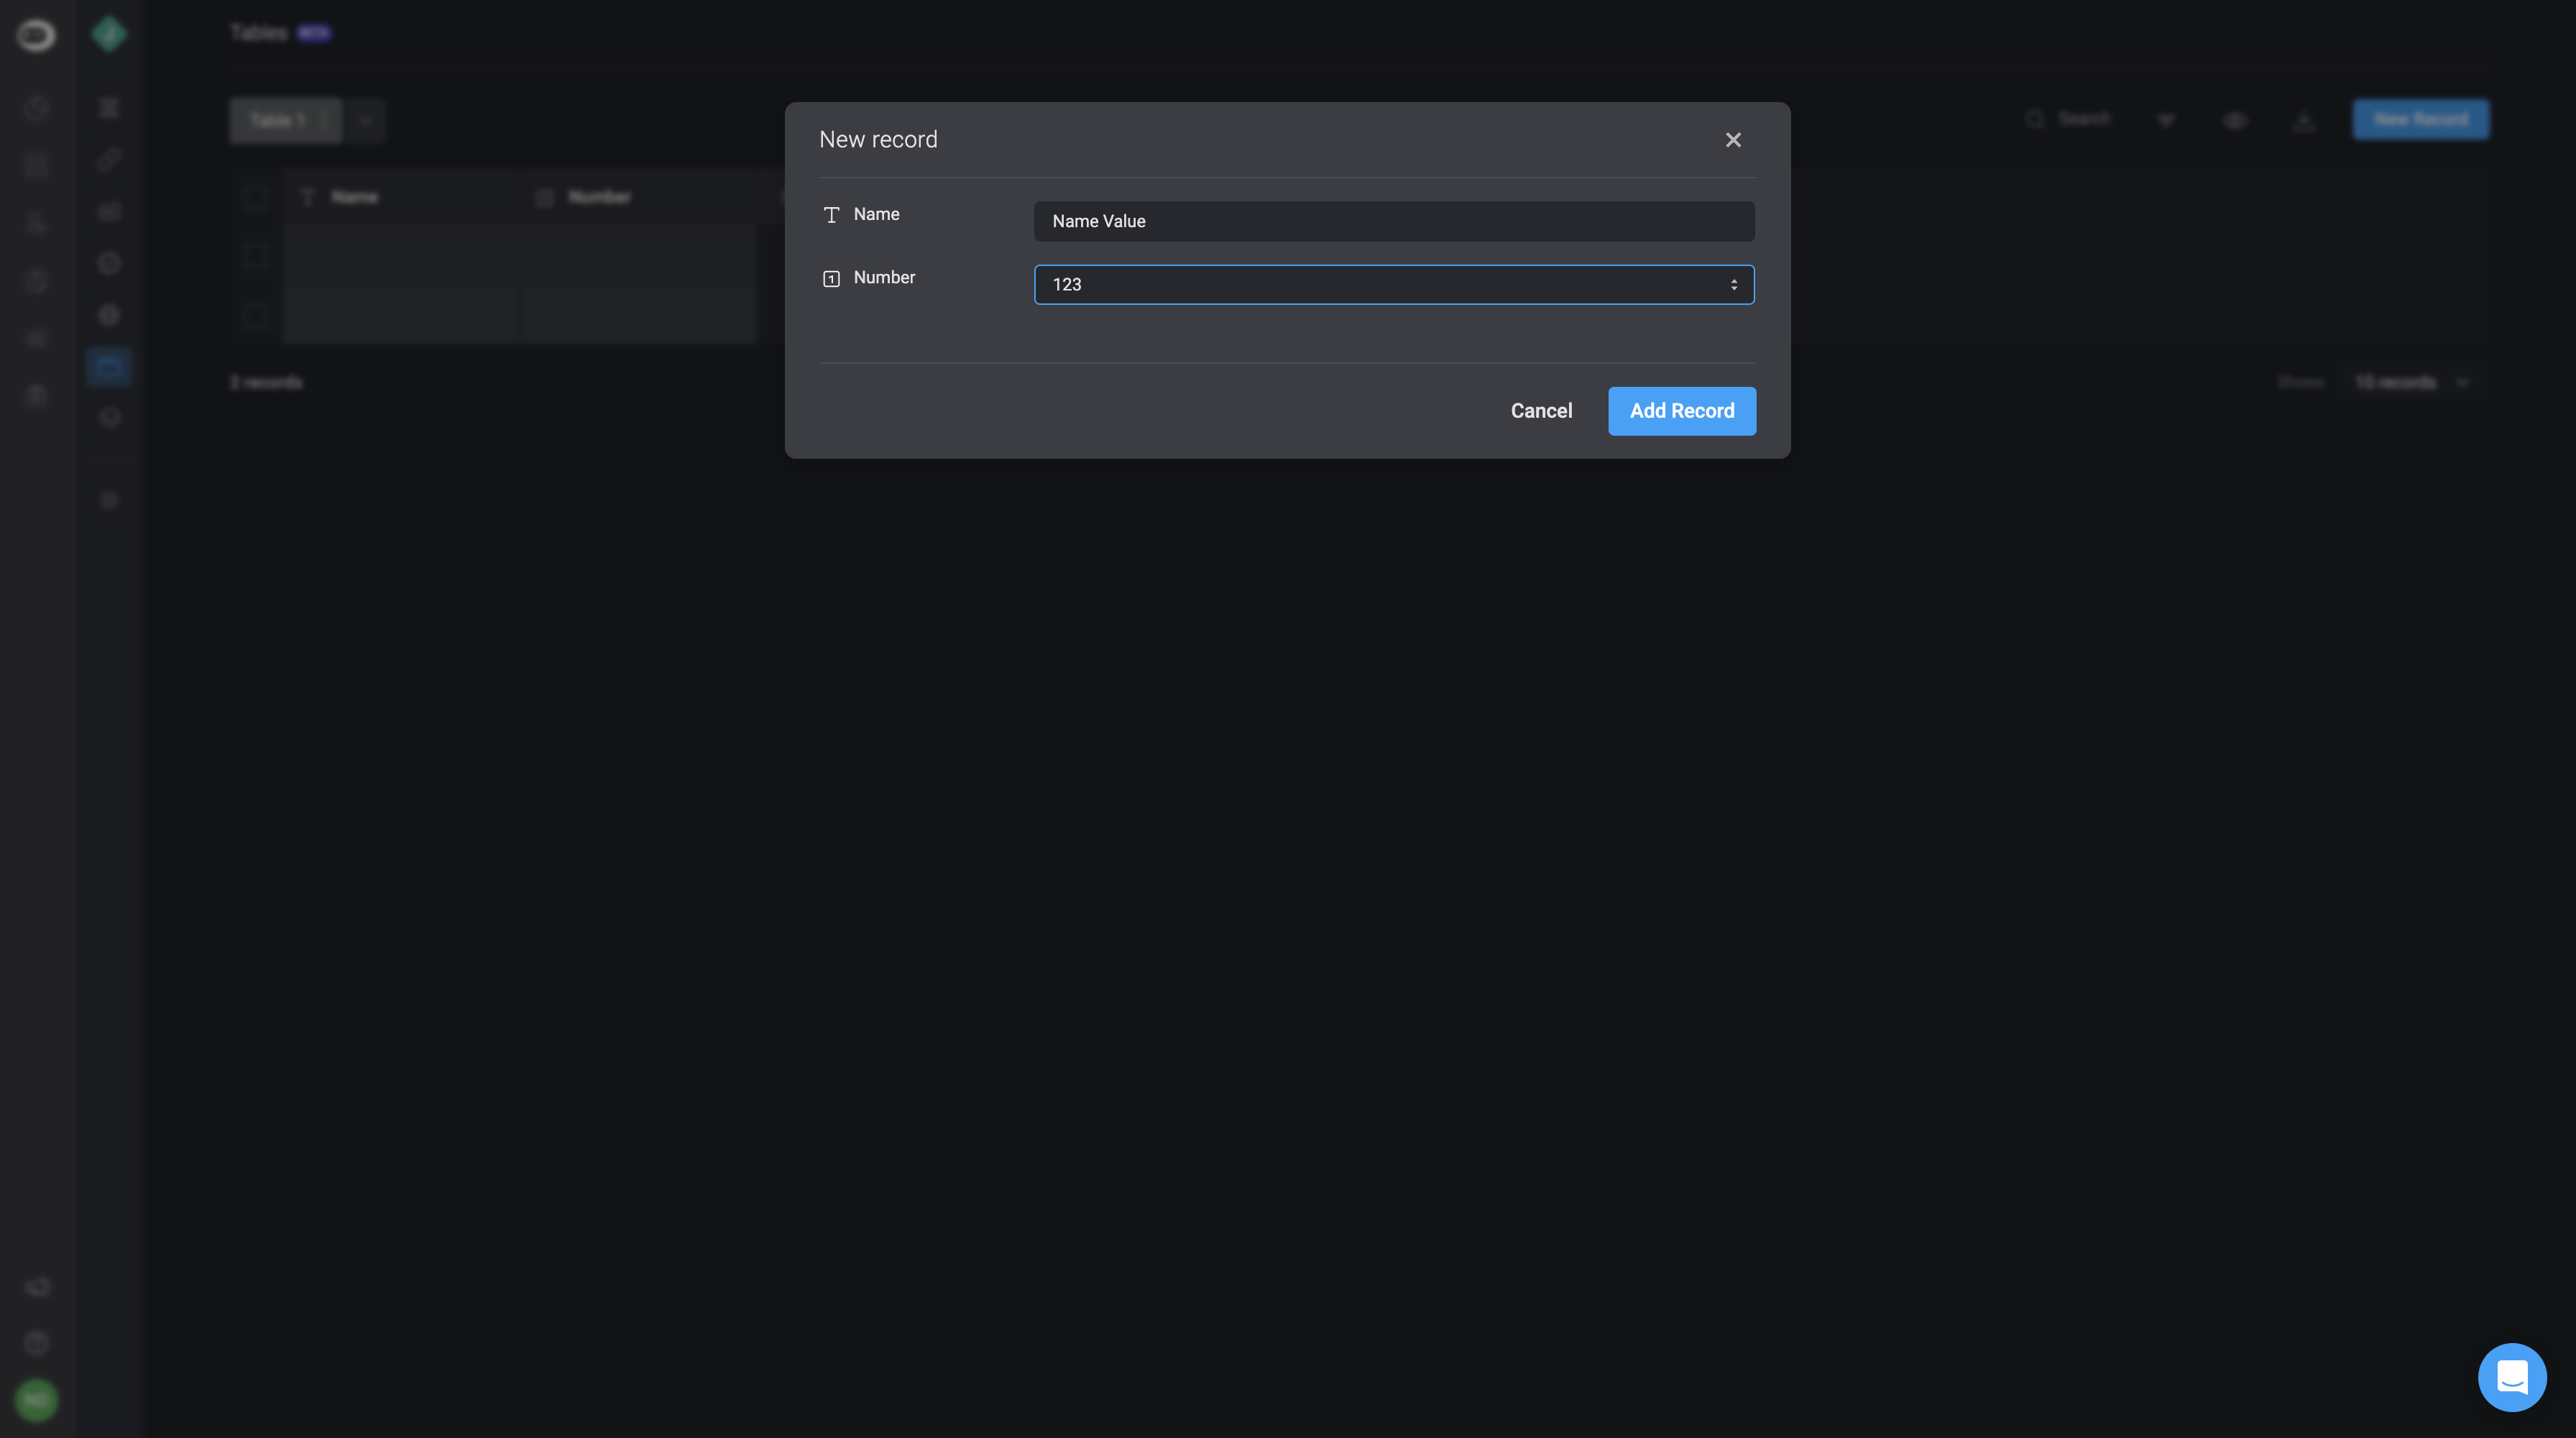
- A new record will be created in the table
info
The maximum number of records per table is 10,000 for Pro license and 100,000 for Enterprise license.