Flow Control Actions
Flow Actions enable you to control the flow of your Automation.
| Icon | Action name |
|---|---|
| If | |
| If else | |
| Loop | |
| While | |
| Set variables | |
| Switch | |
| Run On Error | |
| Wait | |
| Text | |
| End Run |
 If statements
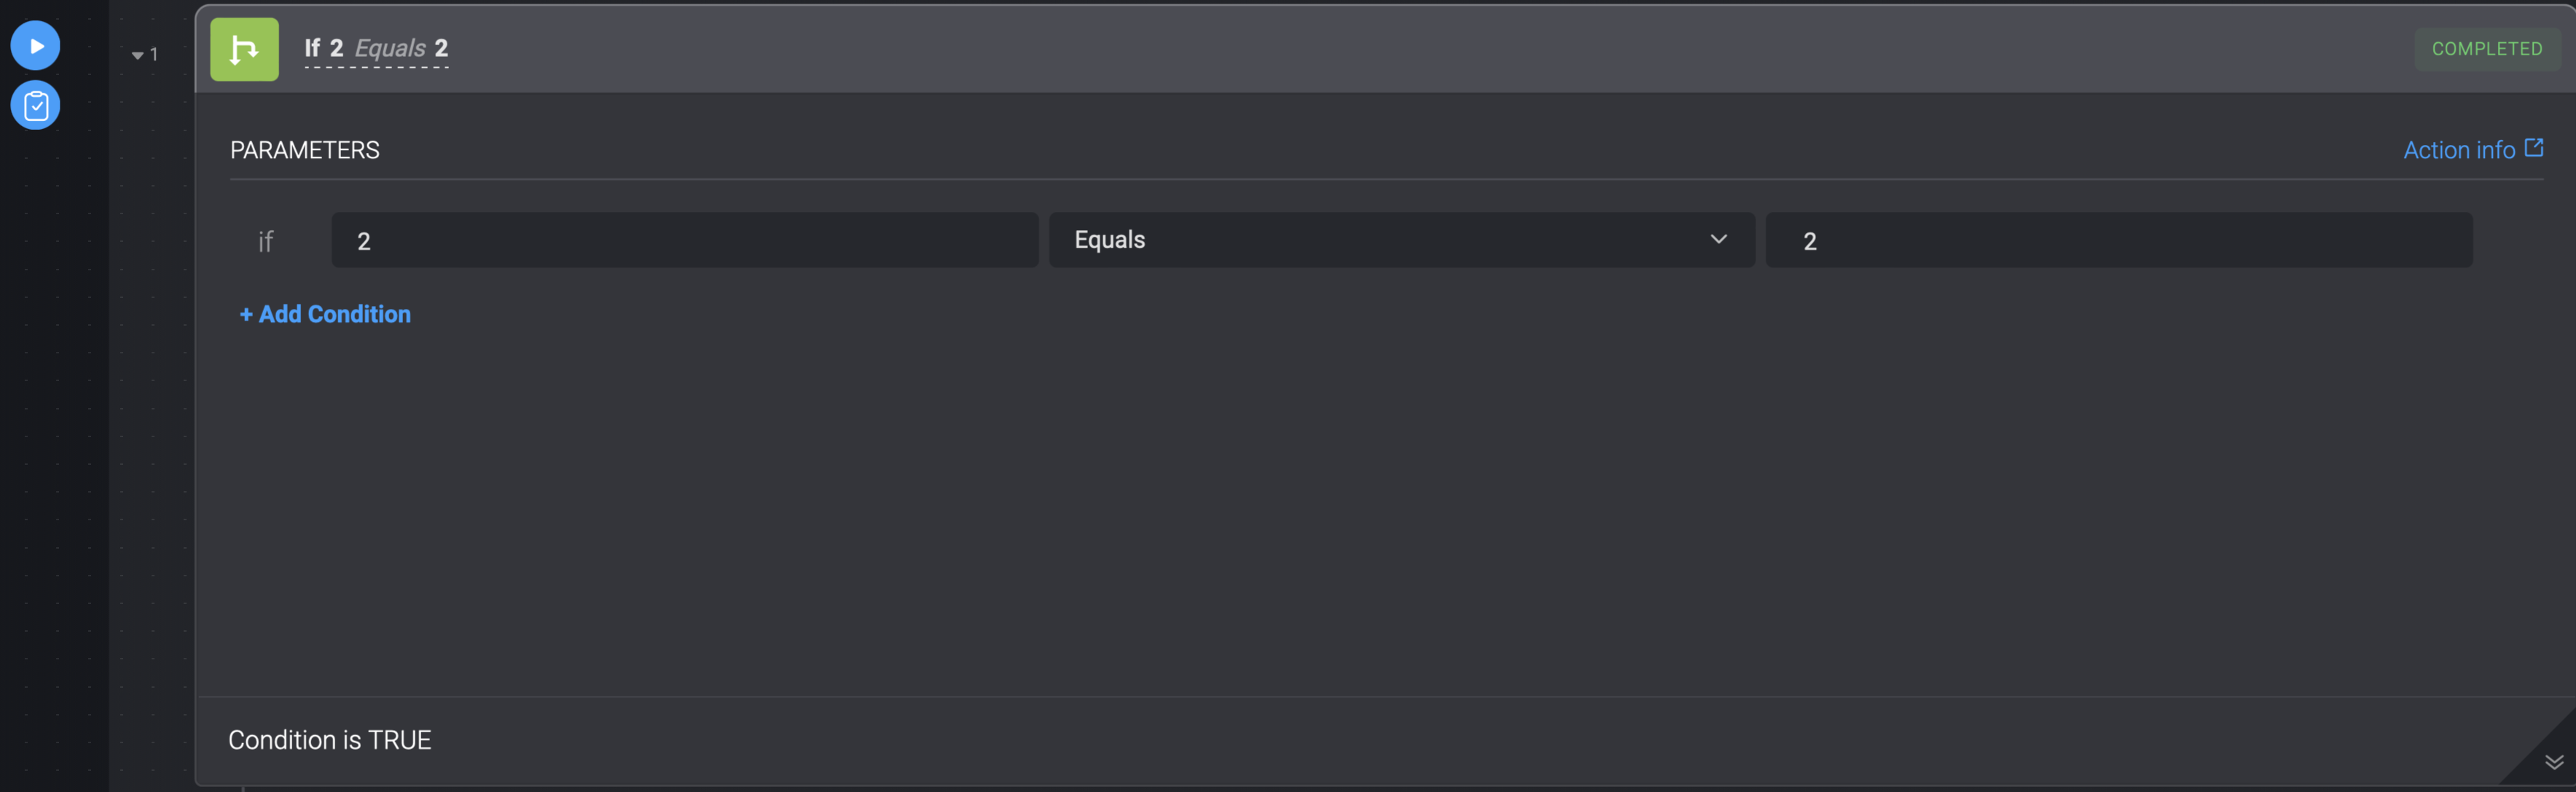
An If Action directs an Automation to run an action or set of actions if a specified condition is true.
The If action uses the following condition builder:
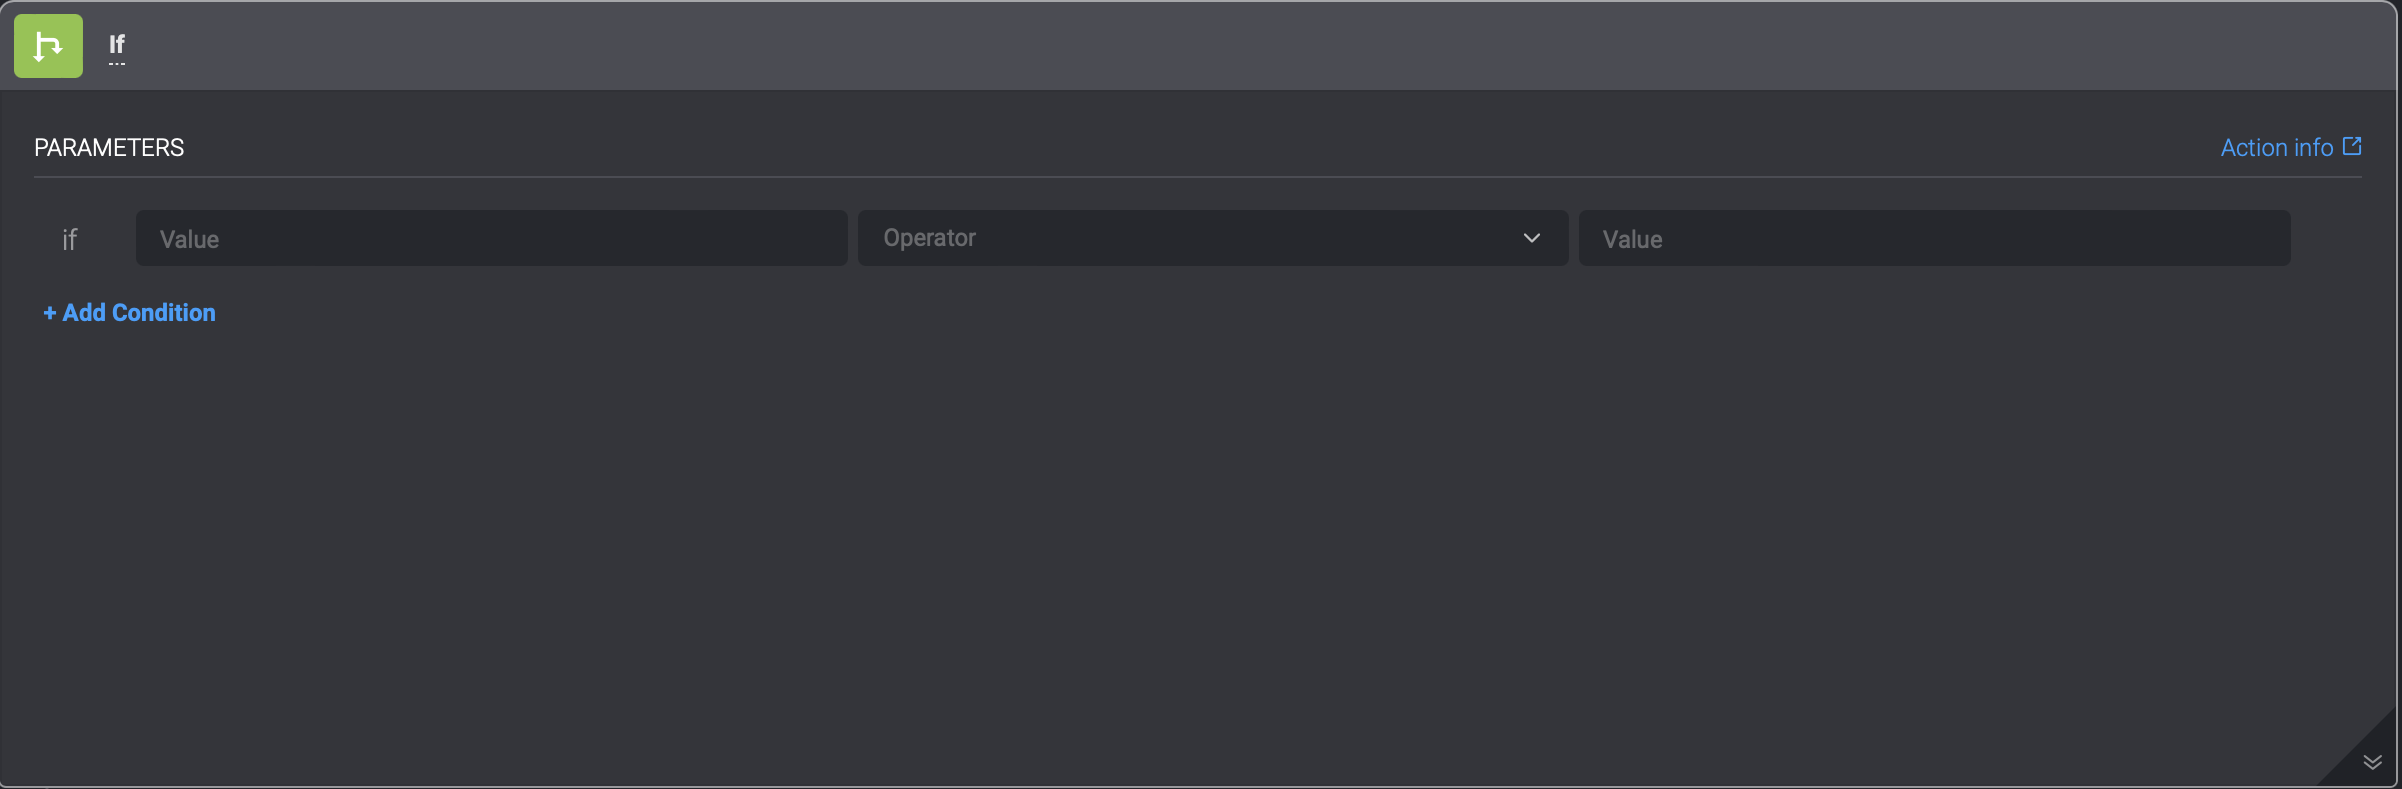
You can use this builder to create the conditions you want to evaluate. If the condition is true the Action specified in the If statement will be executed.
 If else
If you want to execute one set of actions if a condition is true and another if the condition is false, use an If else Action.
 Check If Condition
This Action button allows you to verify if a specific condition is either true or false without running the nested actions.
 Loop
Loop
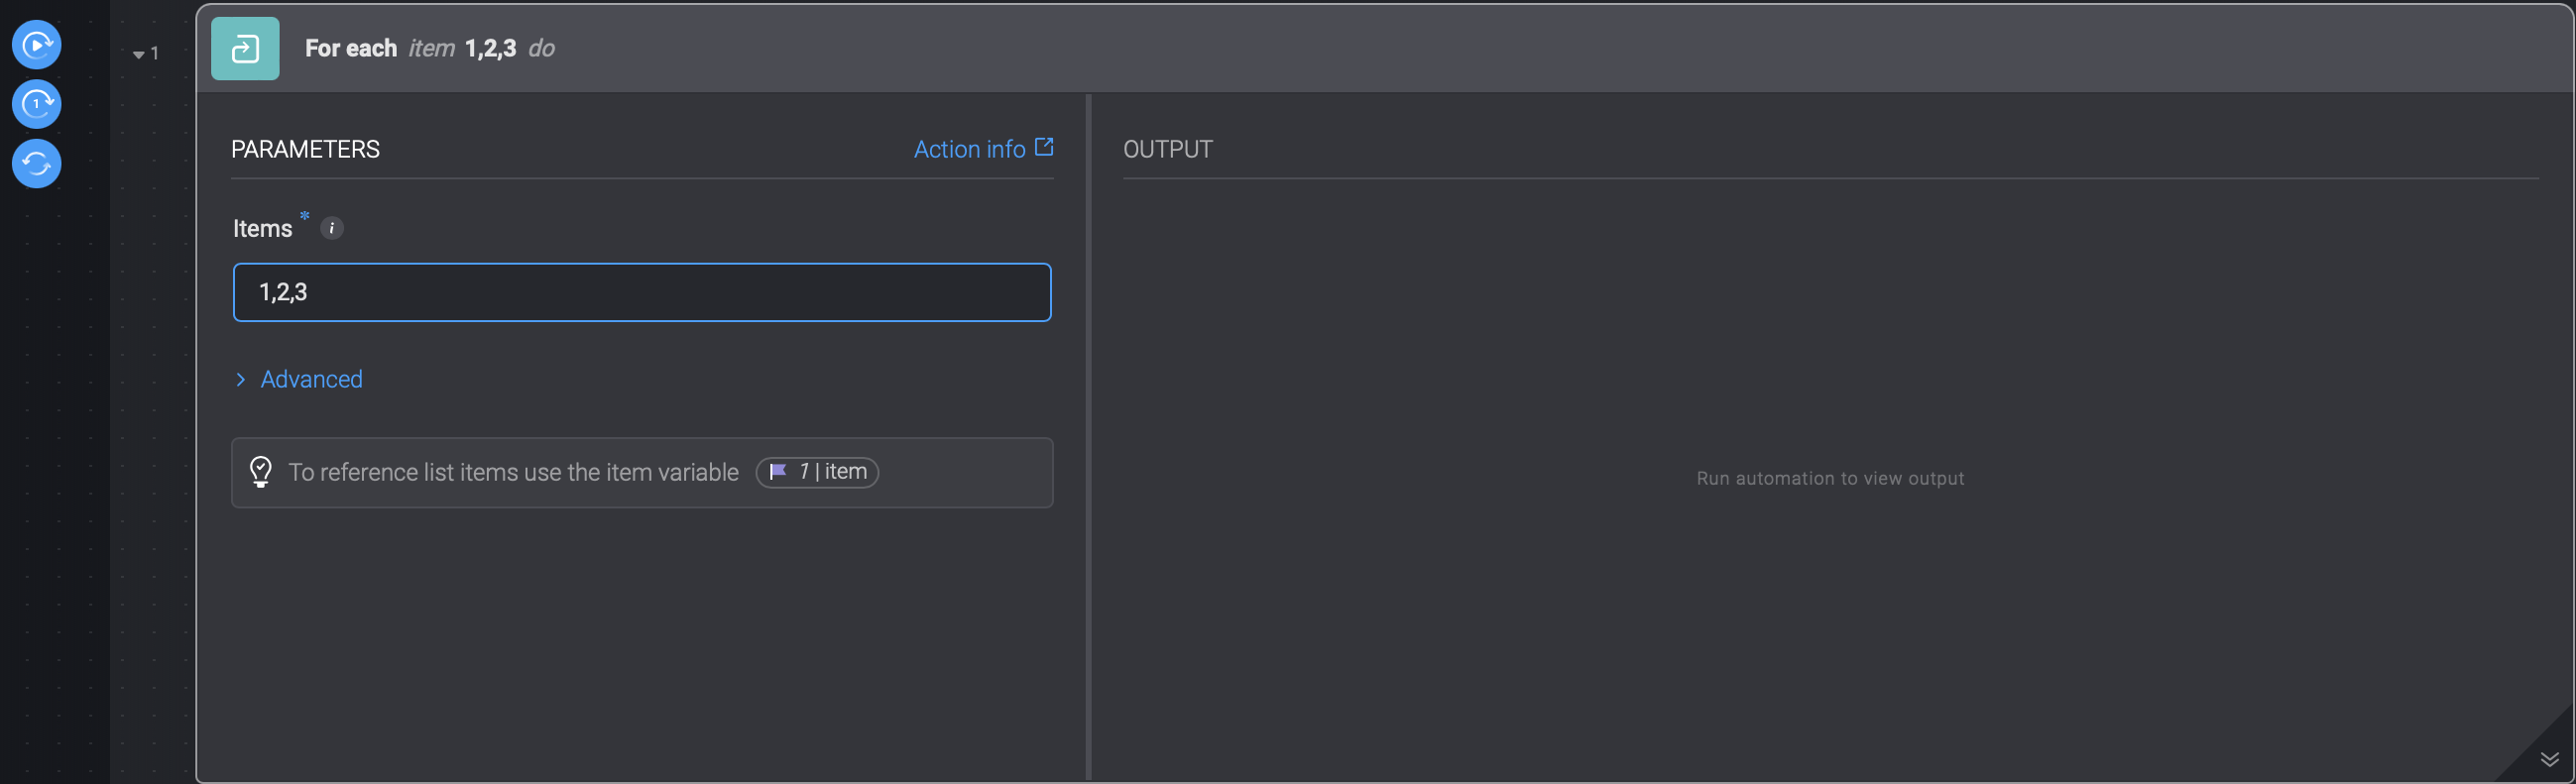
The loop Action enables you to run a Step or multiple Steps for each element in a list.
Referencing an item in a loop
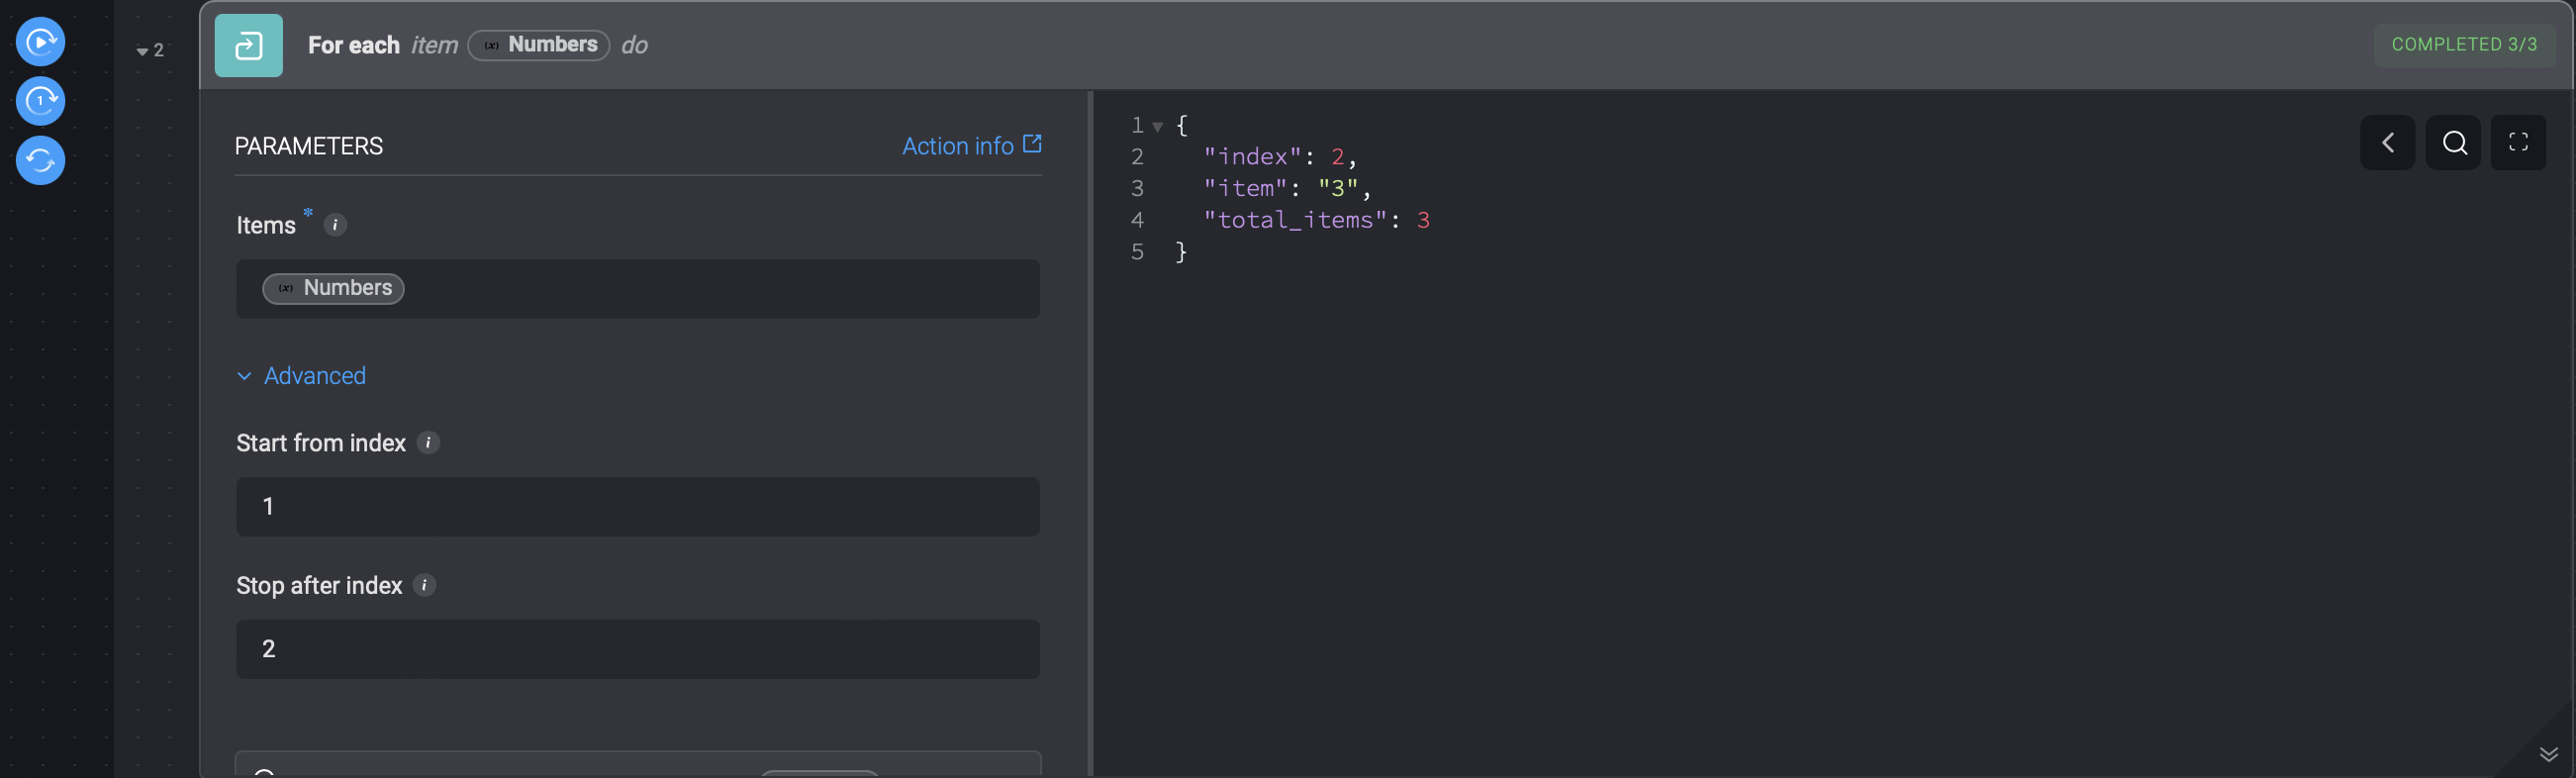
In a loop Action above, we use the {{steps.S1.item}} expression or the variable picker in order to reference the current item being iterated.
To find the item reference in the variable picker, choose the specific loop step (in the case above - S1), and then then item value. During execution, the specified set of steps in the loop will be executed once for each item in the list.
Debugging a loop
In the loop action there are three debugging actions you can use to debug a loop: Run All, Run Next Item and Reset.
The index in a list always starts from 0.
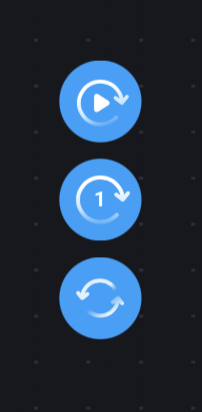
Run All

- The Run All action runs through the entire list once.
Run Next Item
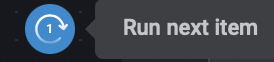
- The Run Next Item action runs the next item in the list when iterating through the list.
Reset

- The Rest Action resets all the changes made when applying any settings to the loop.
Advanced Settings
- Start from Index allows you to start your loop at a specified index in your input list. For Example:

- Stop at Index allows you to end your loop at a specified index in your input list. For Example:
Tooltip
In the following examples, when you enter the advanced settings and hover over the Run All action, a tooltip will appear explaining the starting index and the index the iteration will stop at. Similarly, when you hover over the Run Next Index action, a tooltip will appear explaining the index that will run next.
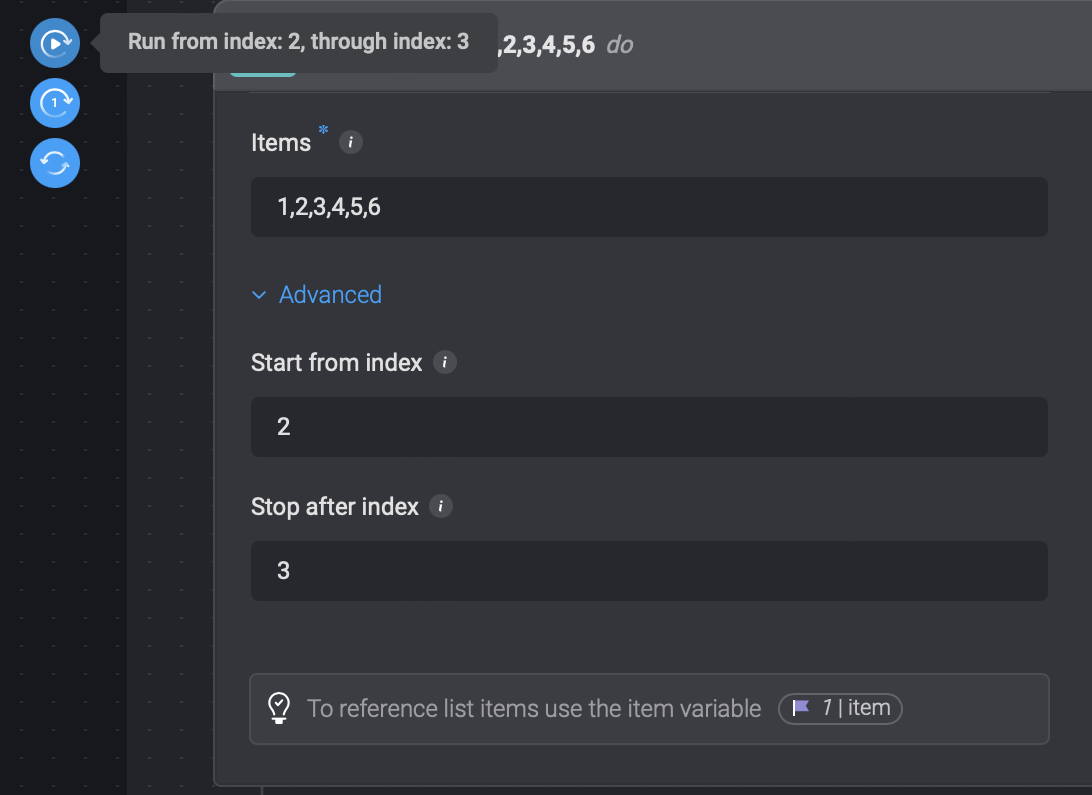
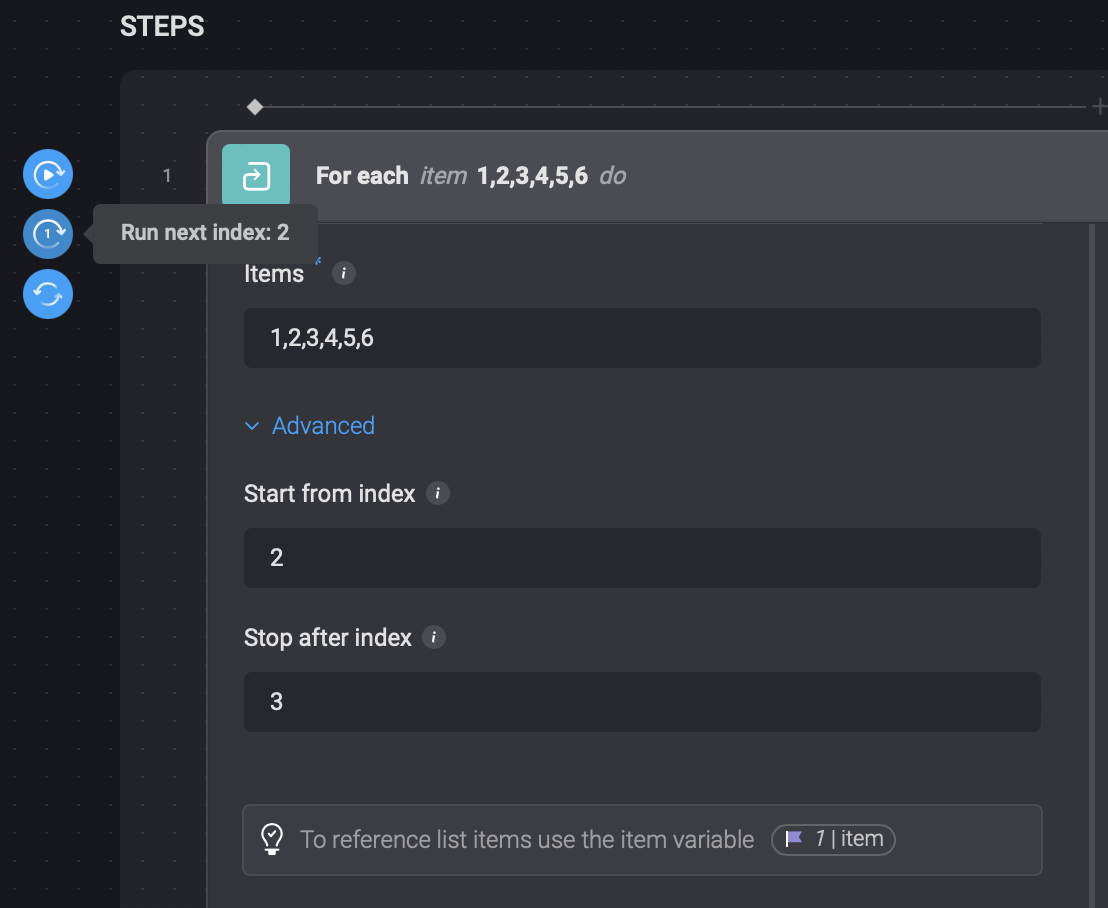
Please note when using the Run All or the Run Next Item action and an advanced setting has been applied, it will continue iterating through the list based on the previous list index displayed in the output.
For example, if you start the loop iteration in the middle of a list and then choose the Run All action, it won't restart the loop from the beginning of the list. Instead, it will resume the loop from where you left off.
The Start from Index and the Stop at Index advanced settings are applied in both edit mode as well as run time.
Keywords
- index - refers to the to the specified starting index.
- item - refers to the to the specified stopping index.
- total_items- refers to the total number of items in the list.
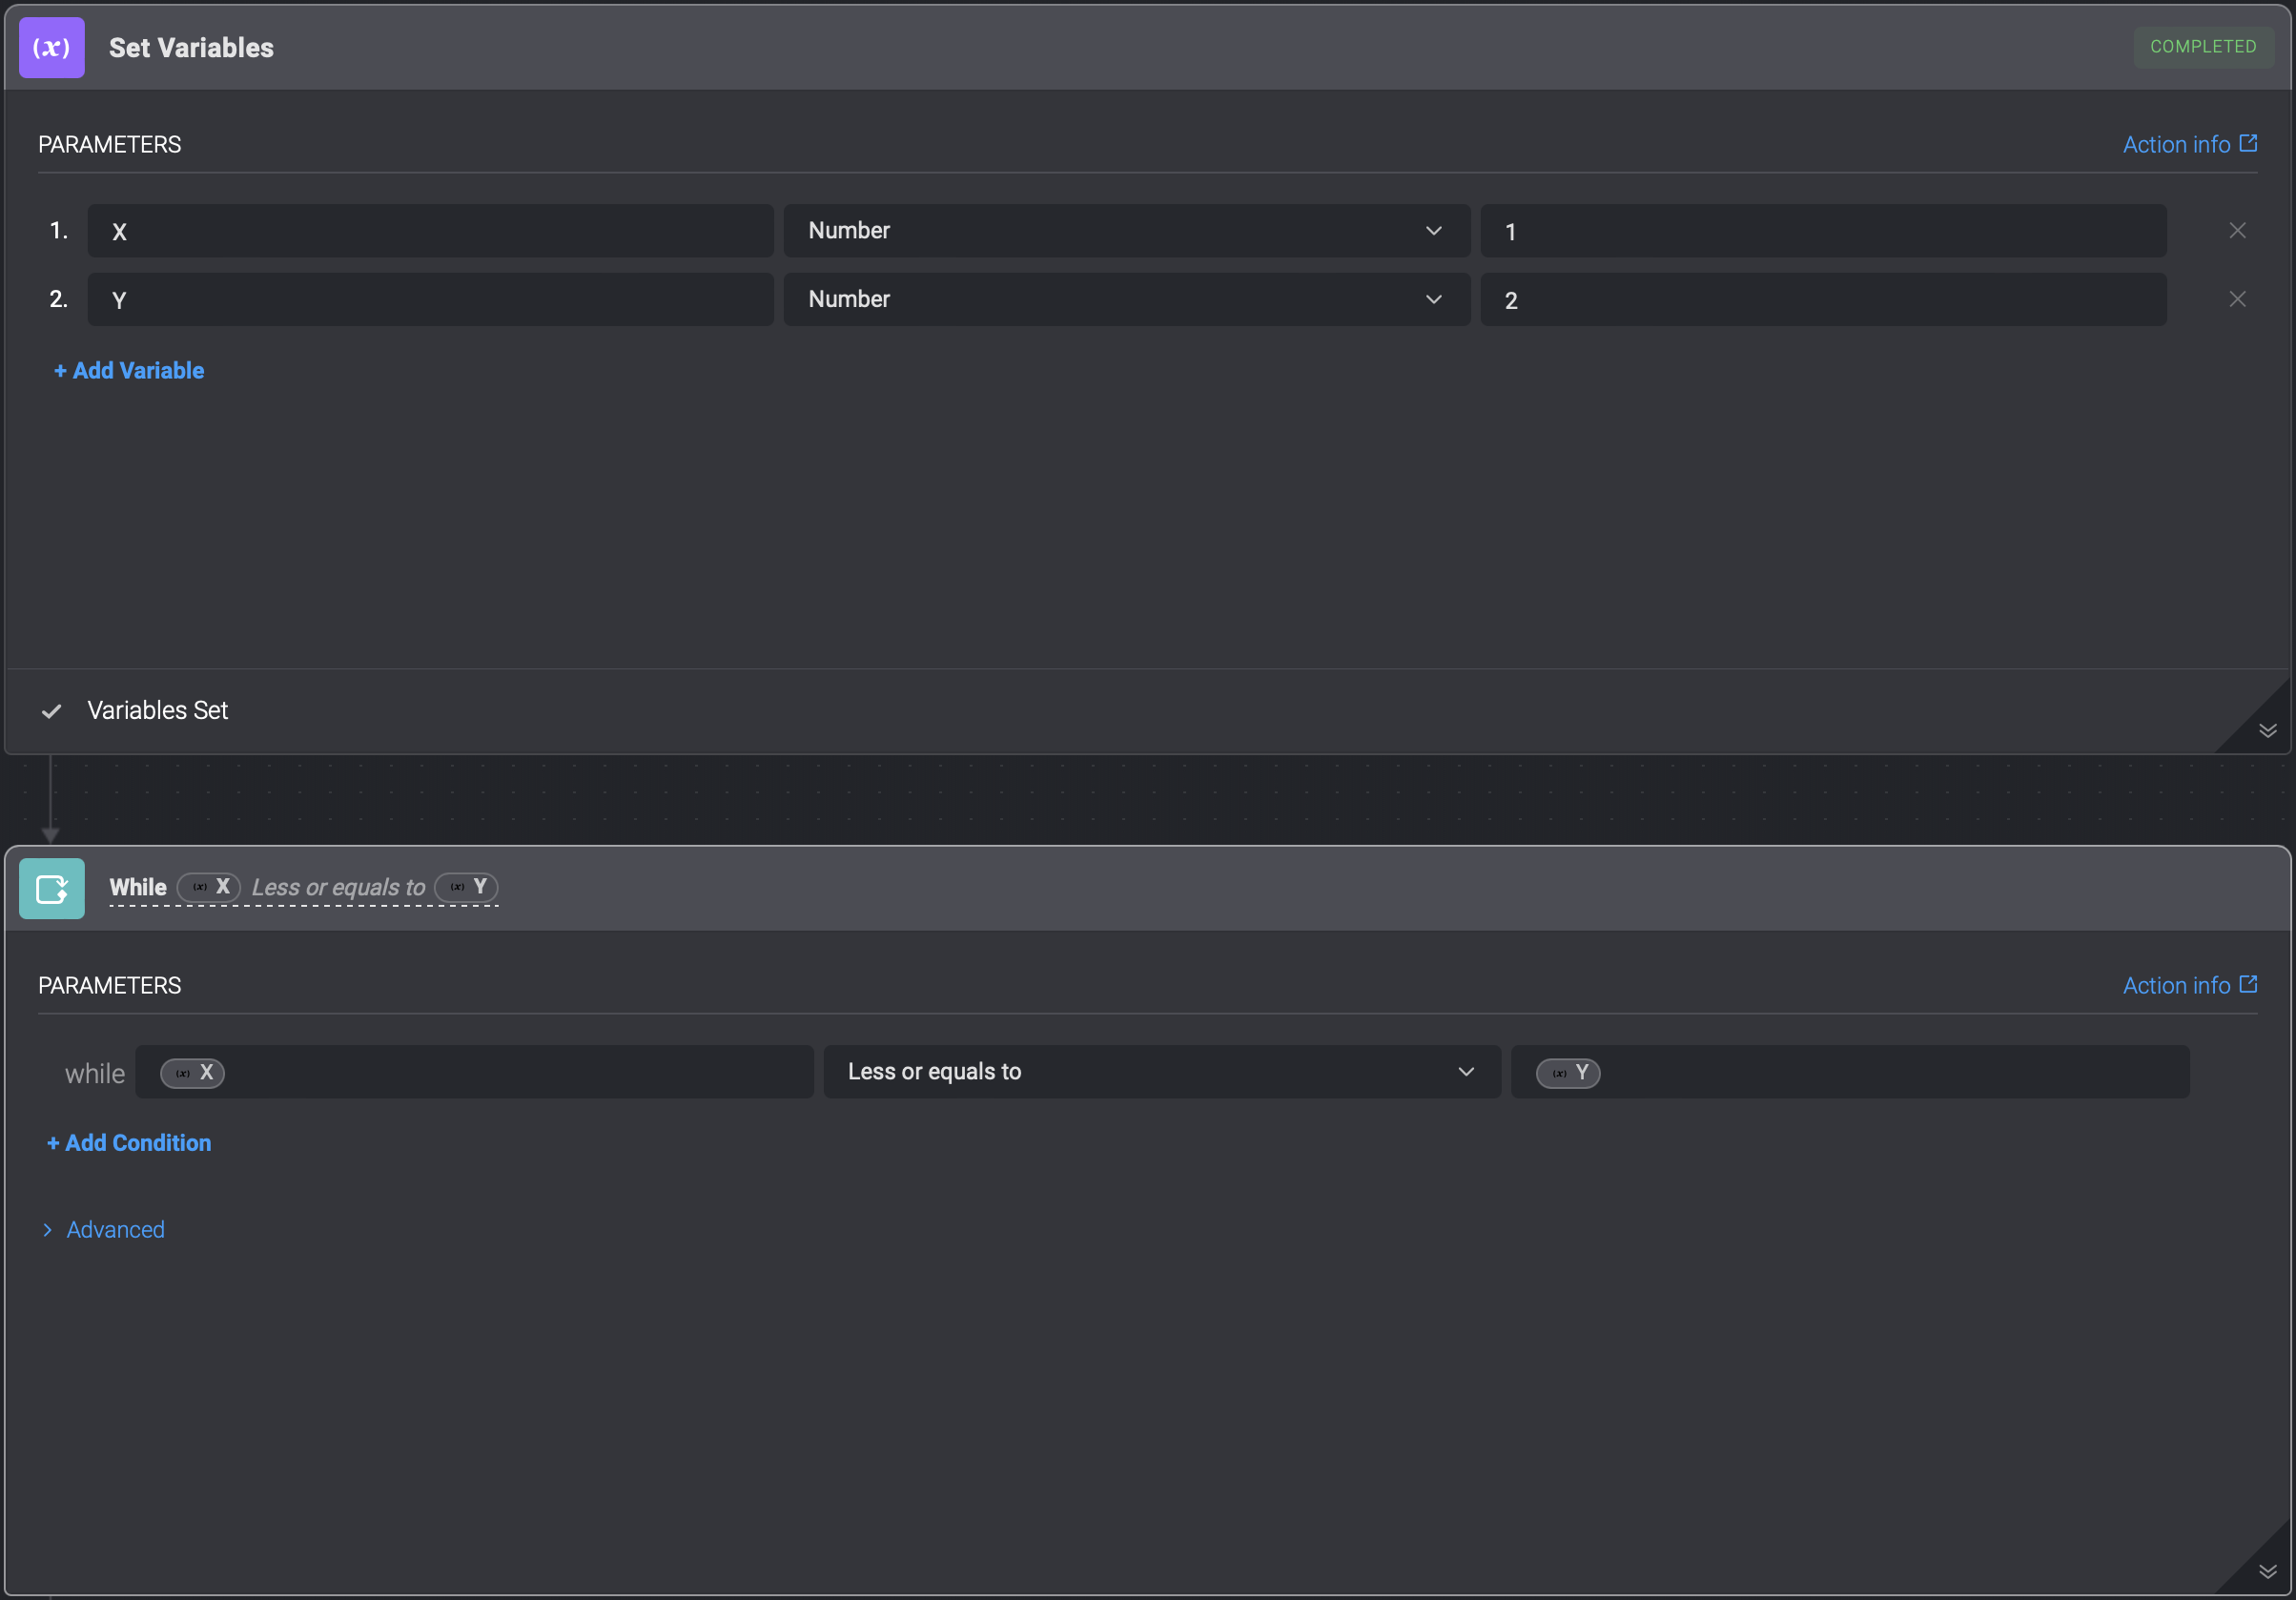
 While Loop
The While Loop Action enables you to run a Step or multiple Steps for as long as specified conditions are met.
The Do-While Loop
The While Loop Action has an advanced option that allows you to execute your loop as a Do-while loop instead of a While Loop.
A Do-while loop ensures a step or multiple steps are executed at least once. After the initial execution, it repeatedly runs the subsequent steps of code for as long as the specified conditions are met.

The Advanced option also allows you to enter the maximum amount of iterations you would like your While Loop or Do-while loop to carry out.

 Set variables
The set variables Action enables users to define variables and use them in the execution of the Automation. These variables are not exposed as parameters of the Automation. Refer to input parameters to define input for an Automation.
Defining and using variables:
Drag
onto the Automation canvas create a "set variables" Step.Select a variable type (boolean, numeric, string, or list.)
Enter a name for the variable.
Set the value for the variable. If not set, the default values are as follows:
Variable type Default value Boolean False Numeric 0 String "" List [] Note: Lists can be comma-separated or in JSON list format.
Click the 'Add Variable' button to add more variables
Use the variables in a different Step using expression language. For example:
{{variables.my_variable}}.
 Switch Case
The Switch Case action allows you to compare a given value with a series of possible values and execute different blocks of actions based on the matching case value.
| Field type | Description |
|---|---|
| Switch case | The Switch Case includes a Switch Variable which is compared to a list of case values. If any of these case values matches the Switch Variable, it prompts the execution of a particular block of actions associated with that matching case value. |
| Case | Each Case is a value that is compared against the Switch Variable. If the value of the Switch Variable matches a Case value, the corresponding block of actions associated with that Case will be executed. |
| Action | Within each case, you can choose any set ofActions to be performed. |
| Case Default | The default case serves as a default output option and comes into play when the Switch Variable does not match any of the other Case values. |
Switch Case Example
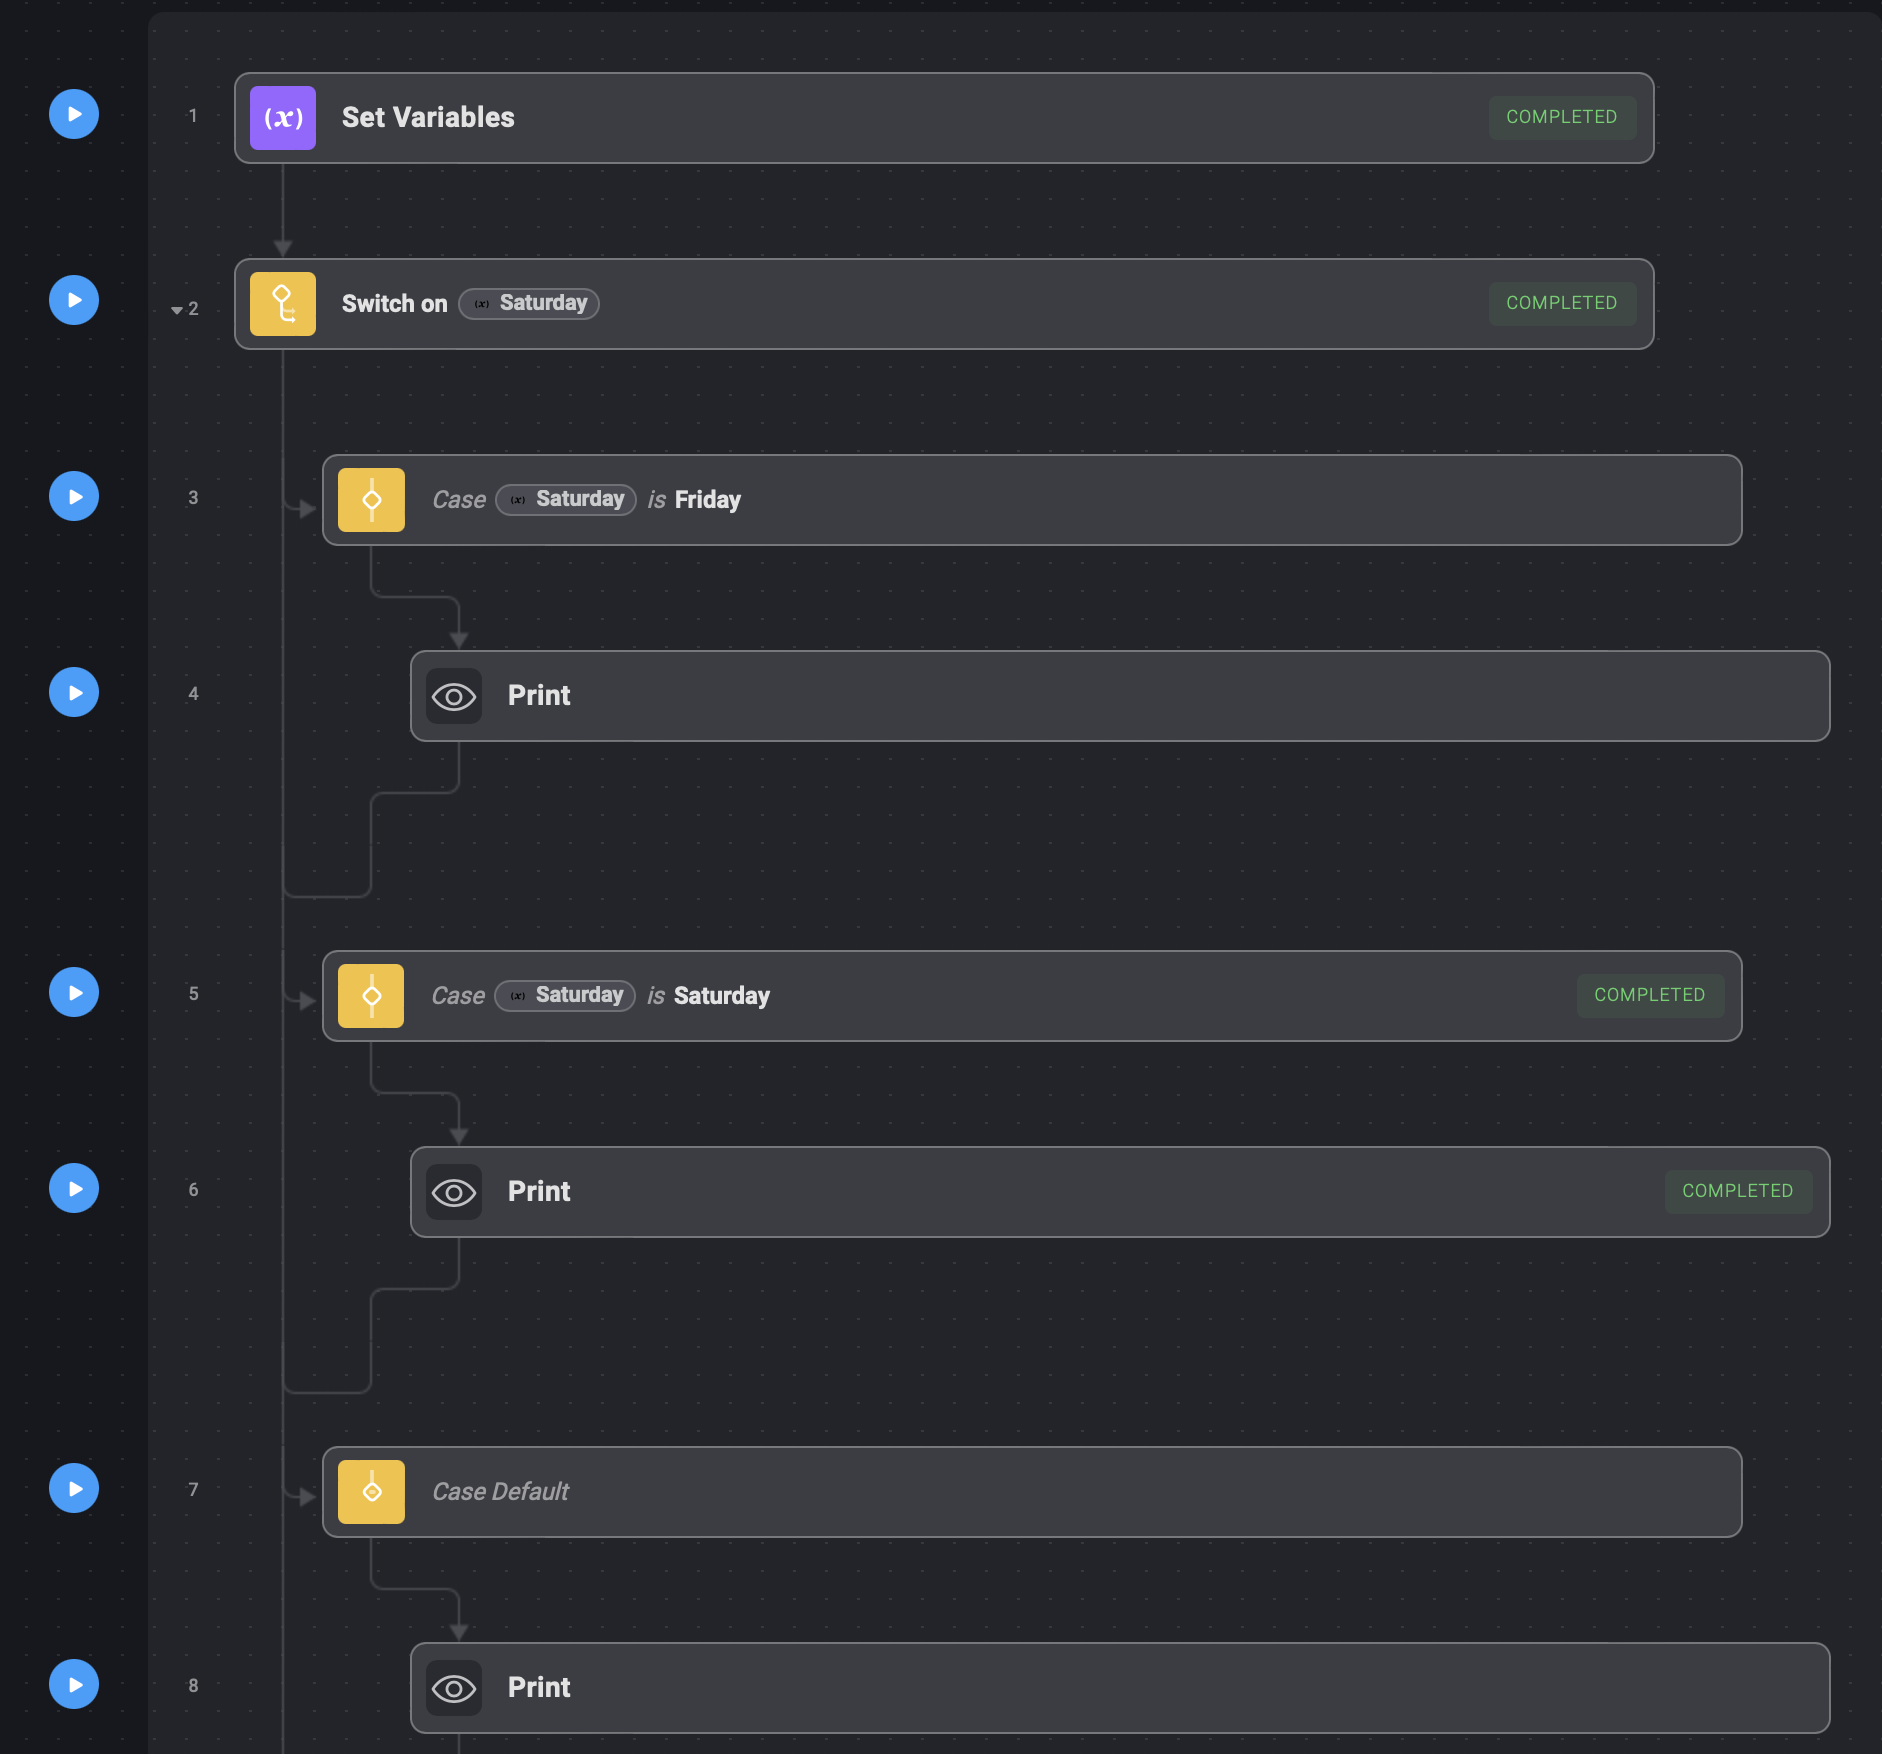
In the above automation example, the appropriate Case Action will be executed based on the matching values between the Case value and the Switch Variable value.
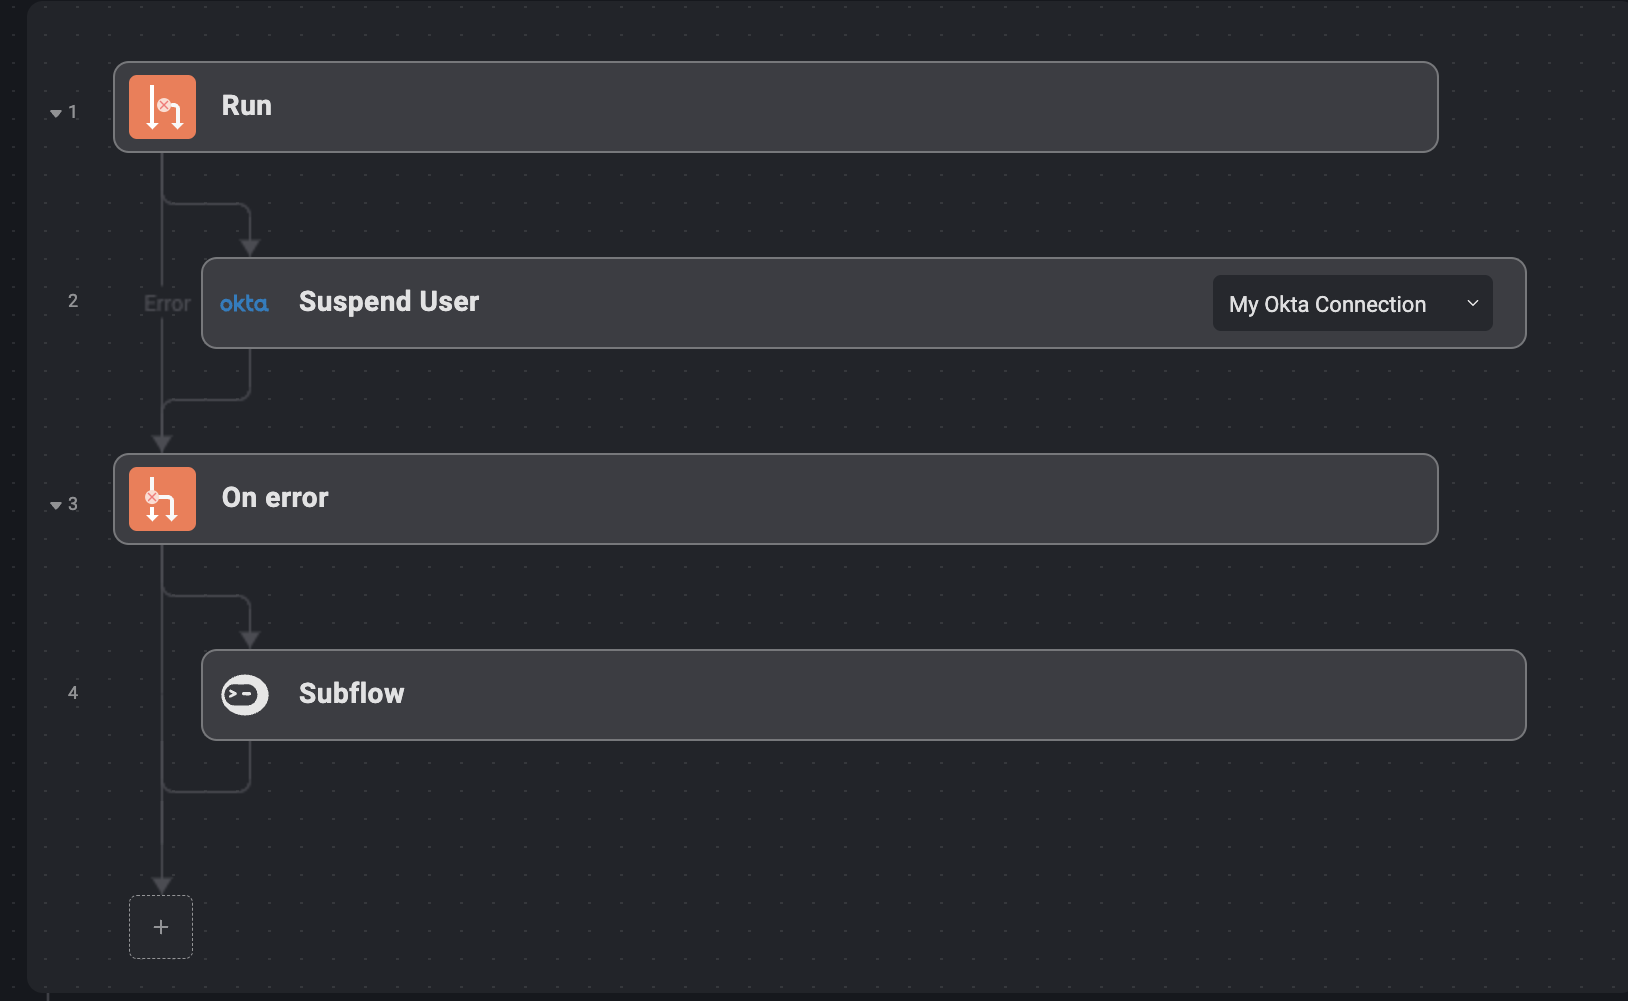
 Run - On Error
The Run - On Error flow control is used to handle errors that might occur during the execution of a workflow.
The Run - On Error flow control utilizes a dual-step structure, consisting of Run and On Error, designed to efficiently manage any errors that might arise while executing actions within the Run phase.
Run: This step is designed for placing action(s) that contributes the overall automation sequence.
On Error: If there is an error during Run block, the flow will automatically shift to the On Error block. In this block, specific actions are taken to address the error. The error JSON object will be made available within the On Error block to assist in handling the error.
If an error occurs in the Run block but is successfully handled in the On-Error block, the workflow will continue to run after the executing the On-Error block. However, if errors occur in both the Run' and On-Error blocks, then the automation will fail.
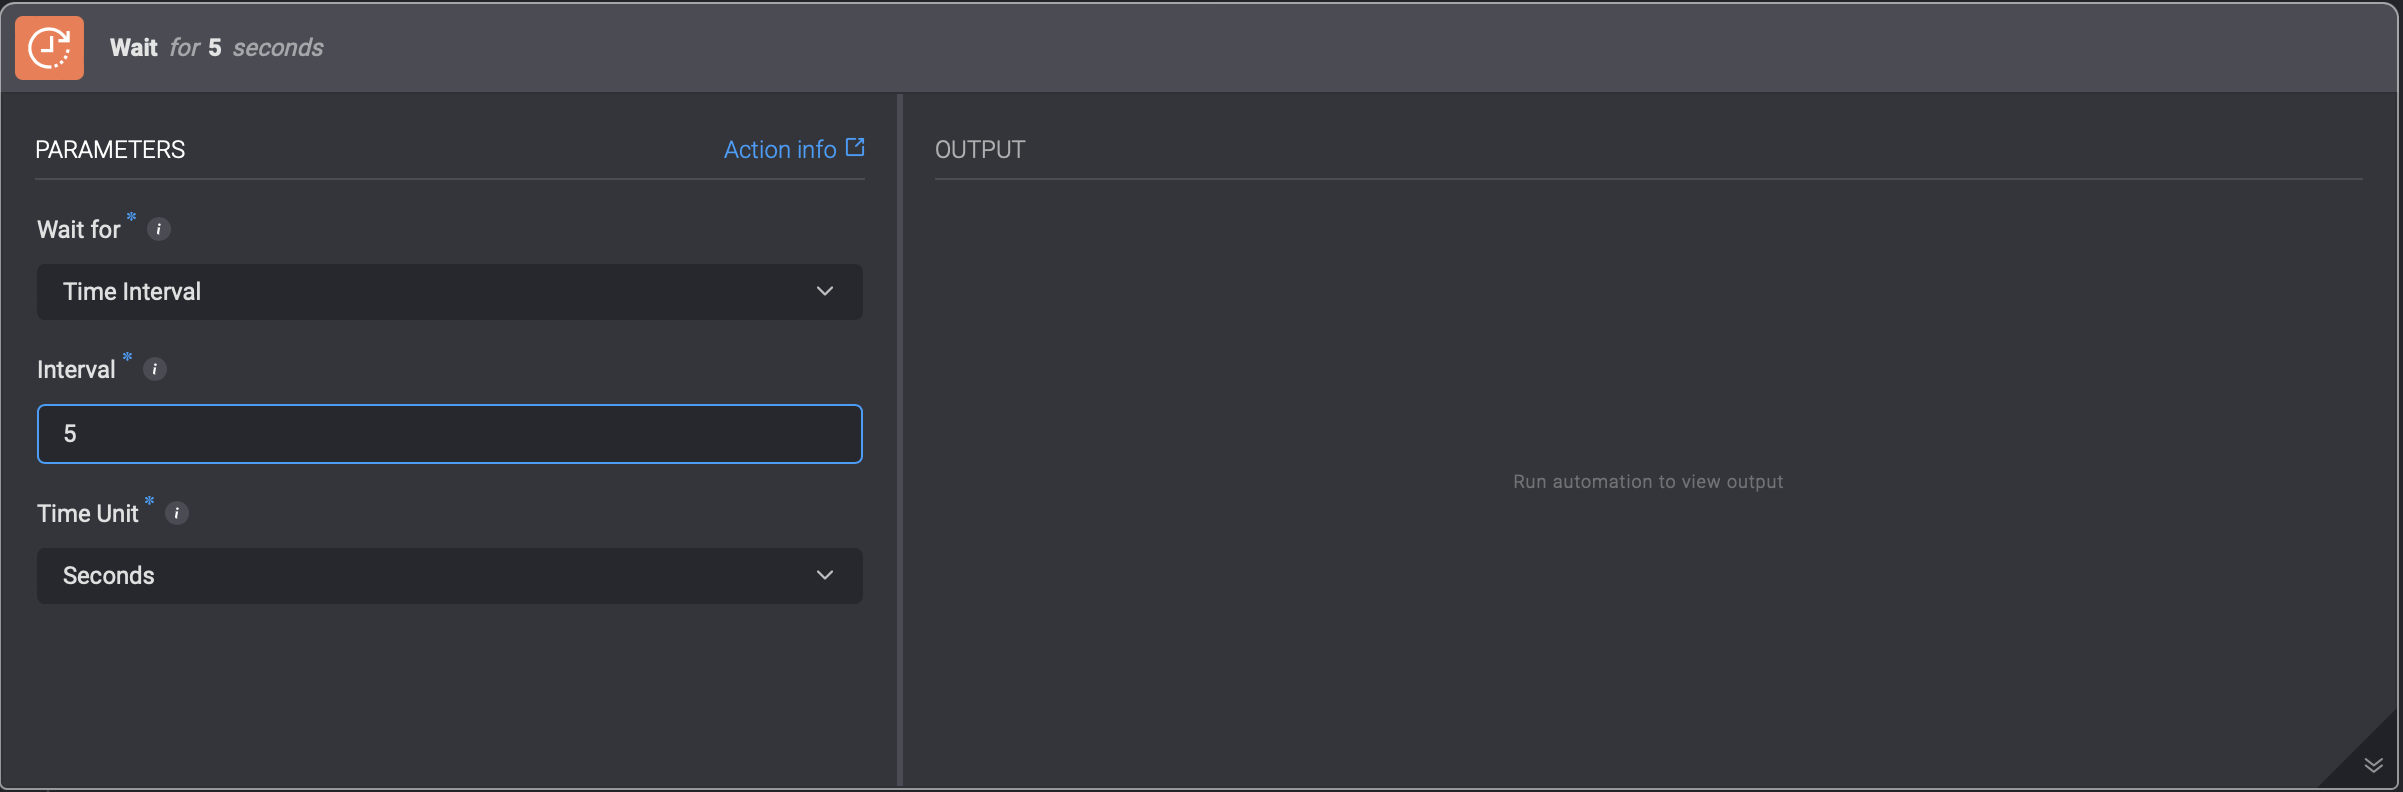
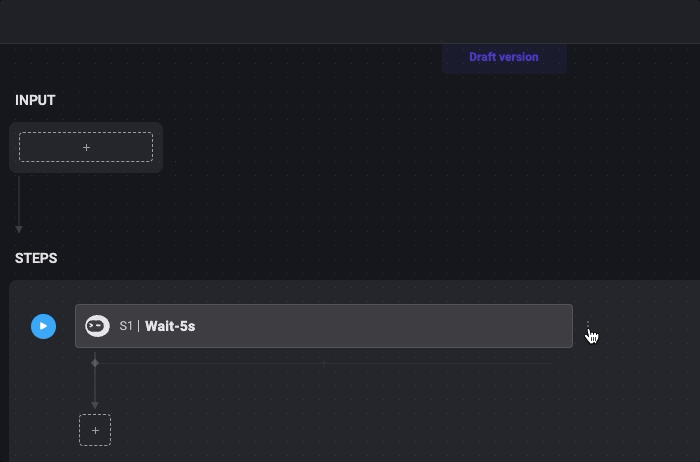
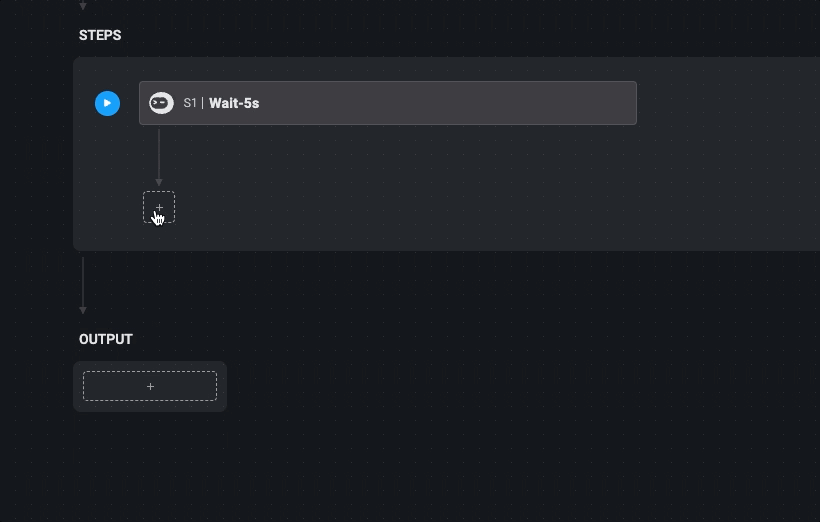
 Wait
Wait
The wait Action has two modes of operation. Select your mode of operation in the first parameter: Wait for.
Wait for Time Interval
This is the default mode for the Wait Action. It directs the Automation to wait a specified amount of time until it continues running. When creating the Step, specify the number of seconds to wait.
Wait for Automation Execution
This mode enables you to wait for steps in your Automation that execute other Automations asynchronously. The Step is paused until all the executions it is waiting for, have finished running. The output of the Wait Action will return details of the executions it is waiting for.
Define an async execution Step by choosing one of your previously defined Automations as a Step. Then go to the Step configuration and select the Run async checkbox. For more information about using Automations as Steps click here
In this mode you are required to choose a scope. The default option is All async automation executions. You can also select to wait for Executions by specifying an Execution ID(s), or a Step ID(s).
 Note
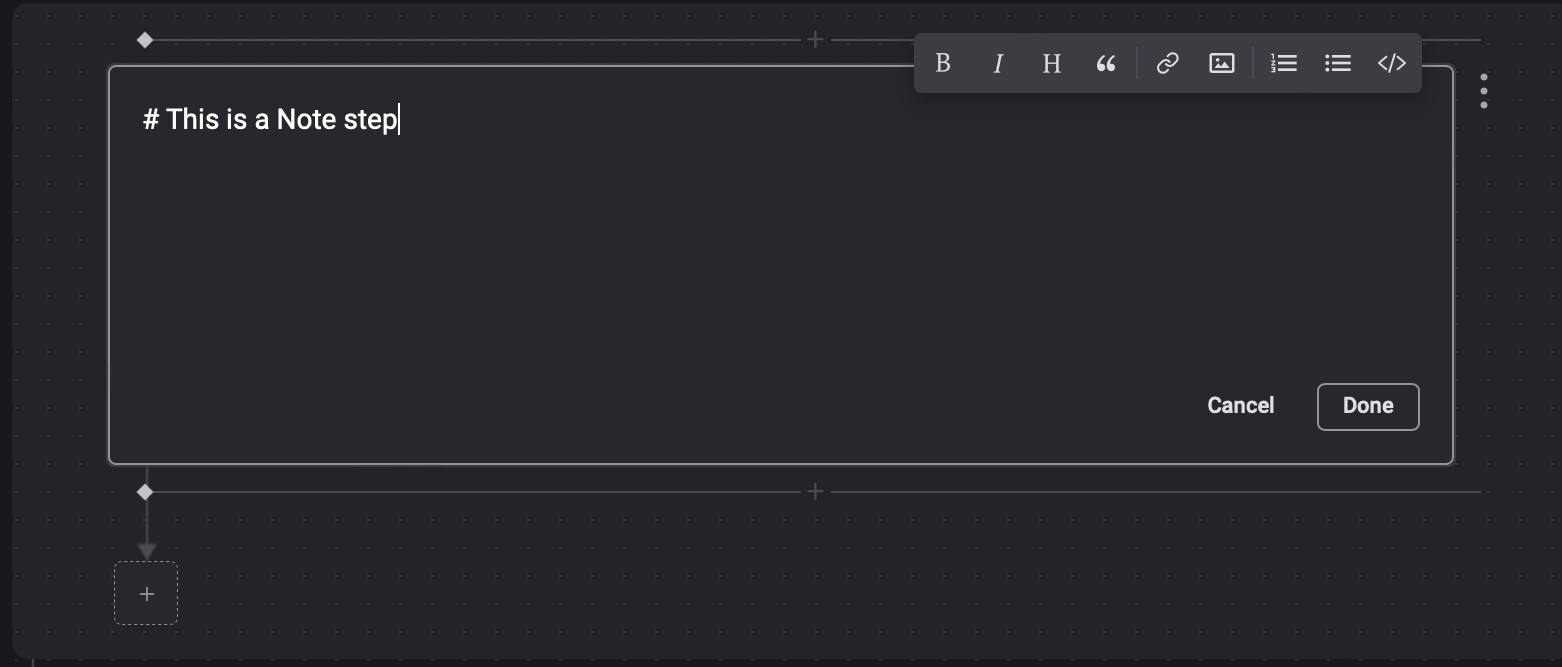
Note
The Note Action is static text that helps to guide the end-user of an Automation.
 End Run
The End Run Action enables you to select the final status of an execution, Completed or Failed.
