Blink Groups
Groups are used to manage groups of users, for example work teams and departments. You can attach a specific role to a group inside a workspace, thus granting access to all group members.
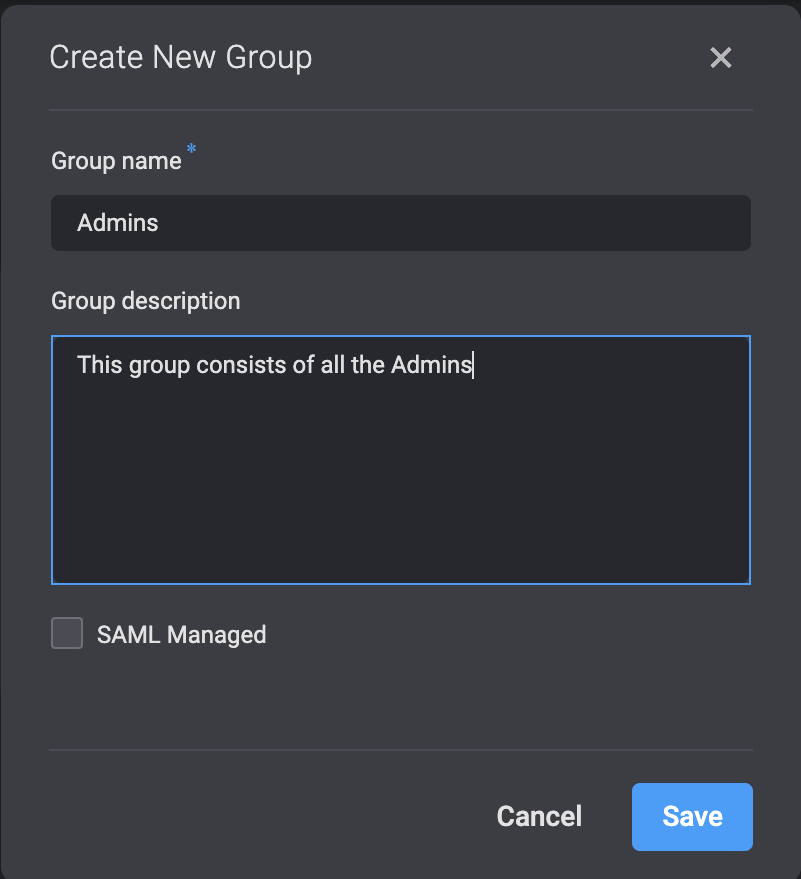
Creating a new group
- Navigate to Account Settings and select the
 icon.
icon. - Click New Group. In the dialog box, fill in the group name and description.
- Then click Save.
Adding a member to a group
Adding a member from the Users tab
- Navigate to Account Settings and select the
 icon.
icon. - Select a user and double click on the Groups column.
- From the dropdown menu, select a group you wish to add the user to.
- Click Add.
Adding a member from the Groups tab
- Navigate to Account Settings and select the icon.
- Select a Group and double click on the Users column.
- From the dropdown menu, select a user you wish to add to the group.
- Click Add.
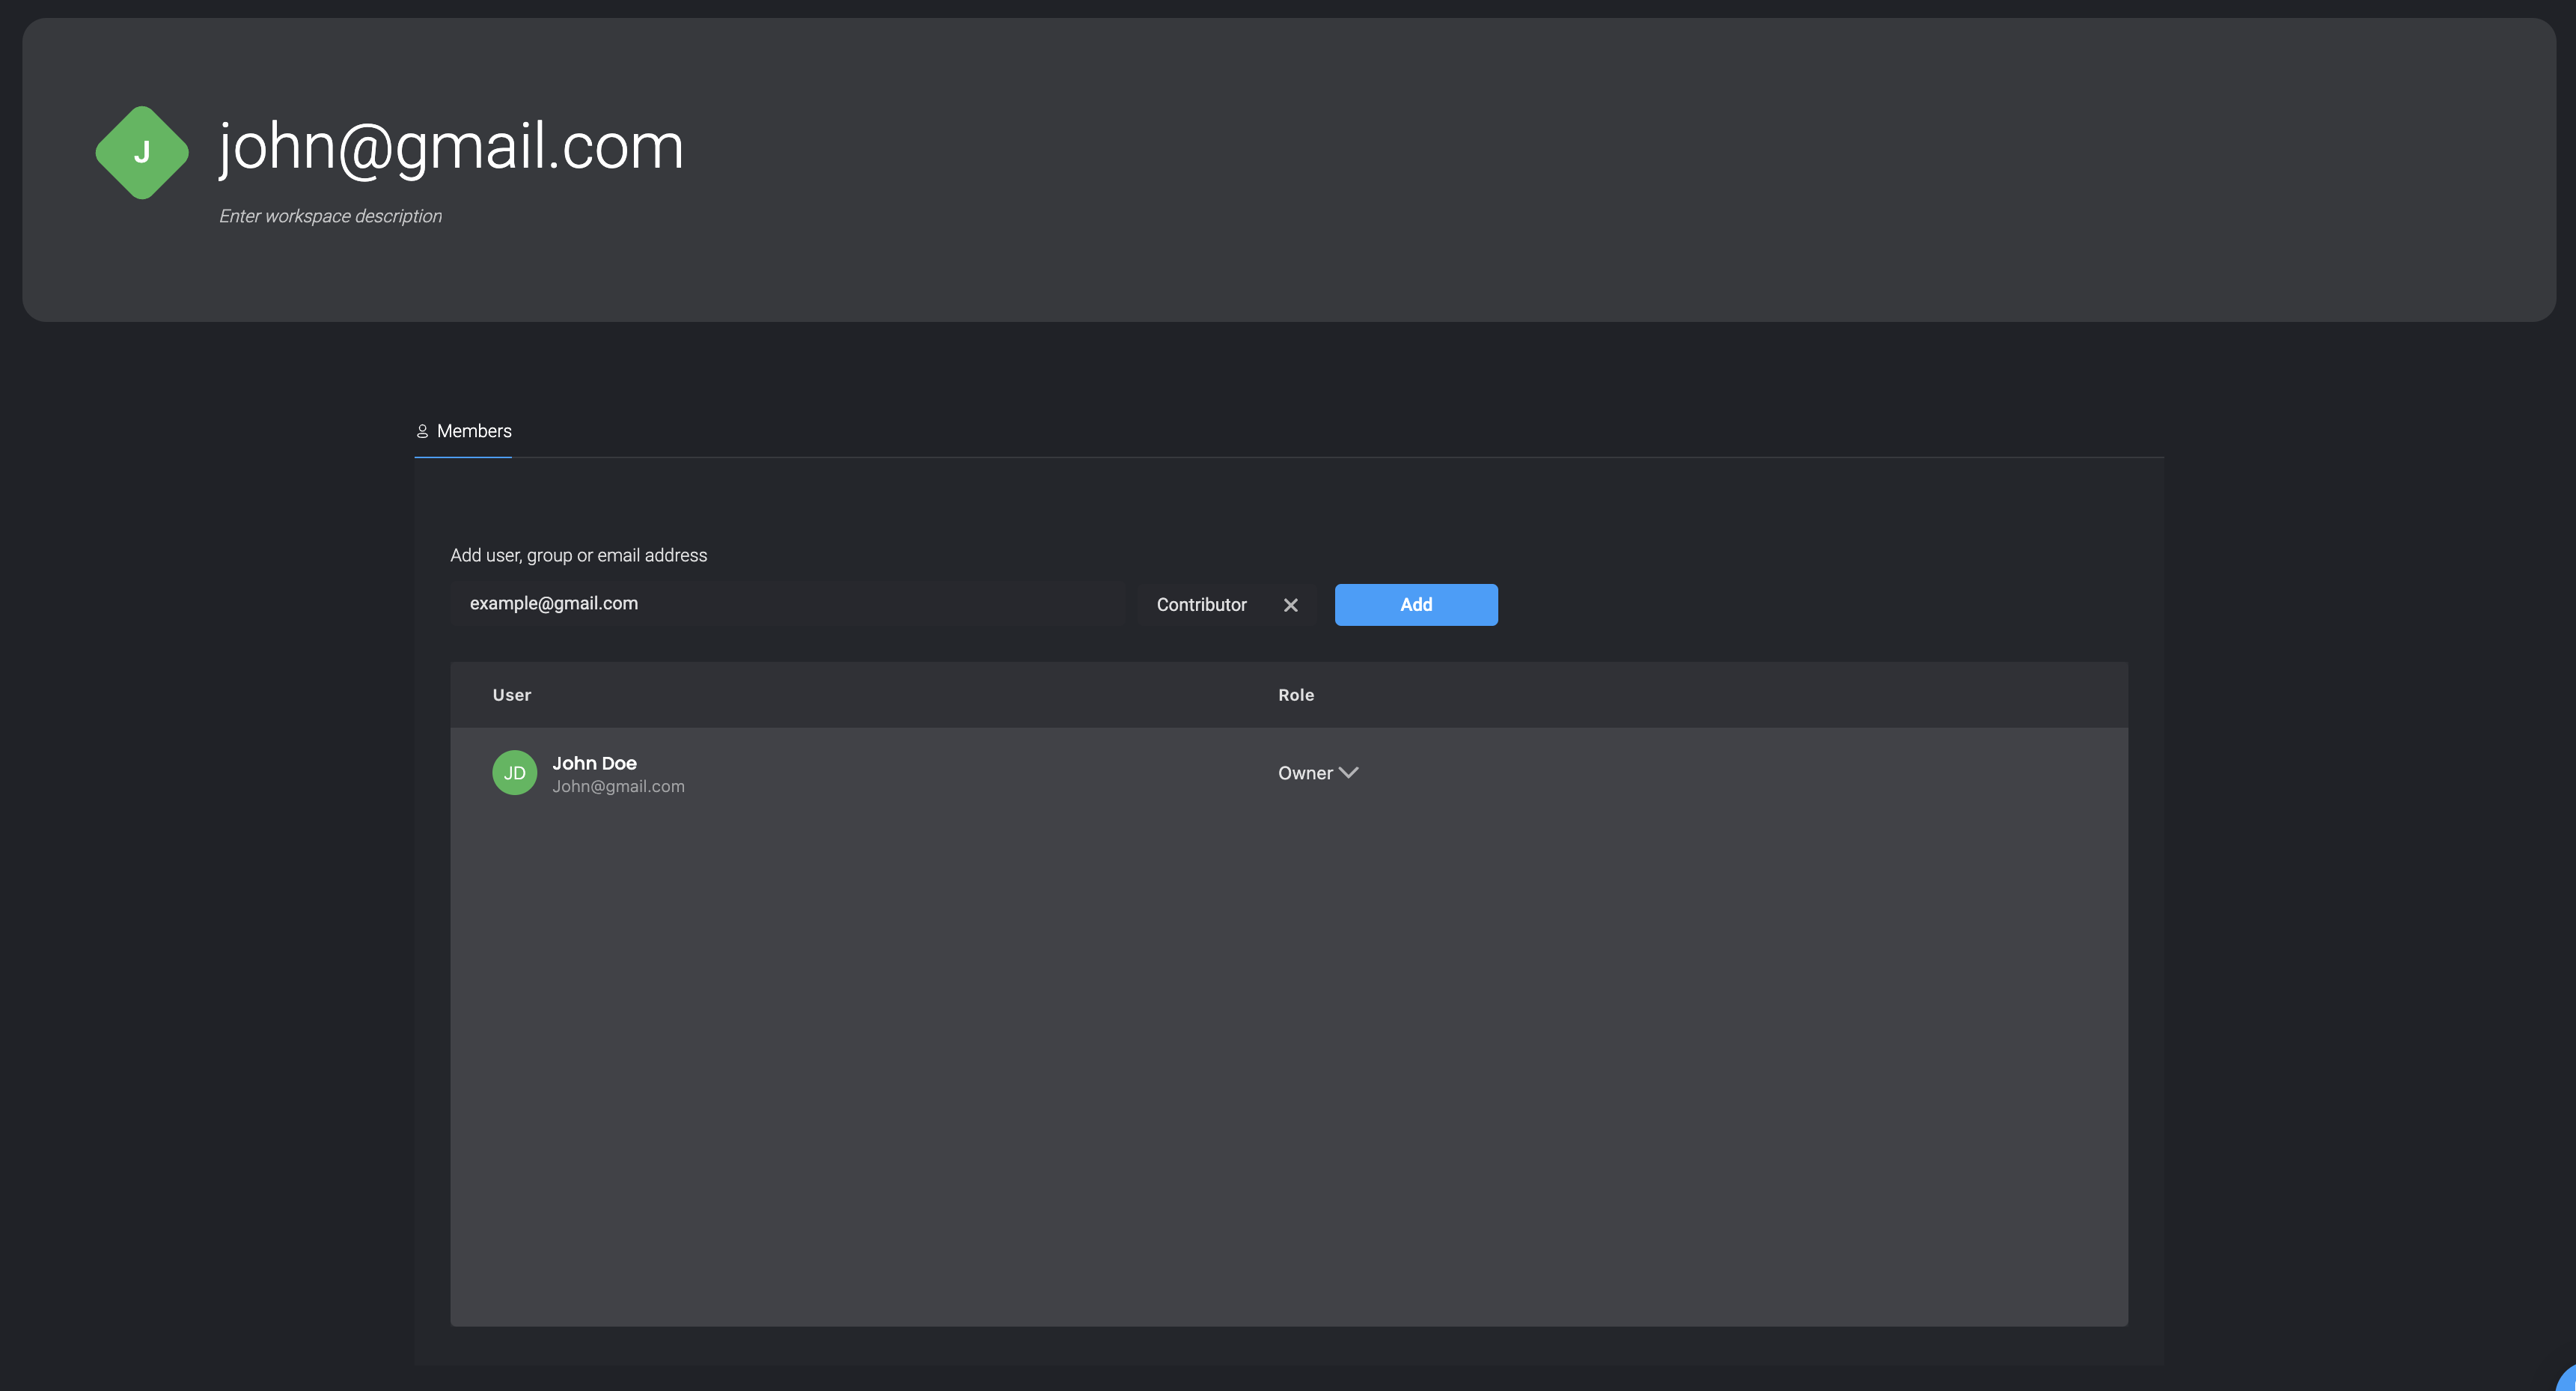
Adding groups to a workspace
- Click
 to navigate to the Workspaces Settings.
 - In the empty text field invite a new member to your workspace by User, Group or Email
- Click Add. The group is added to the workspace.