Blink Users
Each company using Blink has a separate account, completely isolated from all other accounts. Only Admin users can invite new users, add, and remove users from groups.
Users must be added to the account before they can use the Blink platform. An admin can invite a user to an account and then immediately add the user to groups and workspaces, and define a user role. As soon as the new user accepts the invitation, its workspaces, groups and roles are already set up, enabling the user to smoothly start working with the platform.
Inviting a new user
Inviting a new user from the Users Screen
Click
 on bottom left corner > Account Settings.
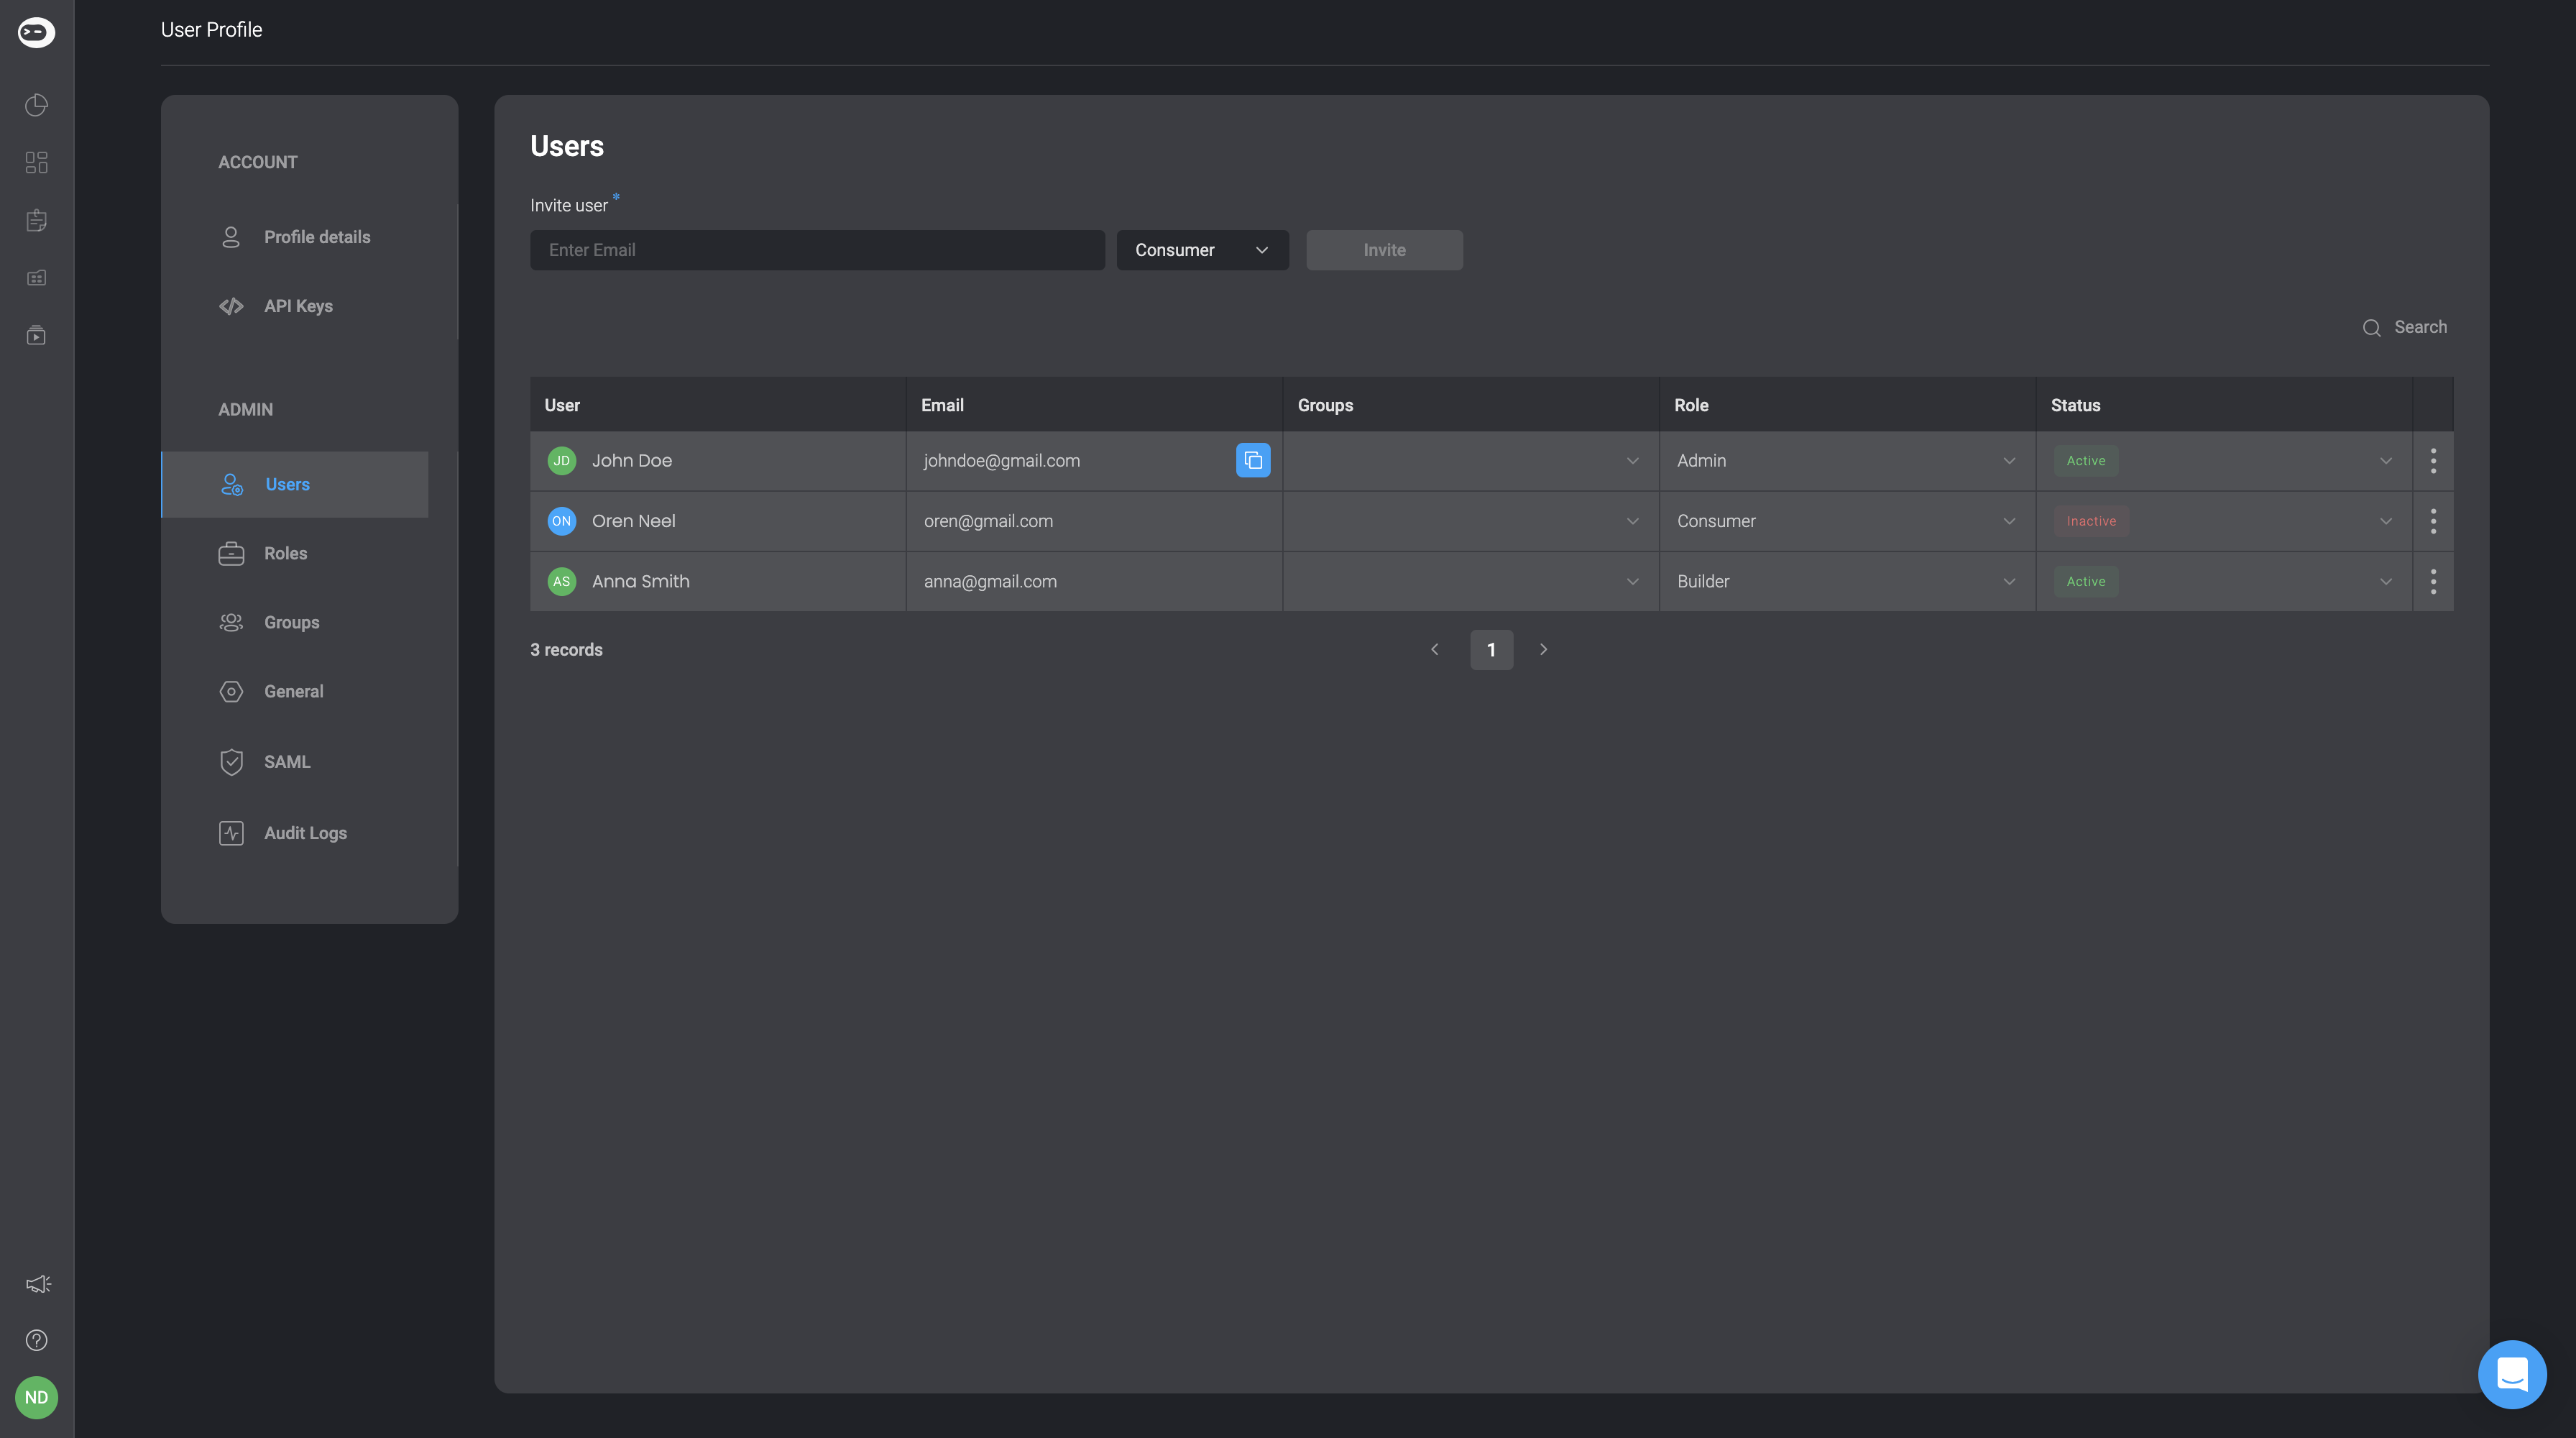
In Users , under the Invite Users heading define the email address of the new user. The user will receive an email invite and once accepted, appear in the member list of the account. There are three types of users:
- Admin: As an Admin, you have full access to all workspaces as well as control over all settings across the Blink Platform.
- Consumer: As a Consumer, you have full access to the self-service portal as well as read and write permissions in the user's Workspaces.
- Builder: As a Builder, you have complete access to read, write, and execute permissions within the user's Workspaces.
Checking the status of a member of your account
A member can have one of the following statuses:
| User status | Description | Admin actions available |
|---|---|---|
| Active | The user has signed up to Blink. | Deactivate user, remove user or check which groups the user belongs to. |
| Inactive | The user is blocked from Blink. | Re-activate. |
| Invited | The user is invited to Blink. | Re-send or cancel the invite. |
The following screenshot shows Admin actions for an inactive user.

The following screenshot shows Admin actions for an invited user.

The following screenshot shows Admin actions for an active user.
