Pack Management
Creating a new Pack
A Pack is a collection of Automations.
- Click on the
 icon in top-right corner of your automations page to create a new pack.
 - Enter a Pack name. The Pack name should reflect the use cases you find inside the Pack.
- Enter a Description. The Pack description should be a summary of the Packs content.

- Click Create. The new Pack will be displayed on your Automations page.
Filtering Your Packs
There are various filtering options available to help you locate the exact pack you are searching for:
| Filter By: | Description | Example |
|---|---|---|
| Pack | You can use the the search bar or checkboxes underneath the search bar to easily filter through and locate the desired pack by its name. | 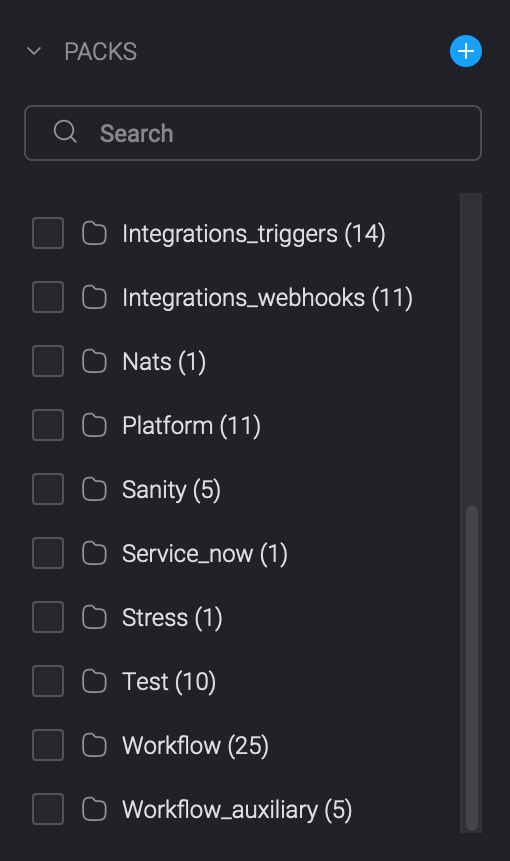 |
| State | You have the option to filter your packs based on the current state of your automations. You can select one of two options: Active or Inactive. | 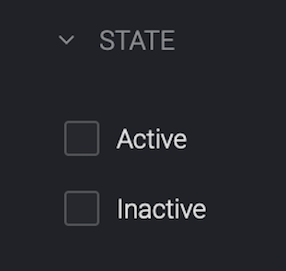 |
| Trigger Type | You have the ability to filter through your packs based on the specific trigger type that was chosen during the automation creation process: Event Based, On-Demand, Scheduled | 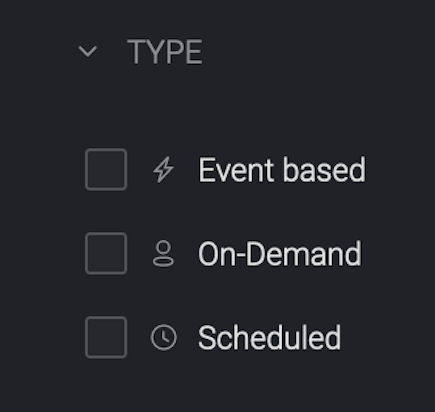 |
| Tags | You can filter through your packs based on the tags you gave to the automations you created. |  |
| Vendors | You have the option to filter your packs by either searching or selecting the vendors utilized within the automations you have created.. | 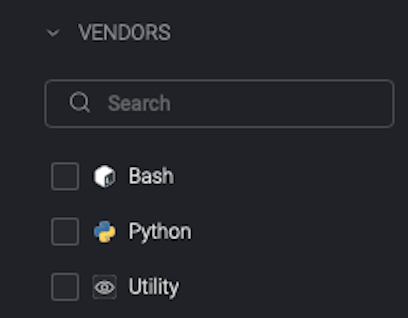 |
To reset the filters that you have applied to your pack for filtering through your packs, you have two options. You can either click the "X" button adjacent to your pack name or you can use the Clear Filter button. 
Deleting a Pack
- Locate the pack you you wish to delete on the automations page and proceed to click on the
 button.
 - A dialogue box will subsequently appear, providing you with the option to either delete or edit the pack.
- Click on Delete pack in order to remove it from your workspace.

Editing a Pack
- Locate the pack you you wish to Edit on the automations page and proceed to click on the button.
- A dialogue box will subsequently appear, providing you with the option to either delete or edit the pack.
- Click on Edit info in order to remove it from your workspace.
- you will be directed to a Edit Pack window where you can edit any information necessary.

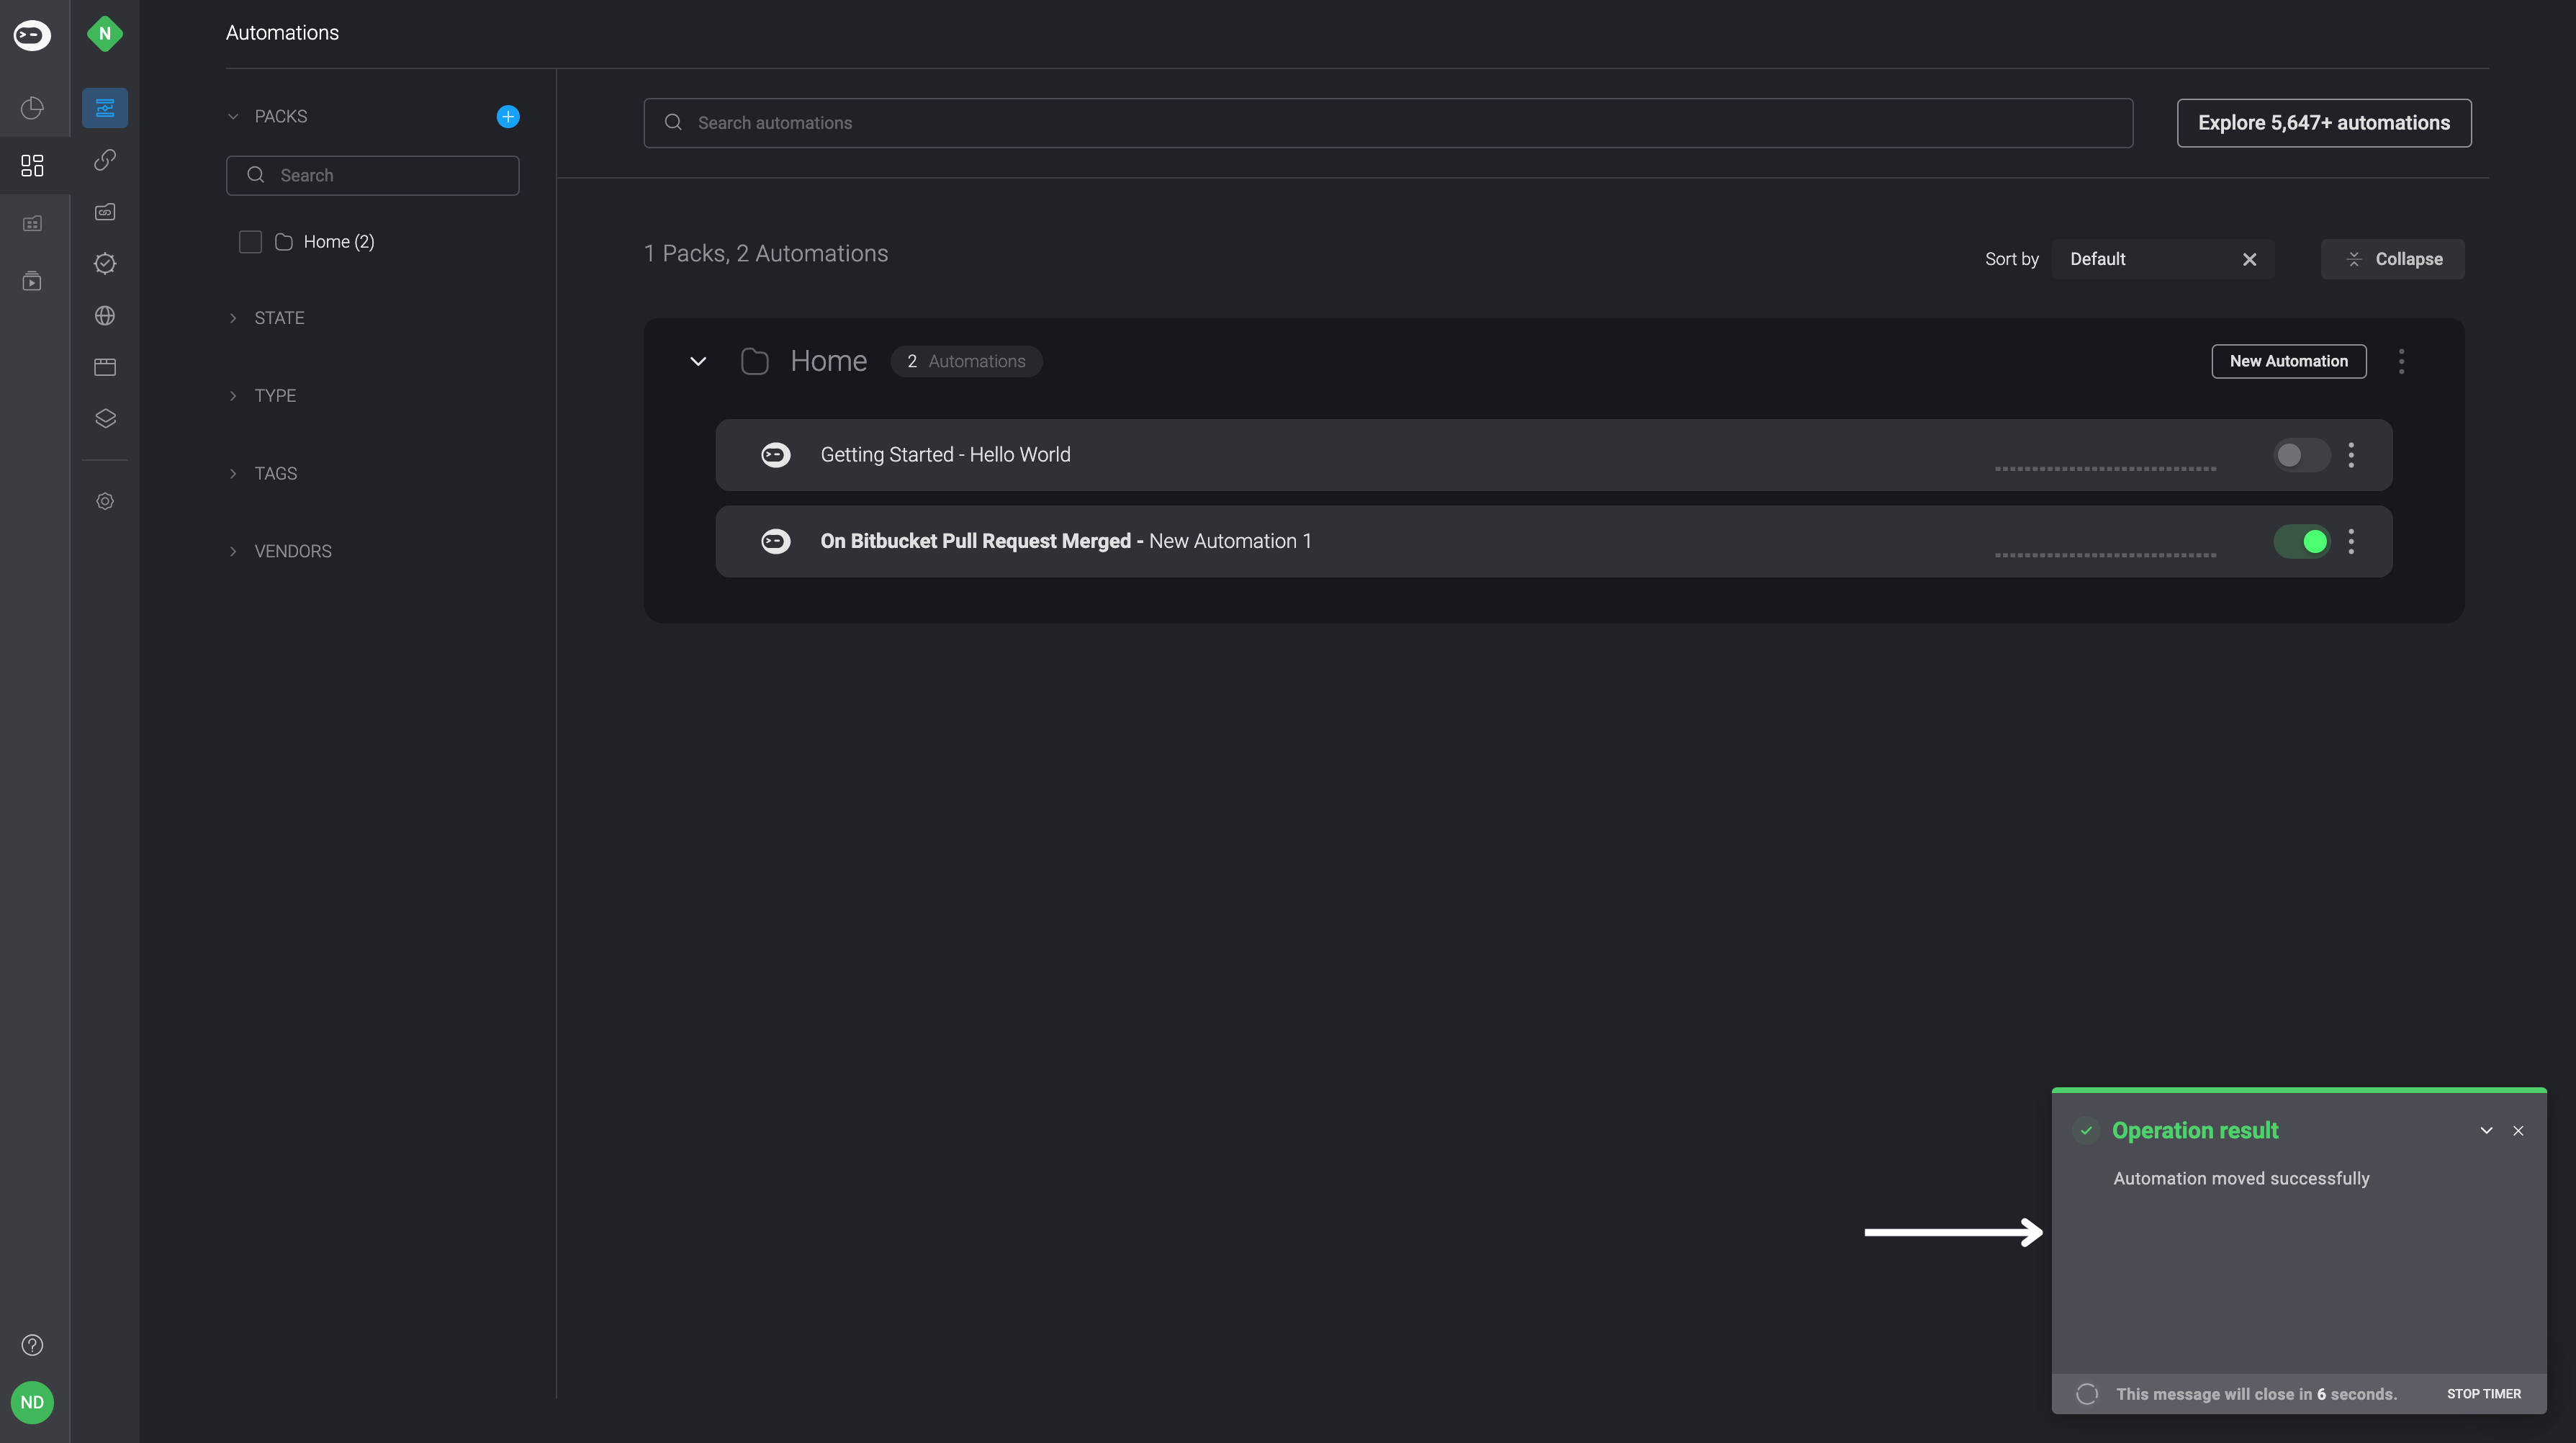
Copy or Move Automations
An Automation can be moved or copied to a pack in the same or different workspace.
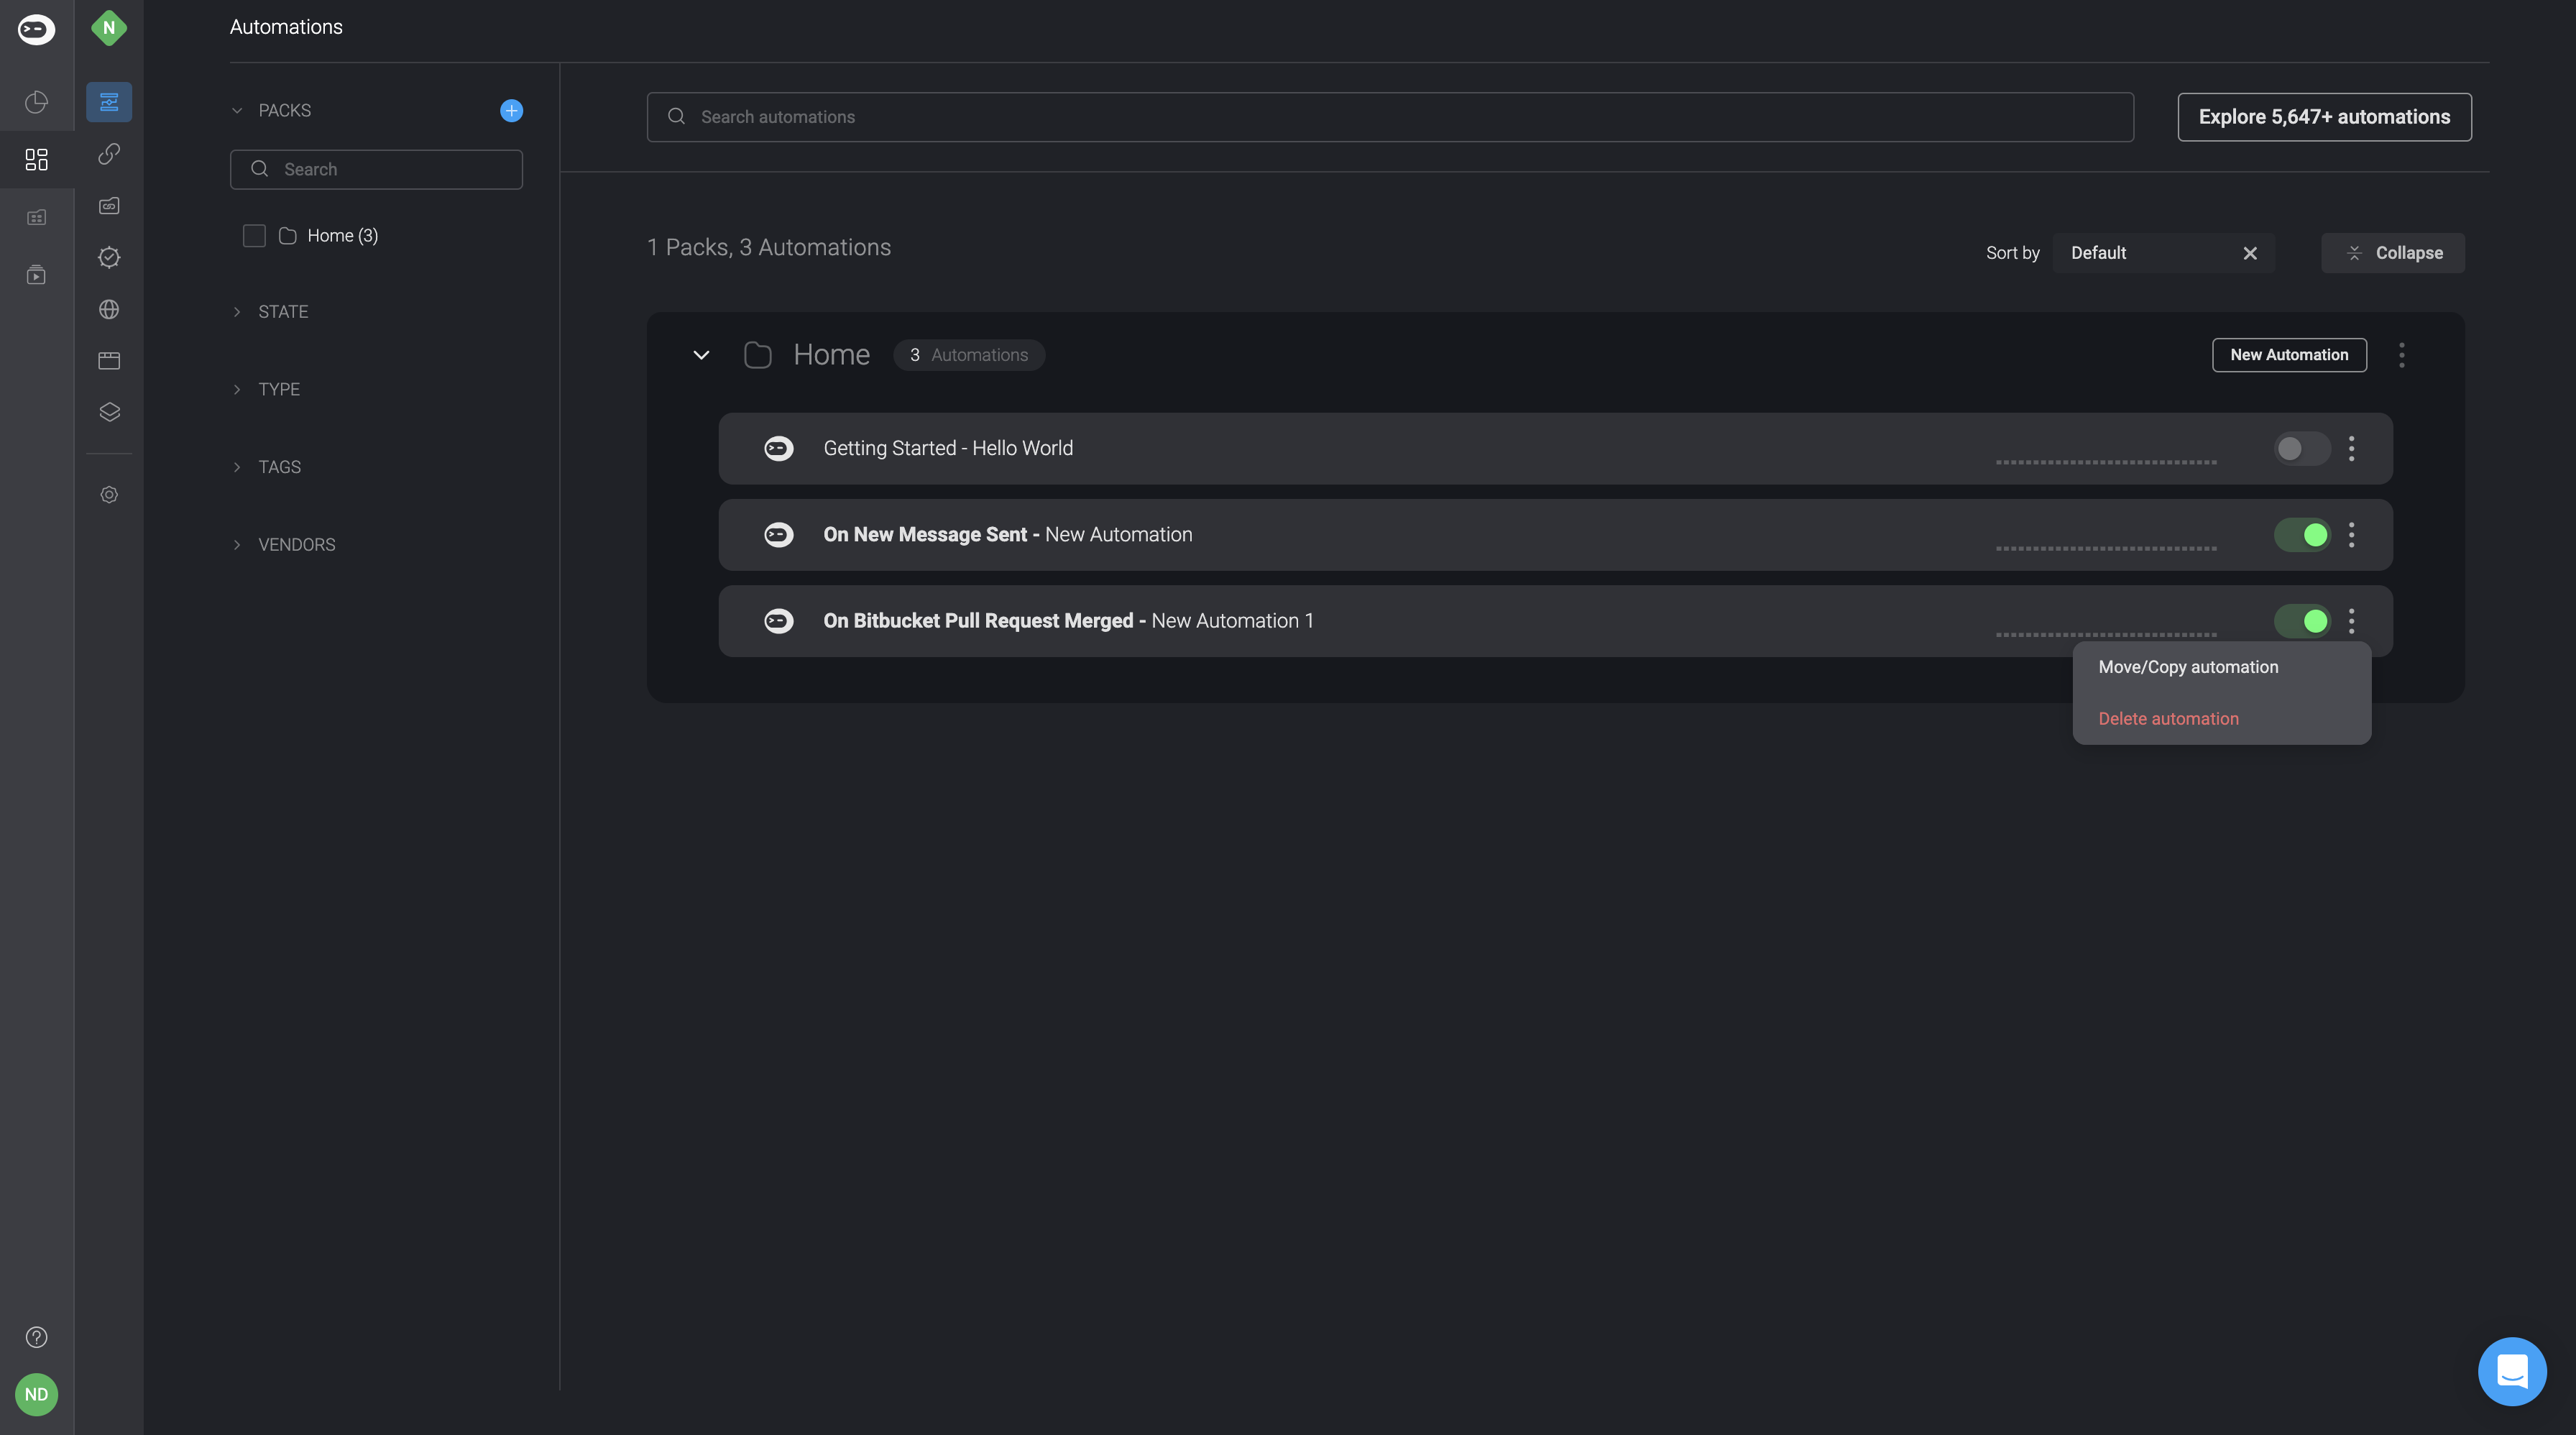
- Click on the three dots button in the top-right corner of the automation and select the move/copy option.
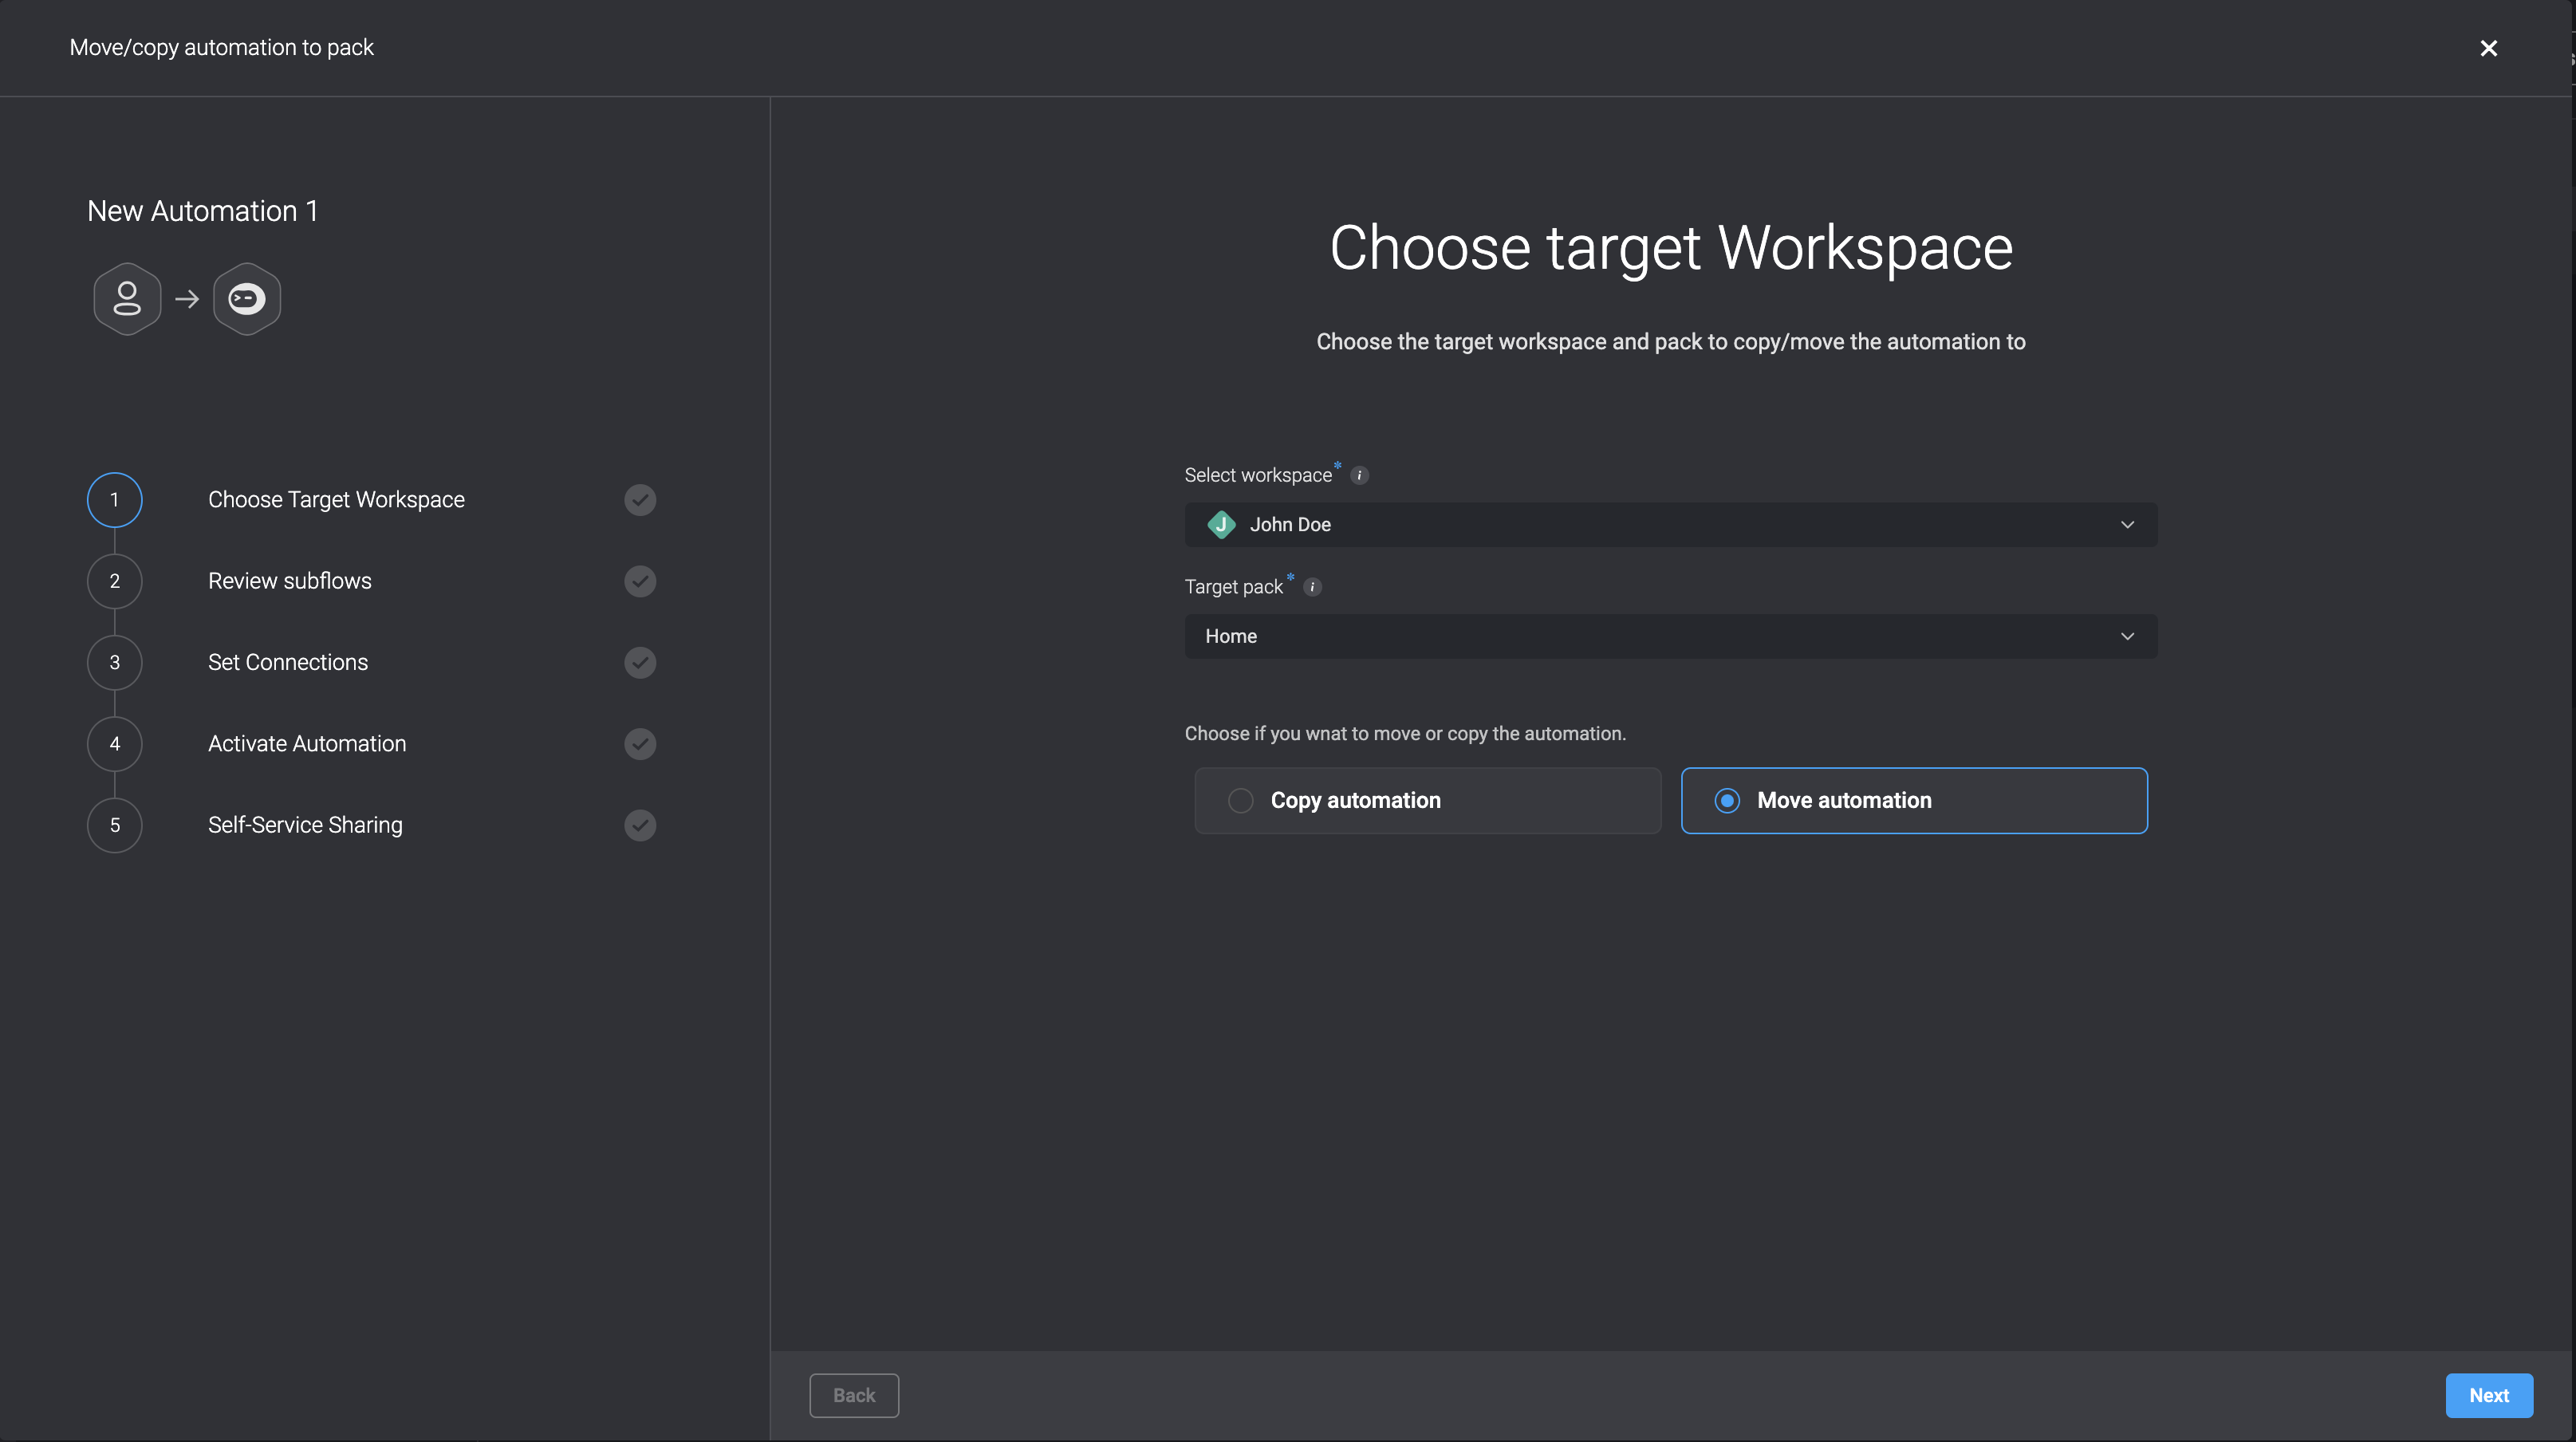
- This will open the Copy/Move wizard, where you can select which workspace you want to Copy/Move the automation to. First select the workspace, then select the target pack, and choose whether you wish to Copy or Move the selected automation to the target workspace.
- If your automation contains Subflow(s) they will be copied/moved with their parent automation. In this step, you can review the automation's Subflow(s). If the selected automation's name already exists in the target workspace, create a new name, if a subflow with the same name exists in the target workspace you can either rename it or use the one in the target workspace.
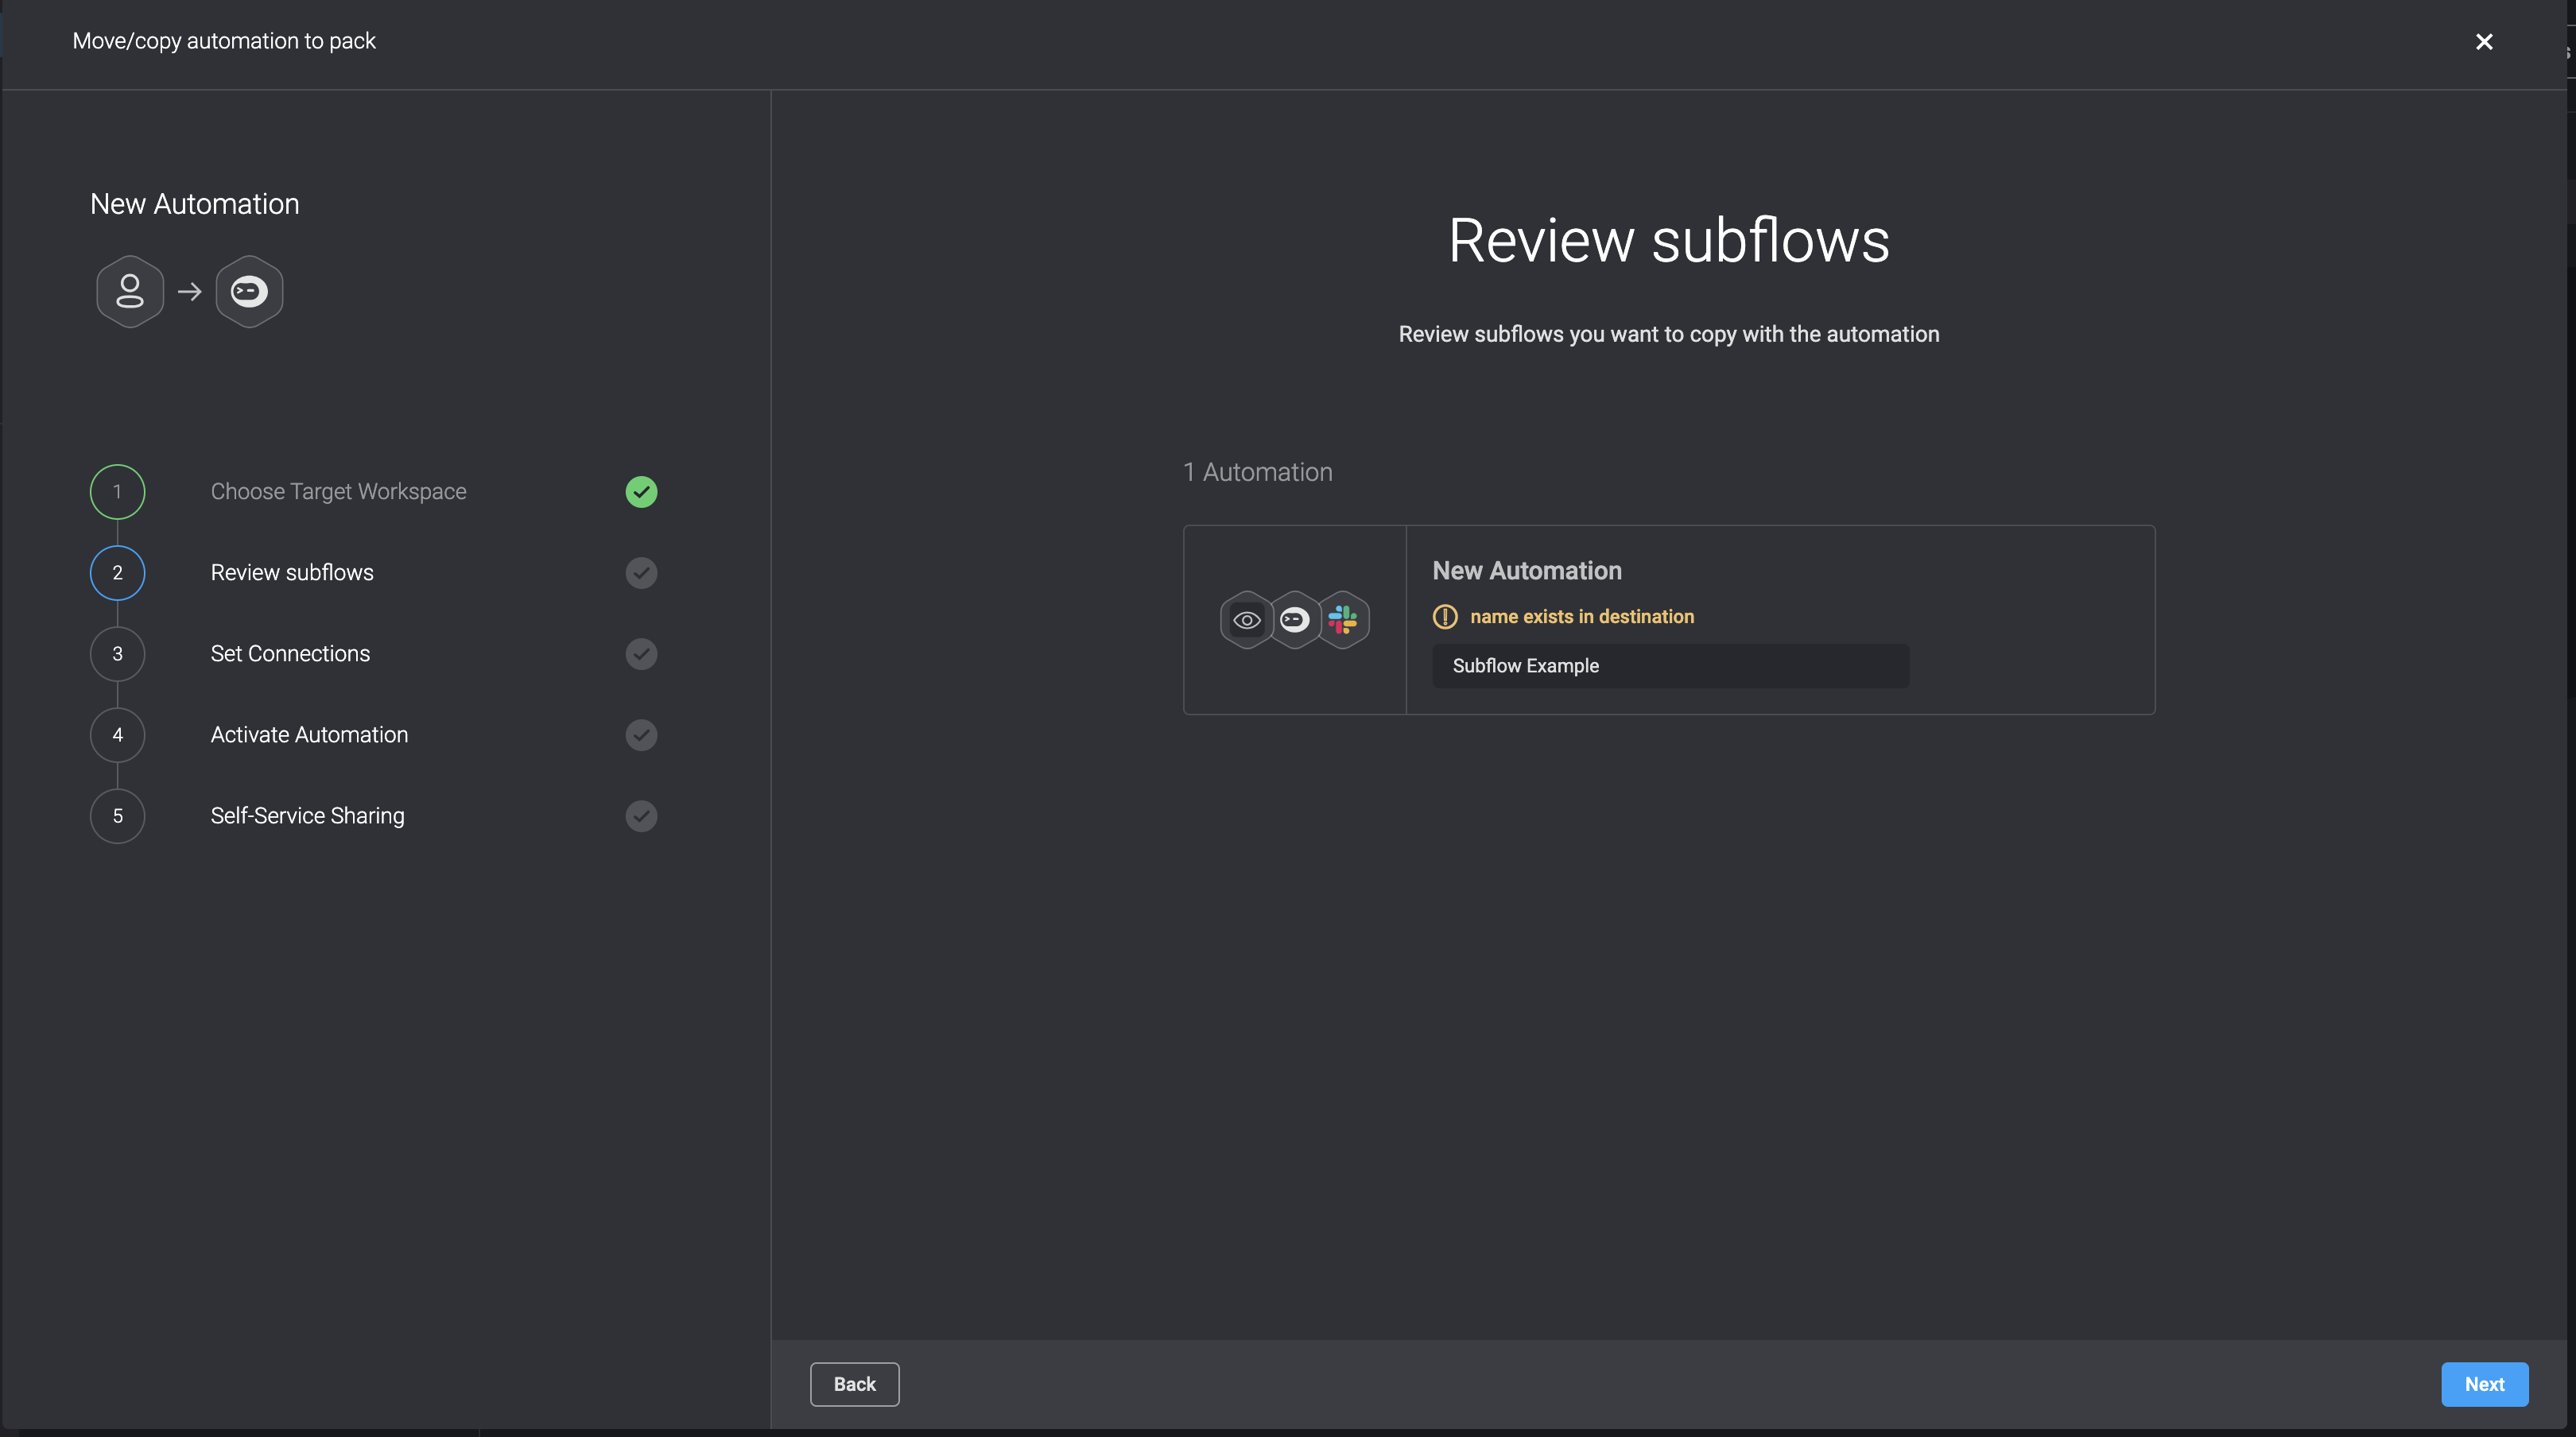
Subflow will be Copied/Moved to the same pack as their parent automation, regardless of their location in the origin workspace. If the Subflows were in different pack(s) in the original workspace, after copying/moving to the new target workspace, they will all be in the same pack as the main automation.
- Set the connections- For each connection used by the selected automtions, set a connections in the target workplace, that will replace it in the copied/moved automations.
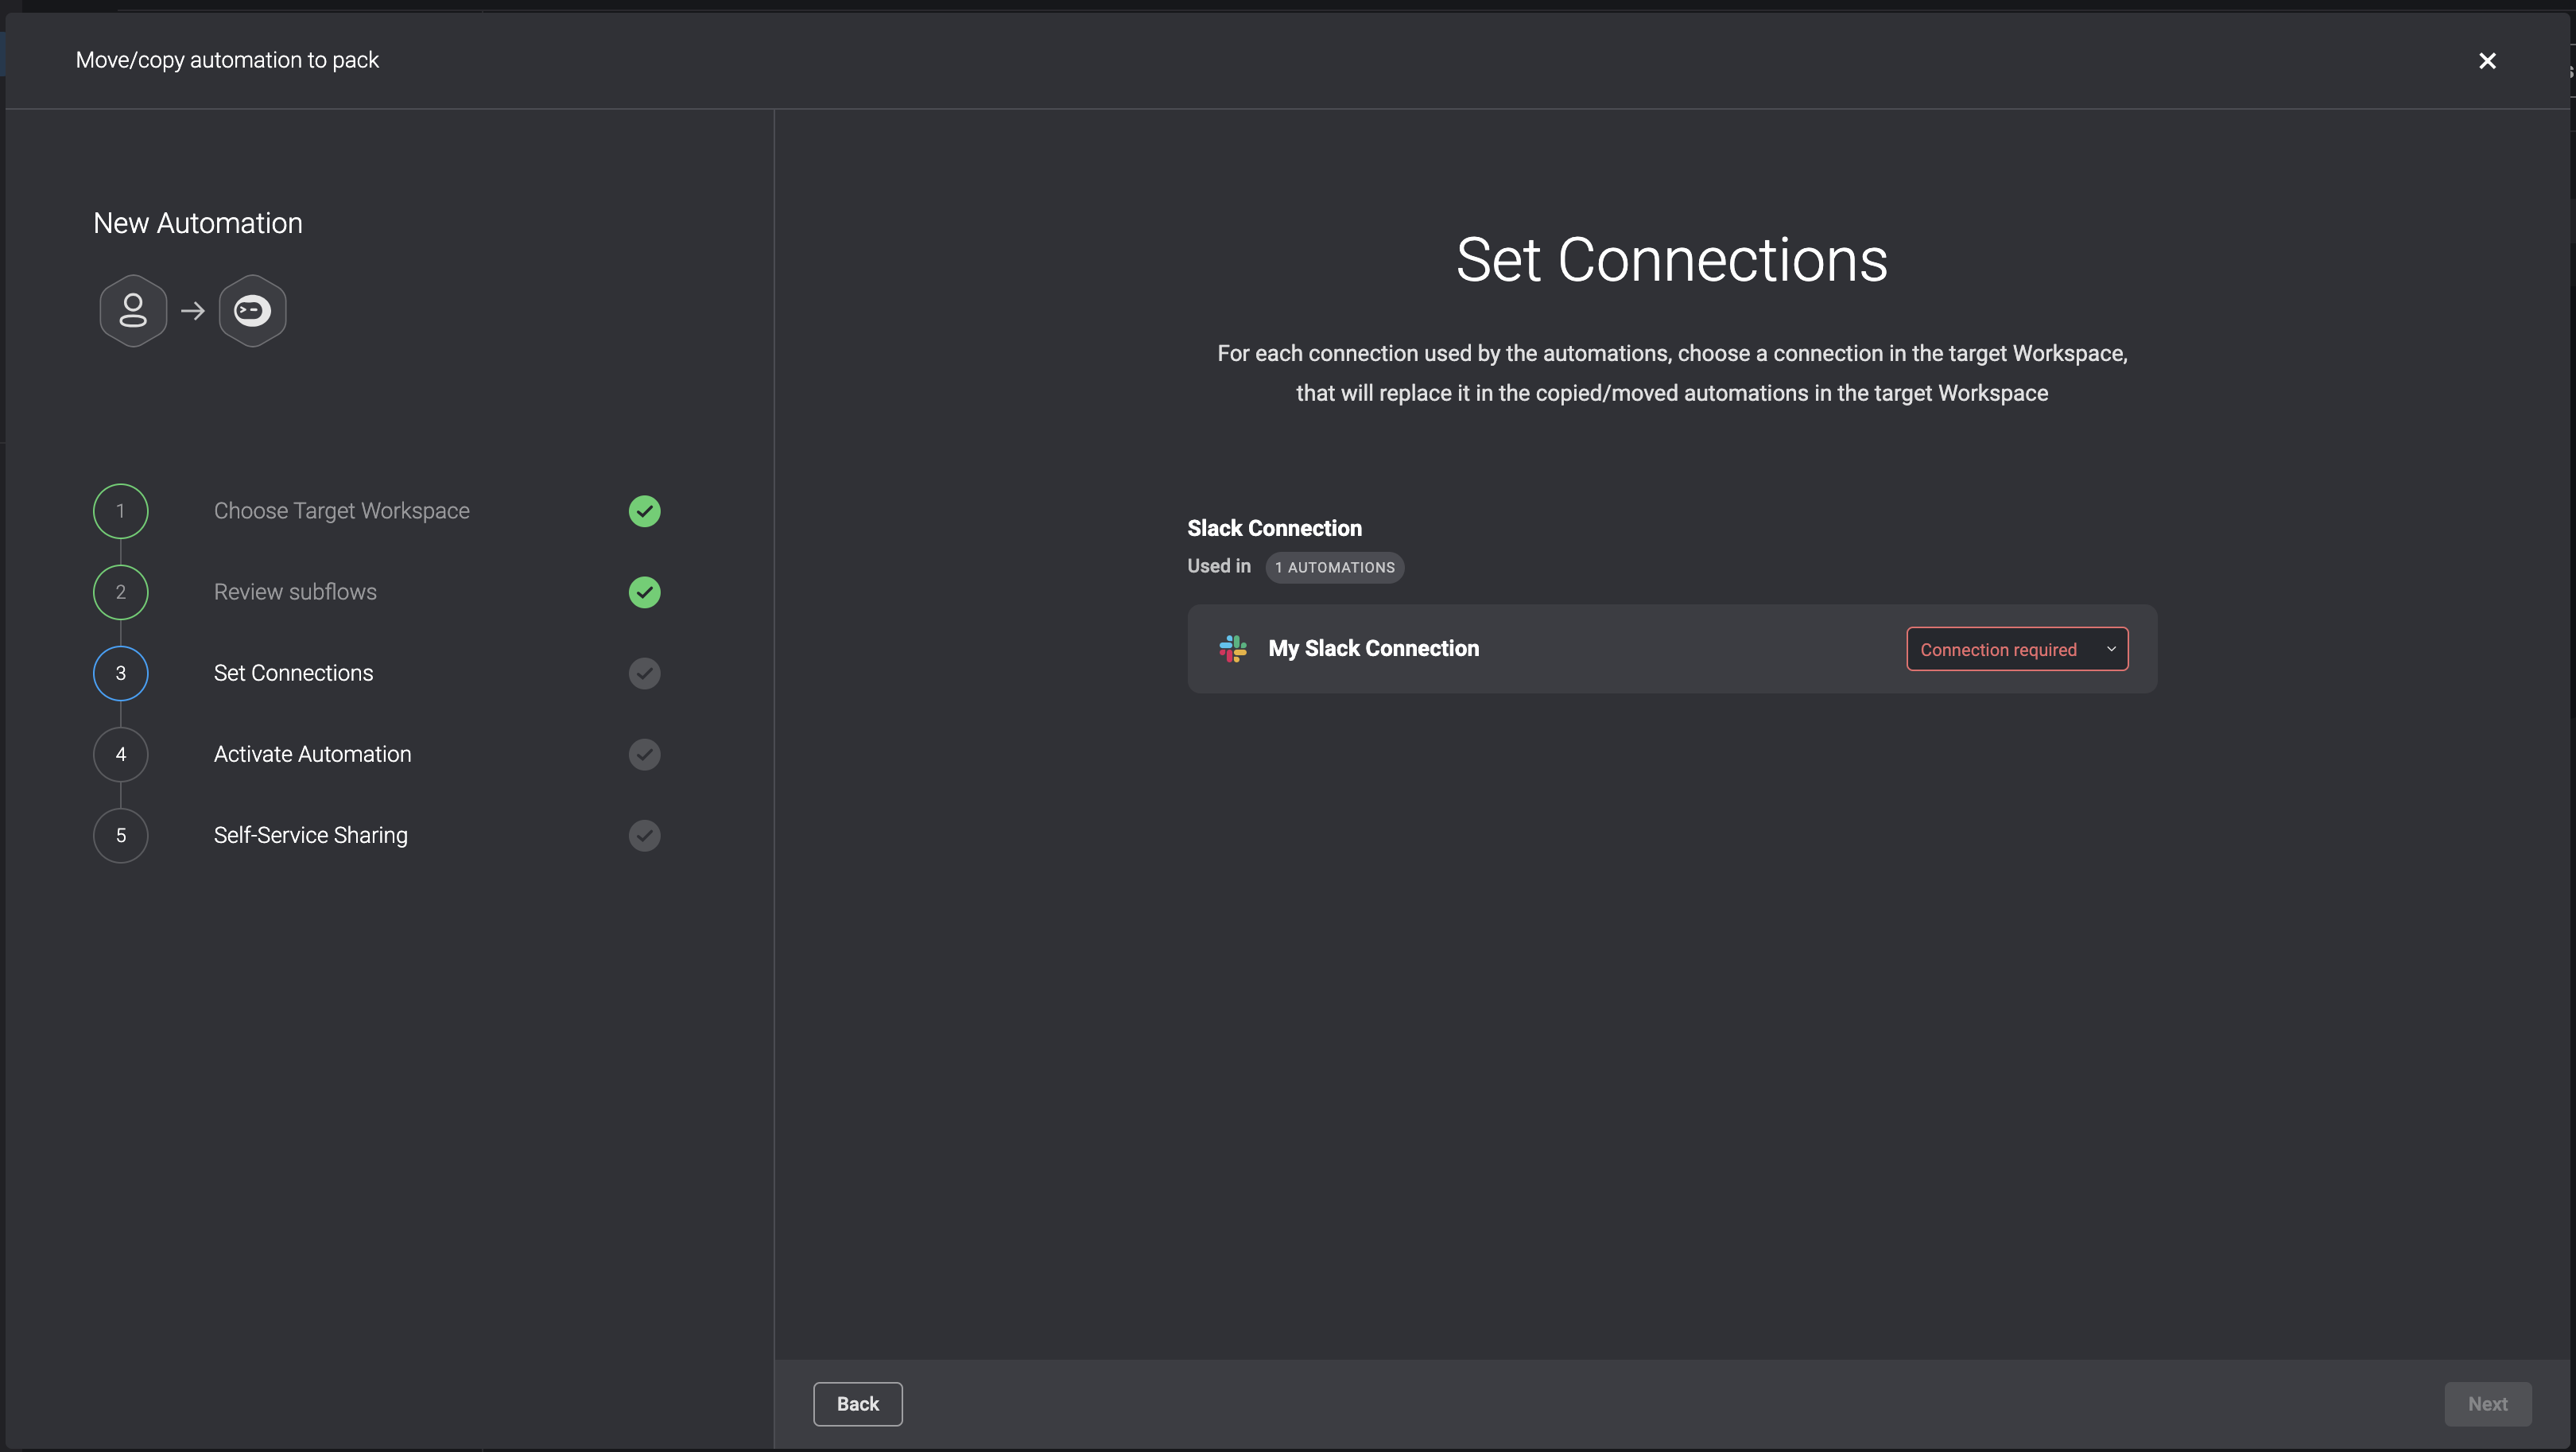
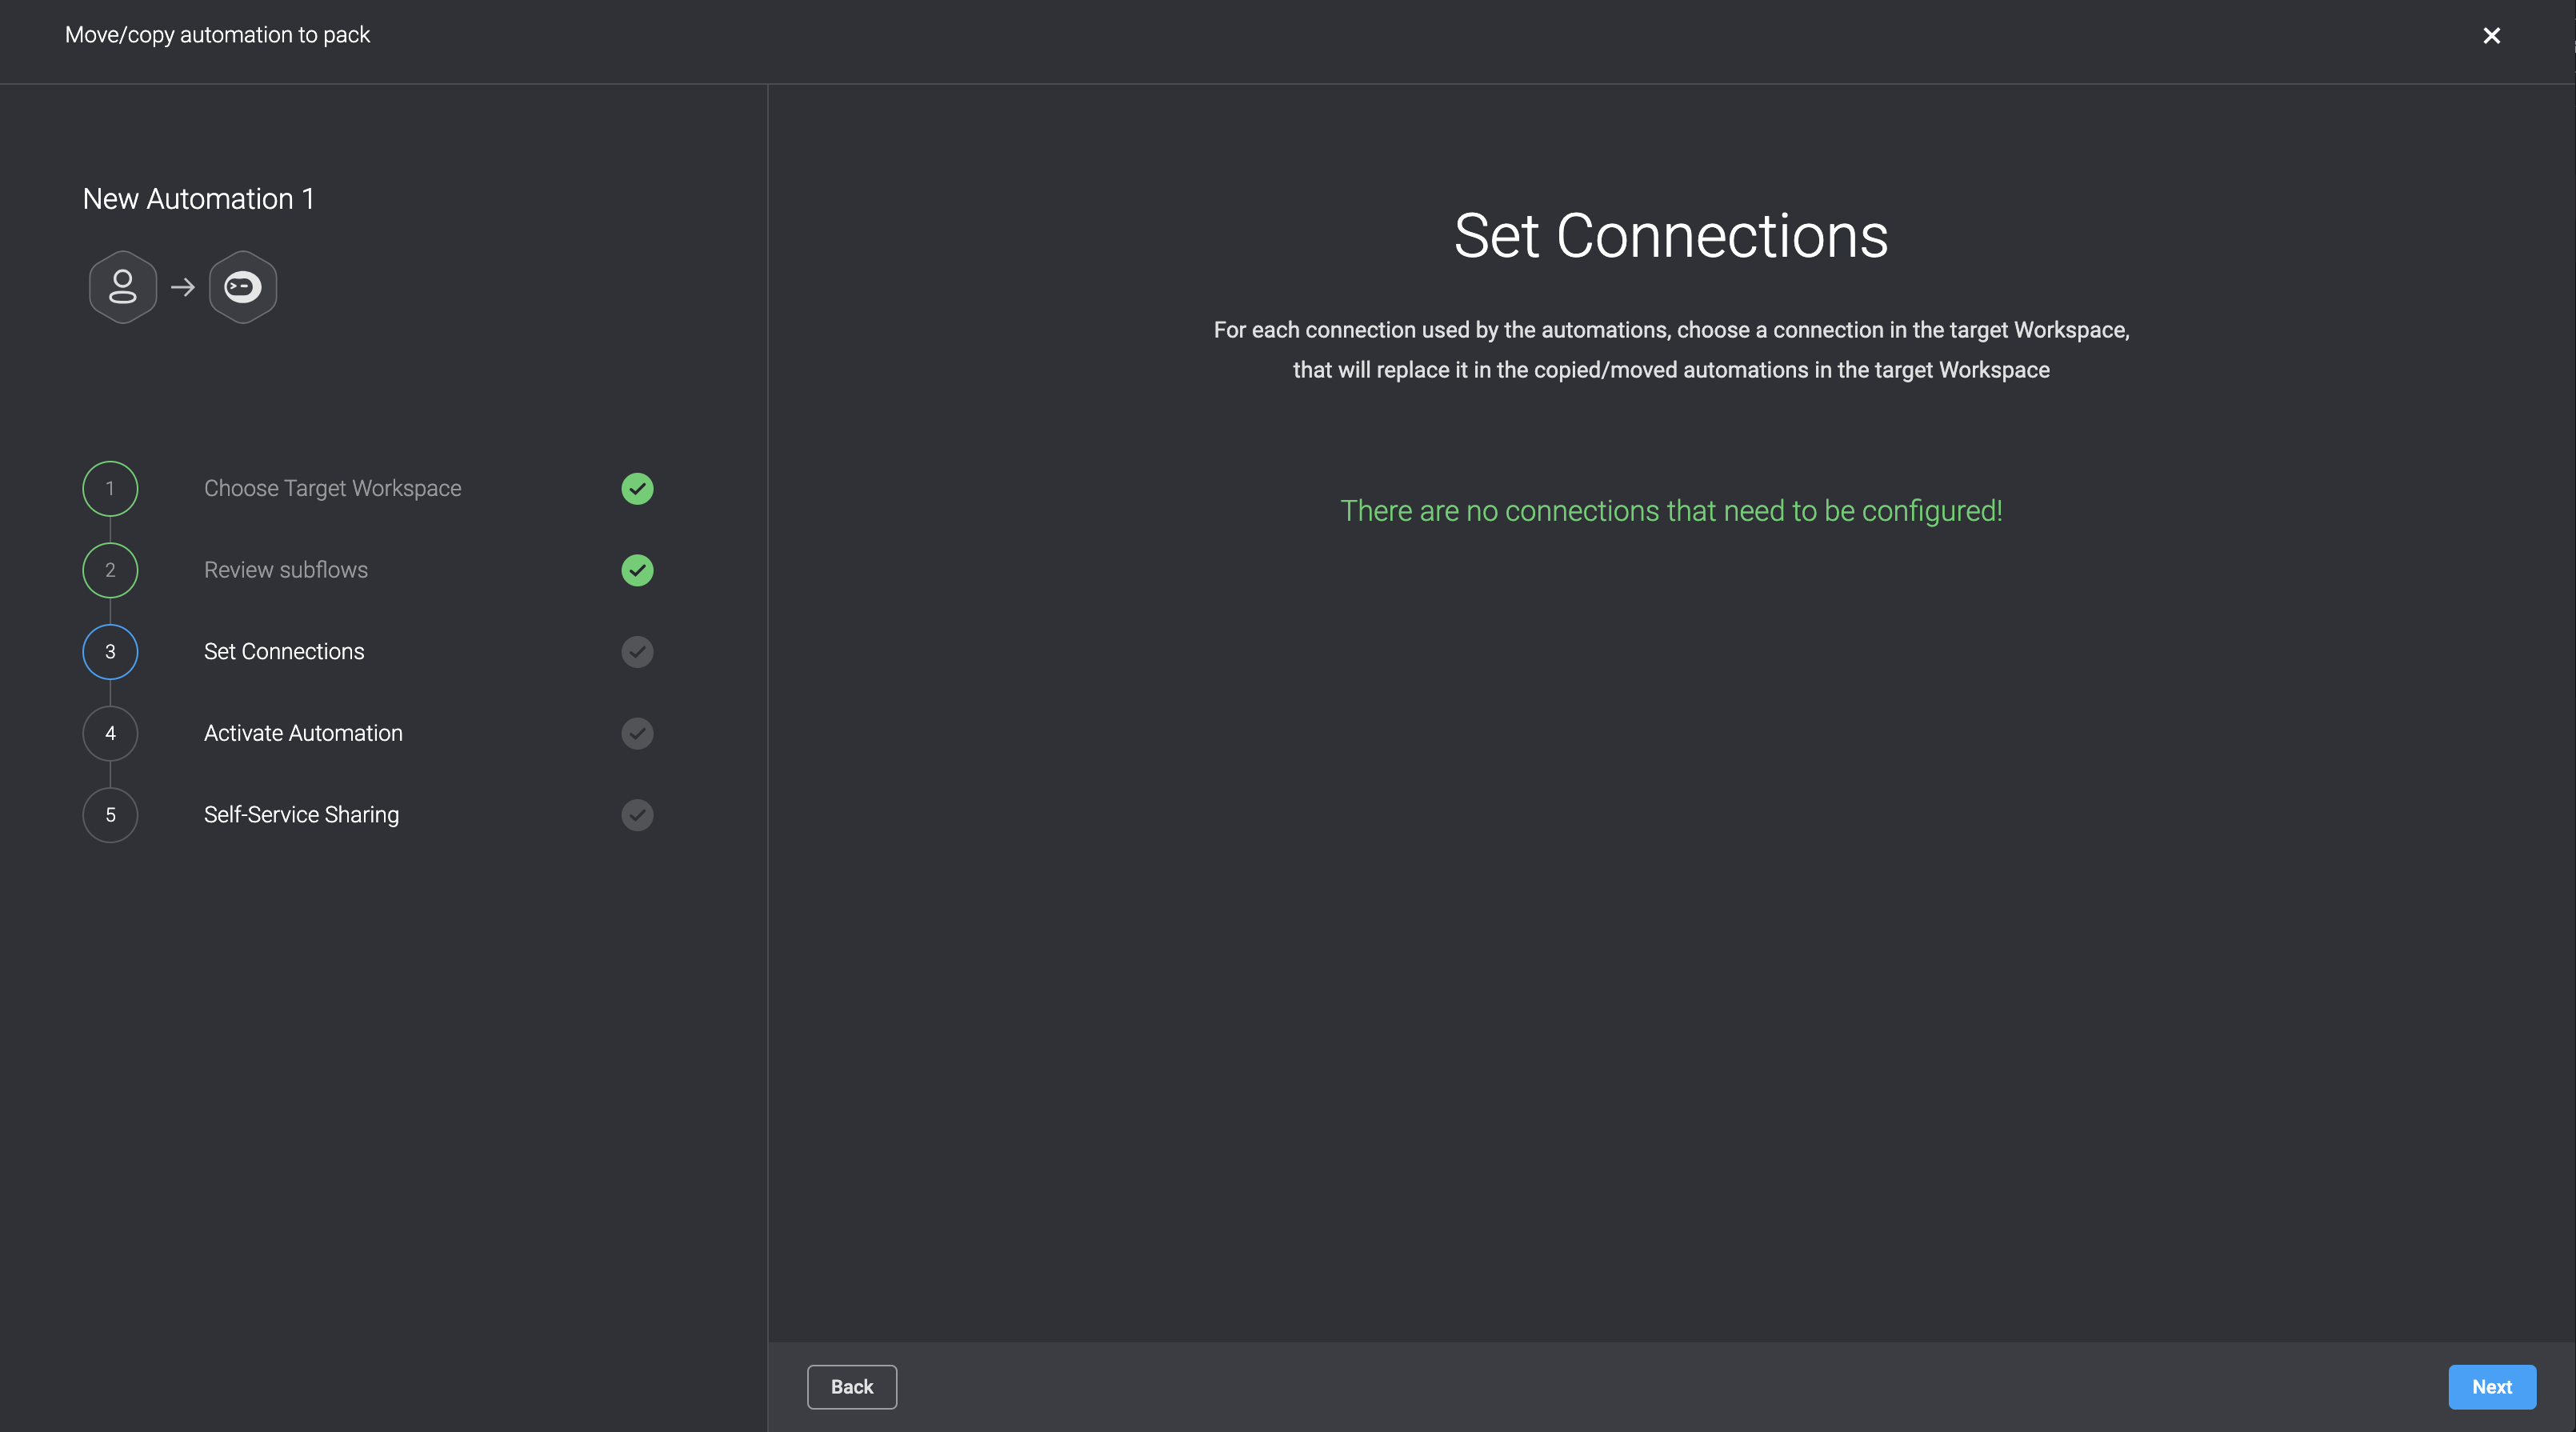
If you don't have any connections to configure at this stage, as shown in the following example, you can proceed to the next step.
- Choose the activation status of the Copied/Moved automations in the target Workspace. You have two options: you can either Activate all automations by clicking the toggle button next to this option or you can activate specific automations by toggling the button next to each one individually. The Copied/Moved Subflows will be always be activated in the target Workspace.

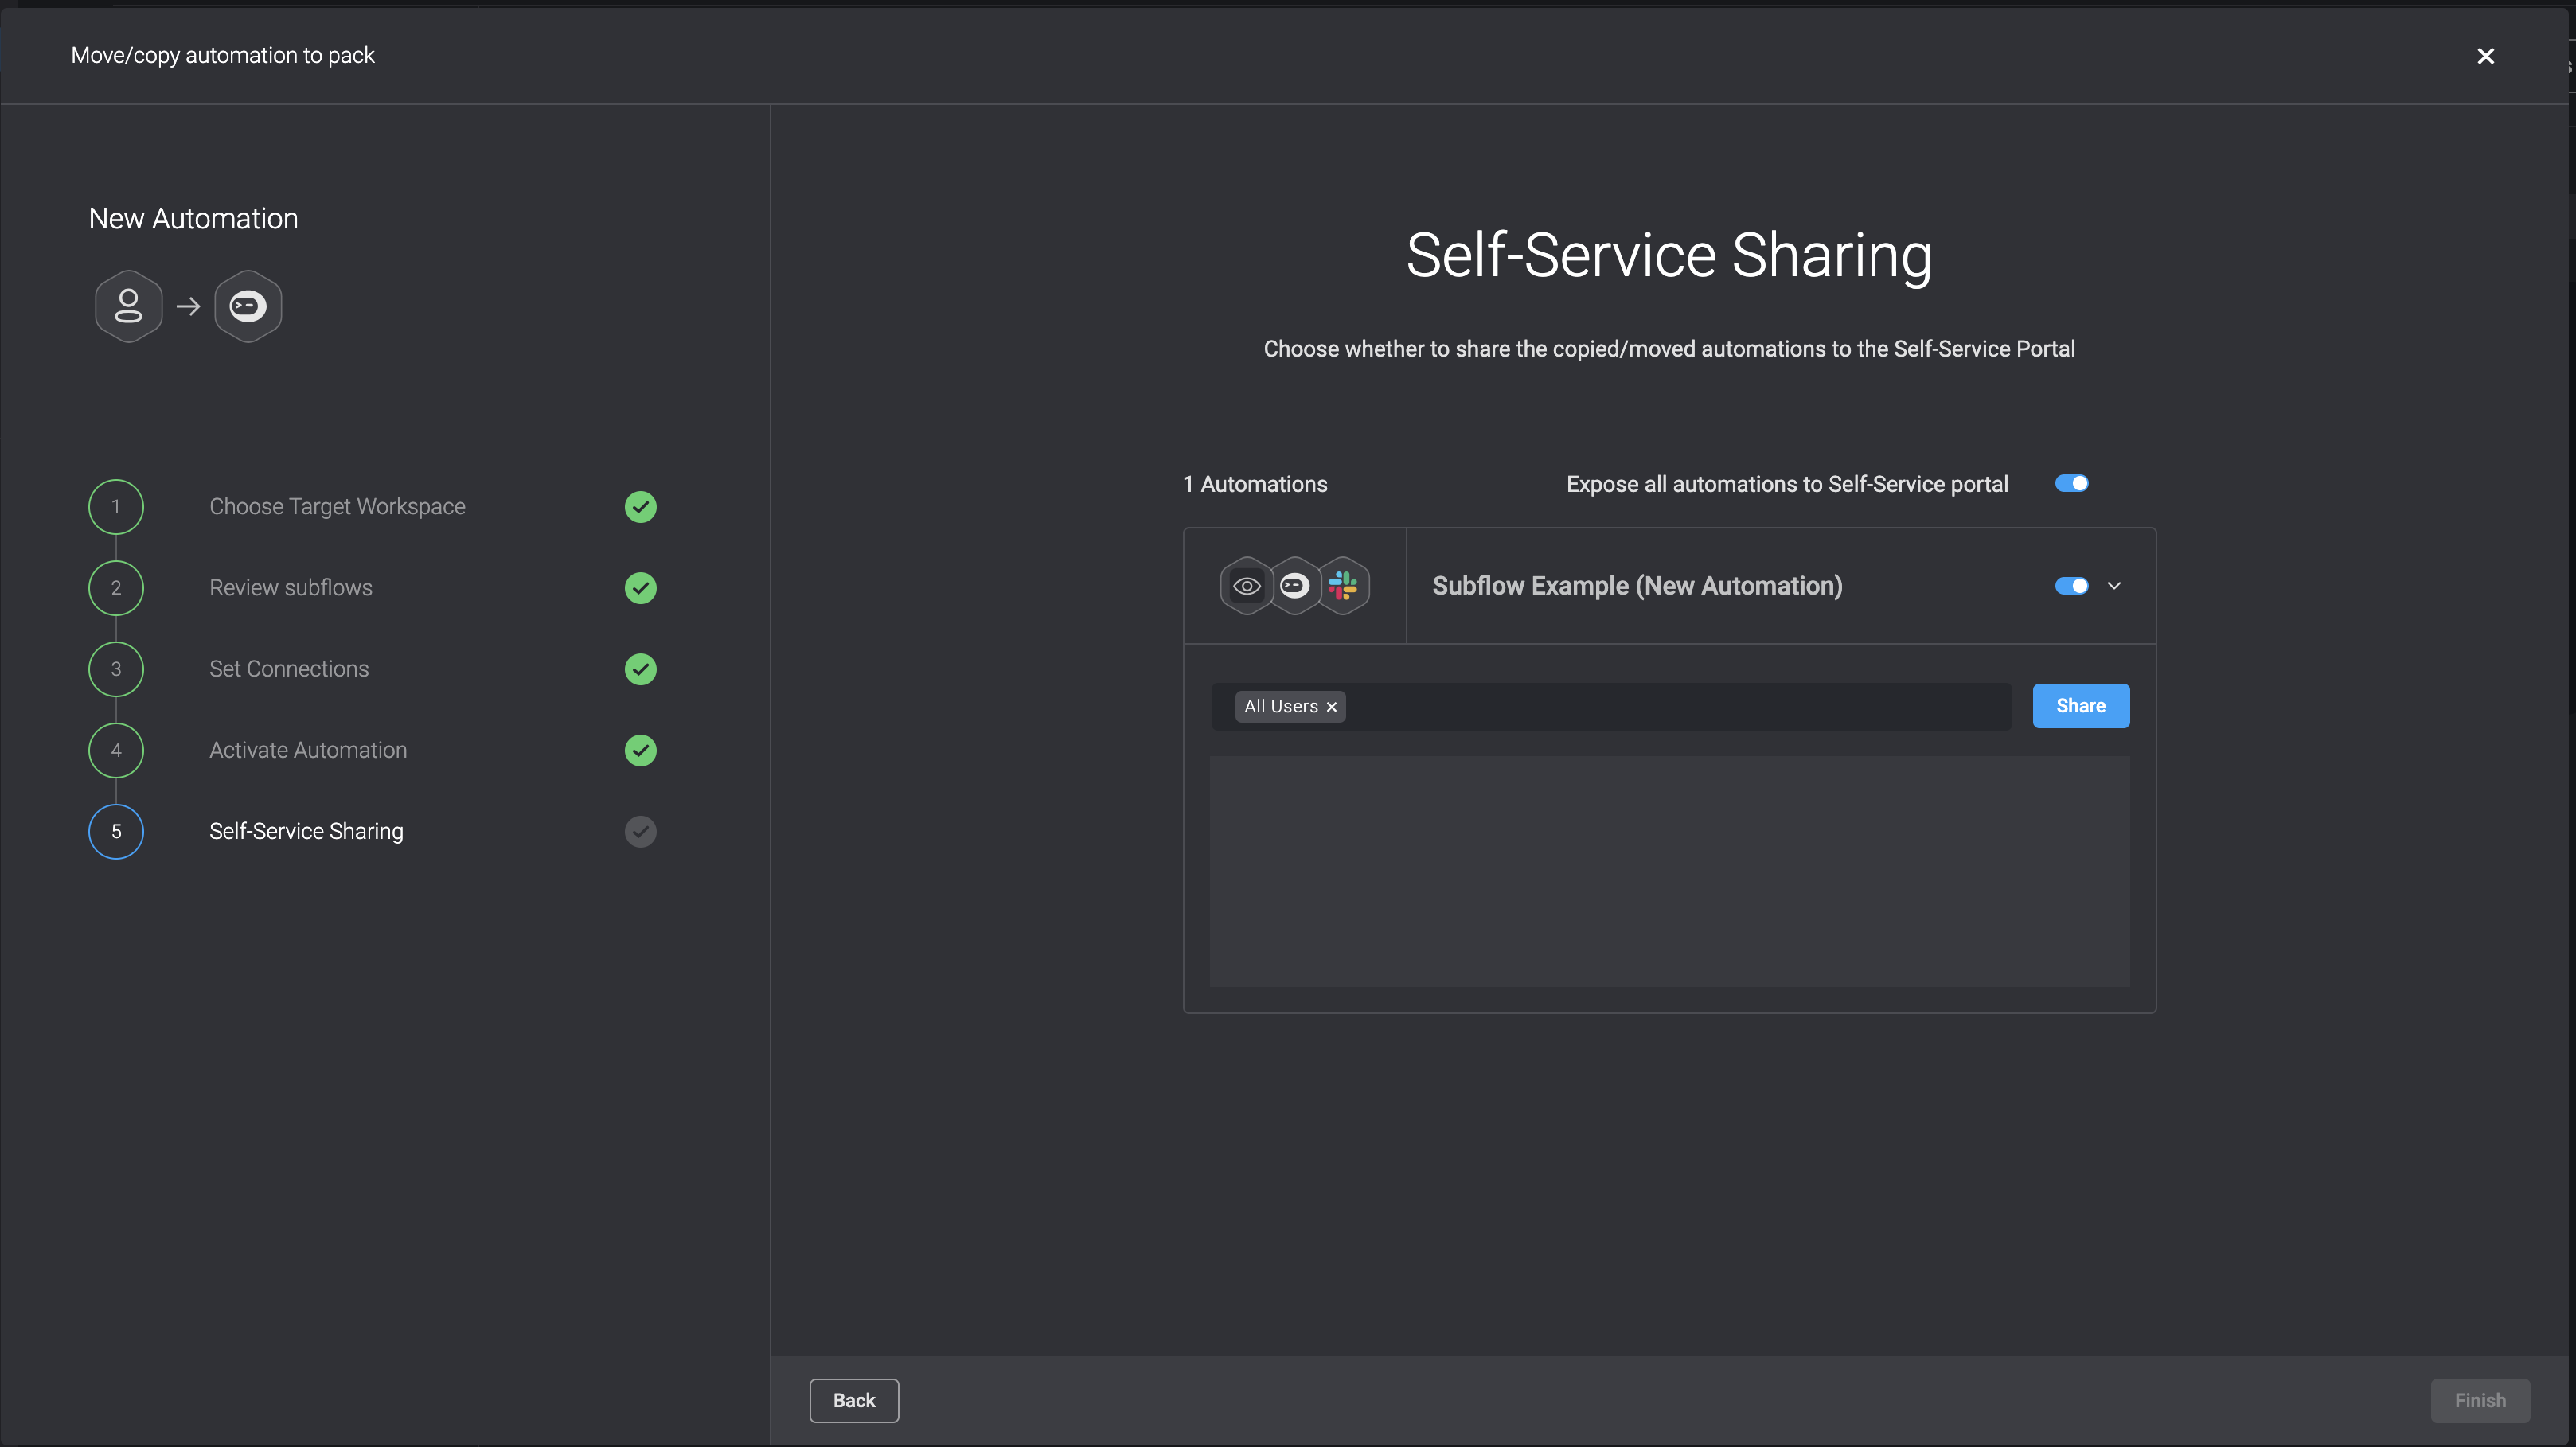
- Decide whether you want to share the Copy/Move automation on the self-sharing portal by toggling the button.
Please note that you can share the Copy/Move automation on the self-sharing portal, only if you set the automation as Active in the previous step.
- To complete the process, simply click the Finish button located in the bottom-right corner. An Operation-Result popup will then appear in the bottom-right corner confirming that the automation has been copied or moved successfully.