 Microsoft Defender For Endpoints
Microsoft Defender for Endpoint is an enterprise endpoint security platform designed to help enterprise networks prevent, detect, investigate, and respond to advanced threats.
Creating a Microsoft Defender For Endpoints connection
Create the connection by using one of the following methods:
Using OAuth
Creating your connection
- In the Blink platform, navigate to the Connections page > Add connection. A New Connection dialog box opens displaying icons of external service providers available.
- Select the Microsoft Defender For Endpoints icon. A dialog box with name of the connection and connection methods appear.
- (Optional) Edit the name of the connection. At a later stage you cannot edit the name.
- Click OAuth to authenticate using OAuth.
- Sign in using your credentials.
Need admin approval? please refer to the Need Admin Approval guide.
Using App Registration
To create the connection you need:
- A Client ID
- A Client Secret
- A Tenant ID
Obtaining the credentials
Log into the Azure Portal.
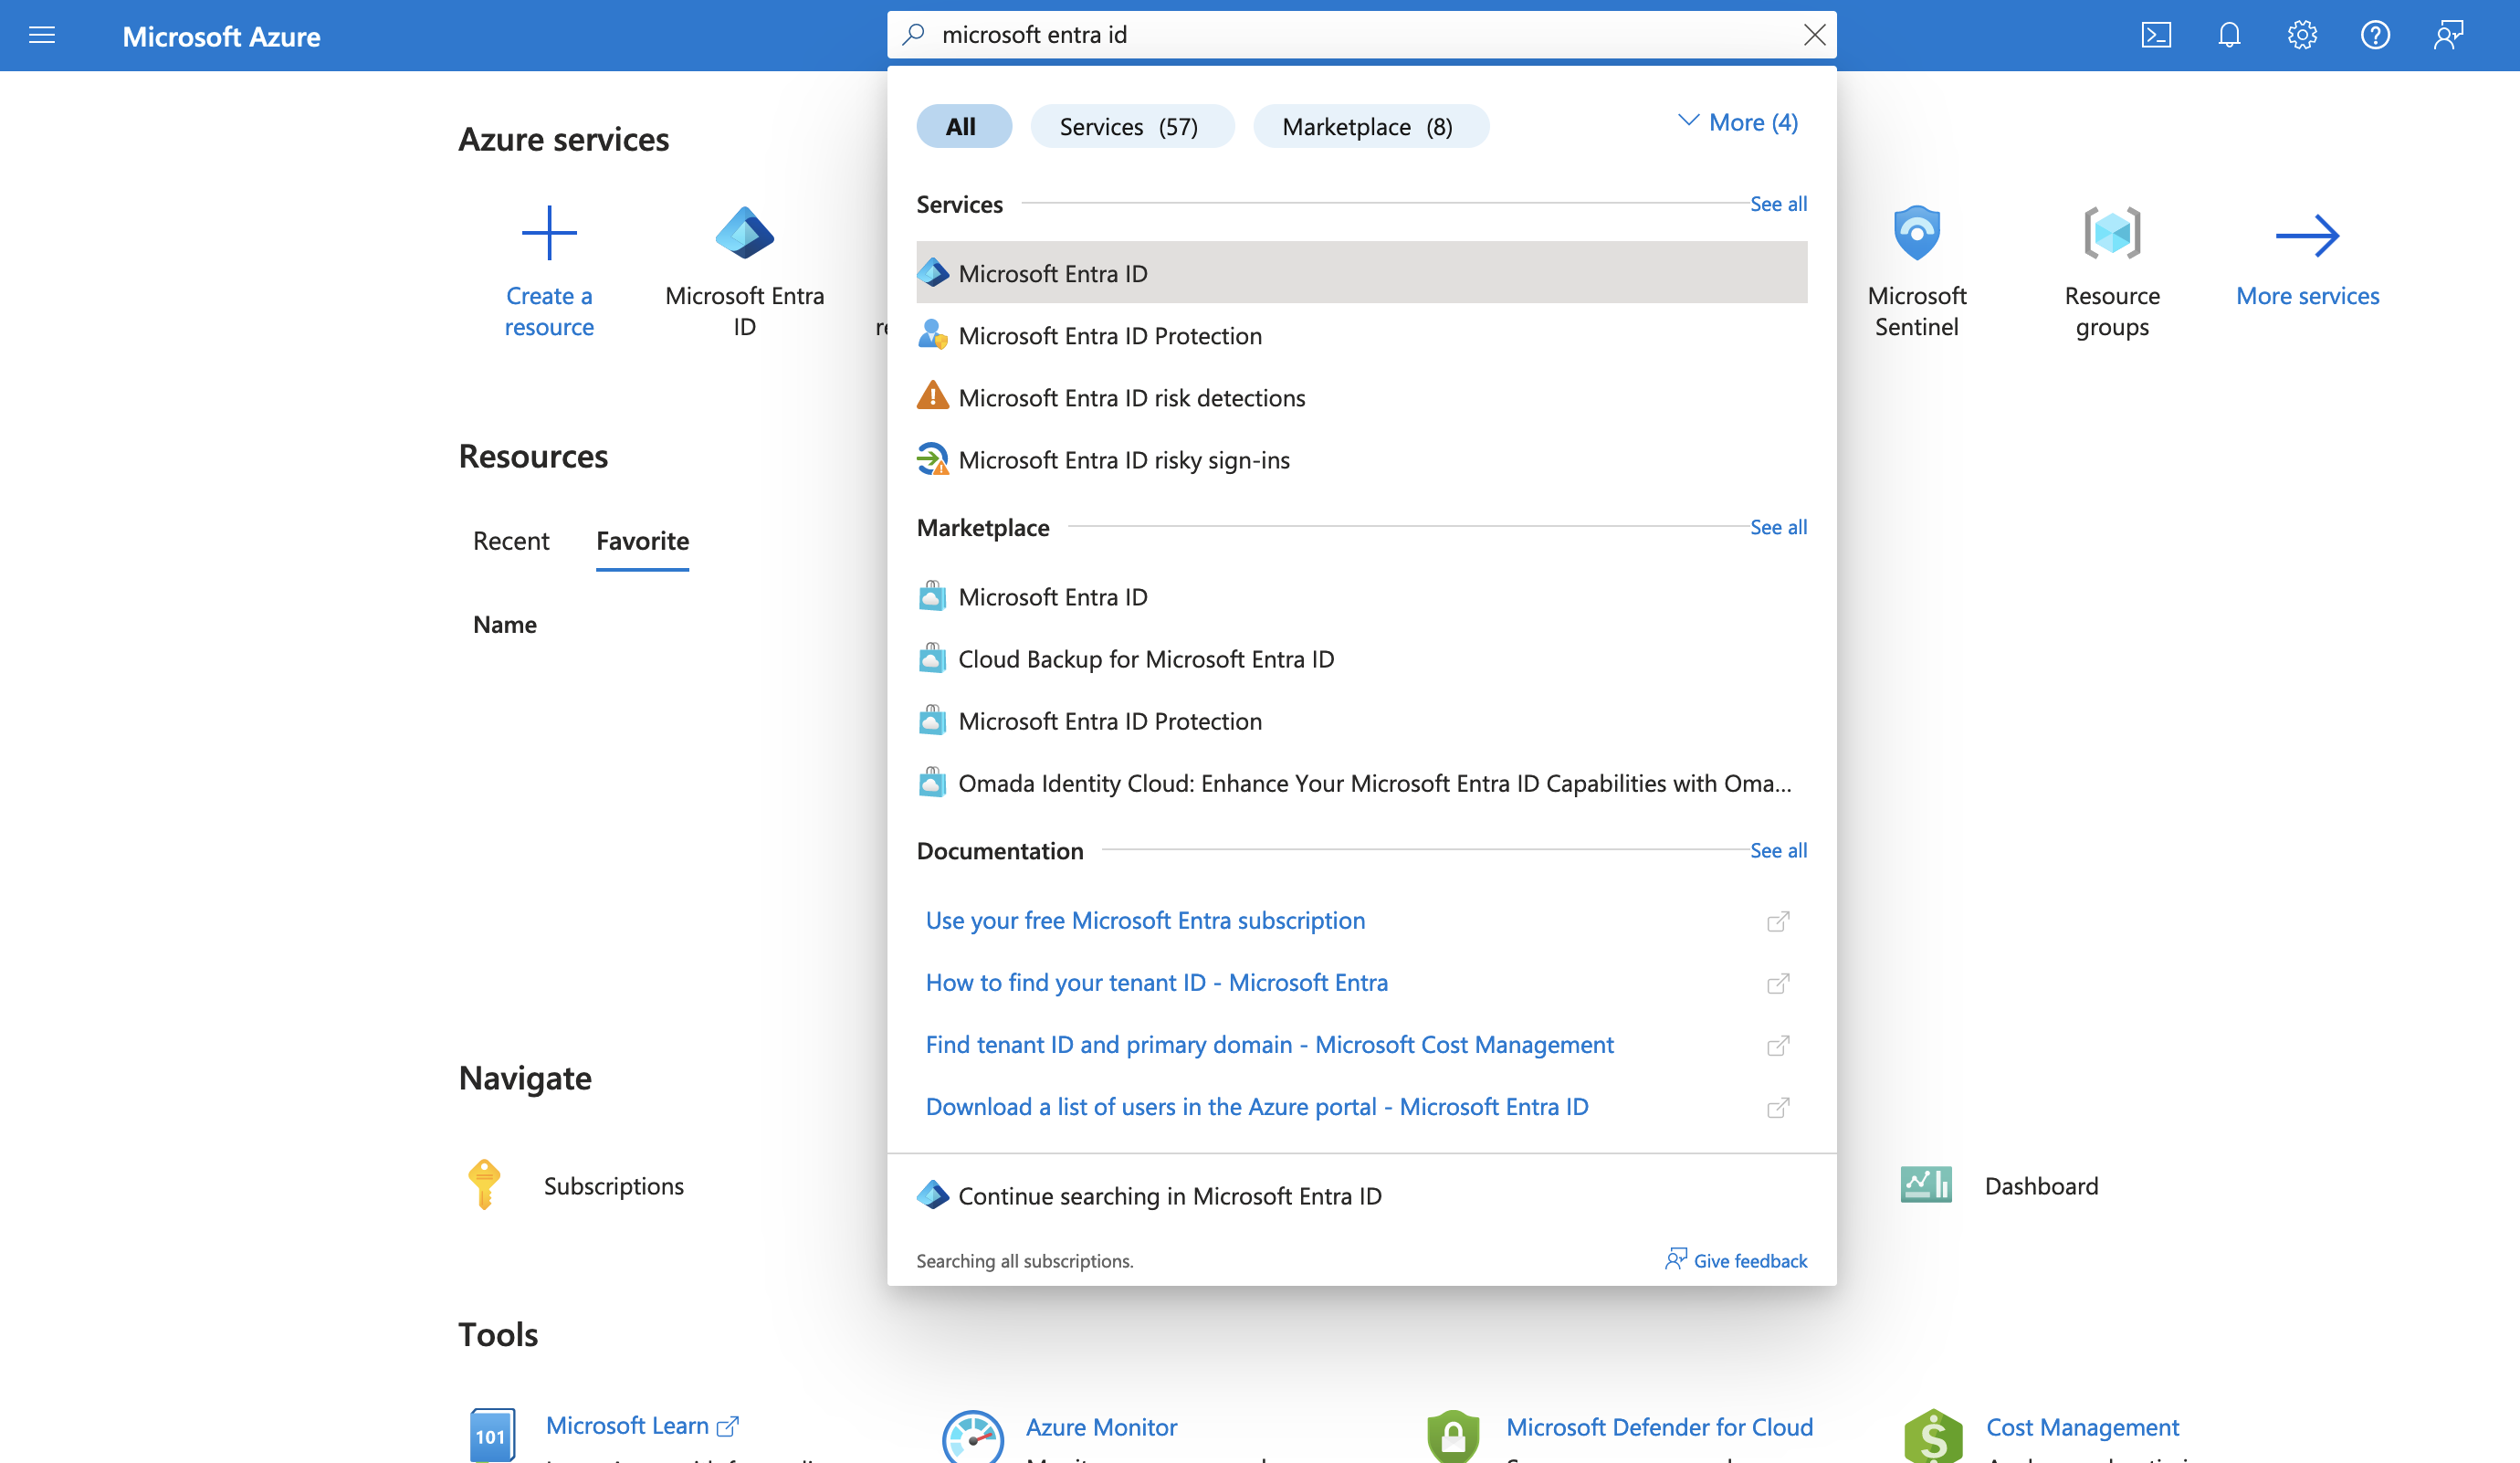
Go to the Microsoft Entra ID resource.
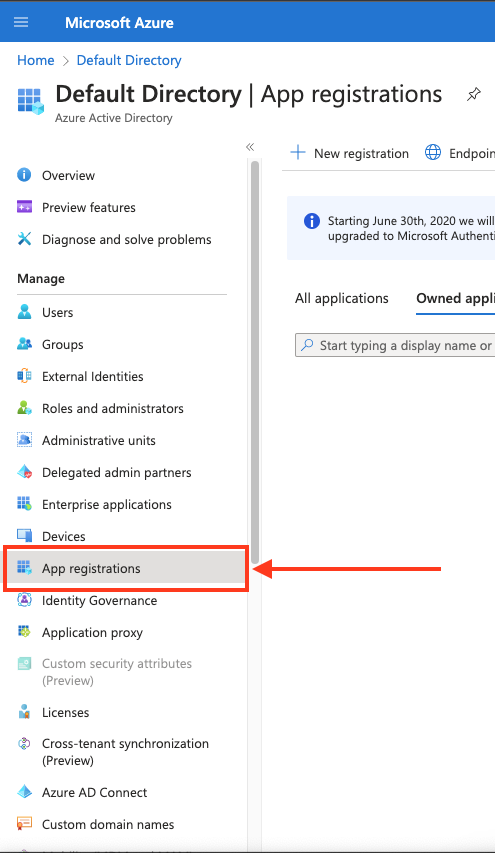
In the left-hand menu, click App registrations.
Create a new application registration or click on one of your existing applications.

In the left-hand menu, click API permissions.

Click Add a permission > APIs my organization uses > WindowsDefenderATP.

Choose Application permissions and mark the permissions you wish to add.

To support all of Blink's actions, these are the required application permissions:
Click Add permissions to save the changes.
Click Grant admin consent for
<your tenant>on the API permissions page. Only admins can grant consent.
Confirm that the added permissions are now verified.

Navigate to Overview and Copy your client ID and tenant ID.

Create a new client secret.

Copy the secret value.

Creating your connection
- In the Blink platform, navigate to the Connections page > Add connection. A New Connection dialog box opens displaying icons of external service providers available.
- Select the Microsoft Defender For Endpoints icon. A dialog box with name of the connection and connection methods appear.
- (Optional) Edit the name of the connection. At a later stage you cannot edit the name.
- Select App Registration as the method to create the connection.
- Fill in the parameters:
- The Client ID
- The Client Secret
- The Tenant ID
- (Optional) Click Test Connection to test it.
- Click Create connection. The new connection appears on the Connections page.
Interactive Tutorial Guides
You can also refer to the following tutorial guides for a more in-depth understanding of how to create a Microsoft Defender for Endpoints connection.