 Slack
Slack
Slack is a messaging app for business that connects people to the information they need.
Creating a Slack connection
Create the connection by using one of the following methods:
Using Bot for Slack
The following scopes are used by the Bot for Slack connection:
channels:historychannels:managechannels:readchat:writefiles:writegroups:historygroups:readgroups:writeim:historyim:readim:writempim:historympim:readmpim:writereactions:writeteam:readusergroups:writeusers.profile:readusers:readusers:read.email
Creating your connection
- In the Blink platform, navigate to the Connections page > Add connection. A New Connection dialog box opens displaying icons of external service providers available.
- Select the Slack icon. A dialog box with name of the connection and connection methods appears.
- (Optional) Edit the name of the connection. At a later stage you cannot edit the name.
- Click Bot for Slack to authenticate using OAuth.
- Sign in using your credentials.
- To configure access to specific channels for your Slack connection, click here.
Using Slack User
The following scopes are used by the Slack User connection:
channels:readchannels:writechat:writefiles:writegroups:readgroups:writeim:readim:writempim:readmpim:writereactions:writeteam:readusergroups:writeusers:readusers:read.emailusers.profile:read
Creating your connection
- In the Blink platform, navigate to the Connections page > Add connection. A New Connection dialog box opens displaying icons of external service providers available.
- Select the Slack icon. A dialog box with name of the connection and connection methods appear.
- (Optional) Edit the name of the connection. At a later stage you cannot edit the name.
- Select Slack User as the method to create the connection.
- Fill in the parameters:
- (Optional) Click Test Connection to test it.
- Click Create connection. The new connection appears on the Connections page.
Connecting using a new application
This kind of Slack connection should not be used with Ask a Question via Slack steps.
To create the connection you need:
- A token
Obtaining the credentials
Go to Slack API: Applications.
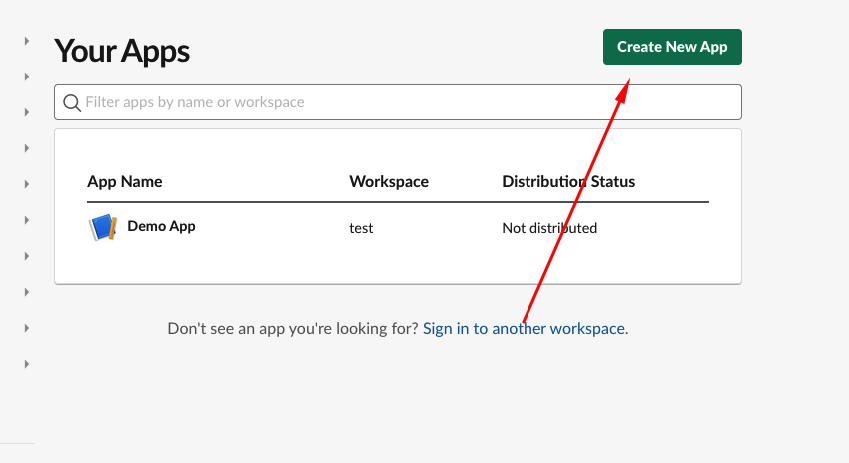
Click Create New App.
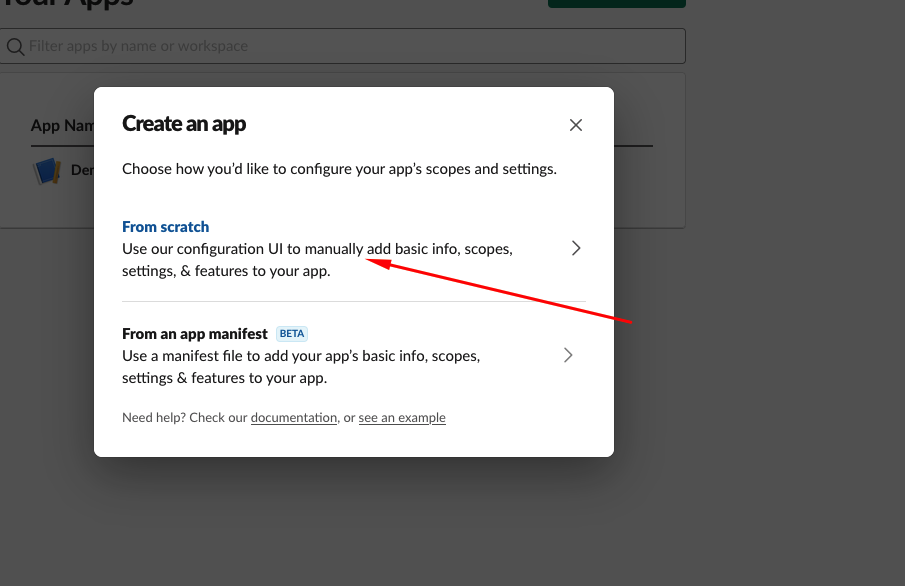
Select From scratch.
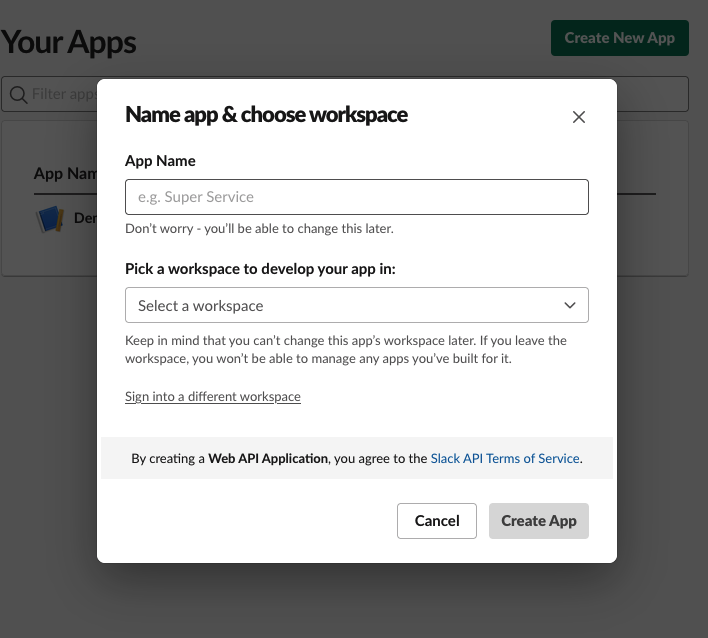
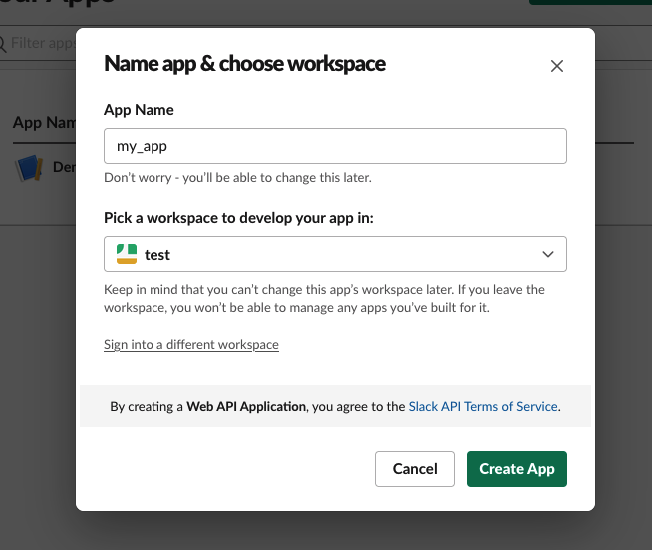
Fill out your App name and workspace > Create App.
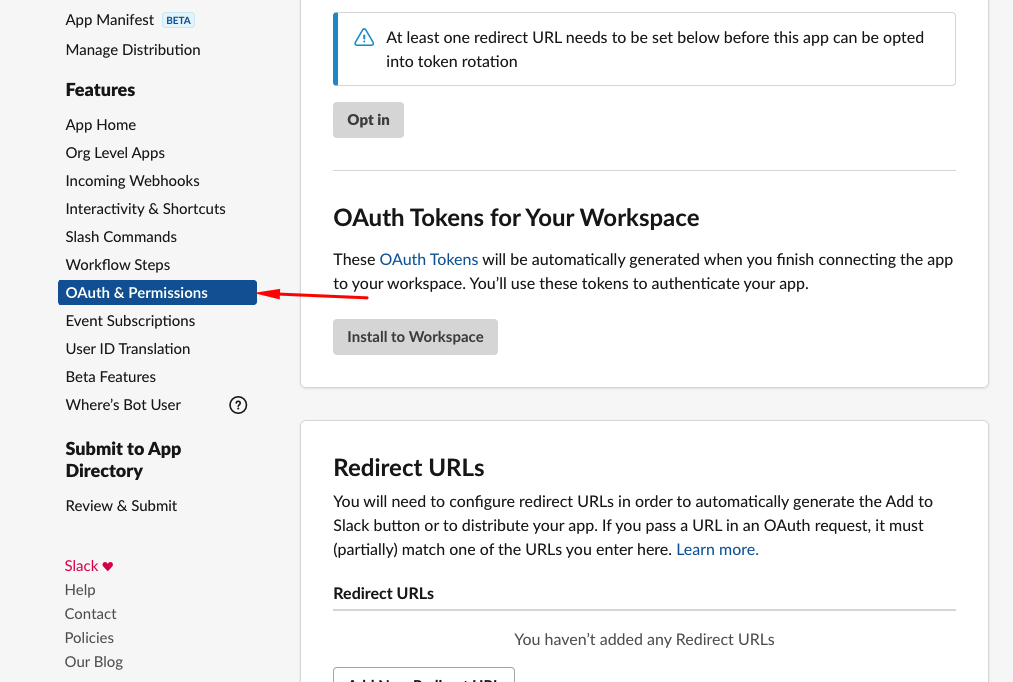
Select OAuth and permissions.
Navigate to Scopes.
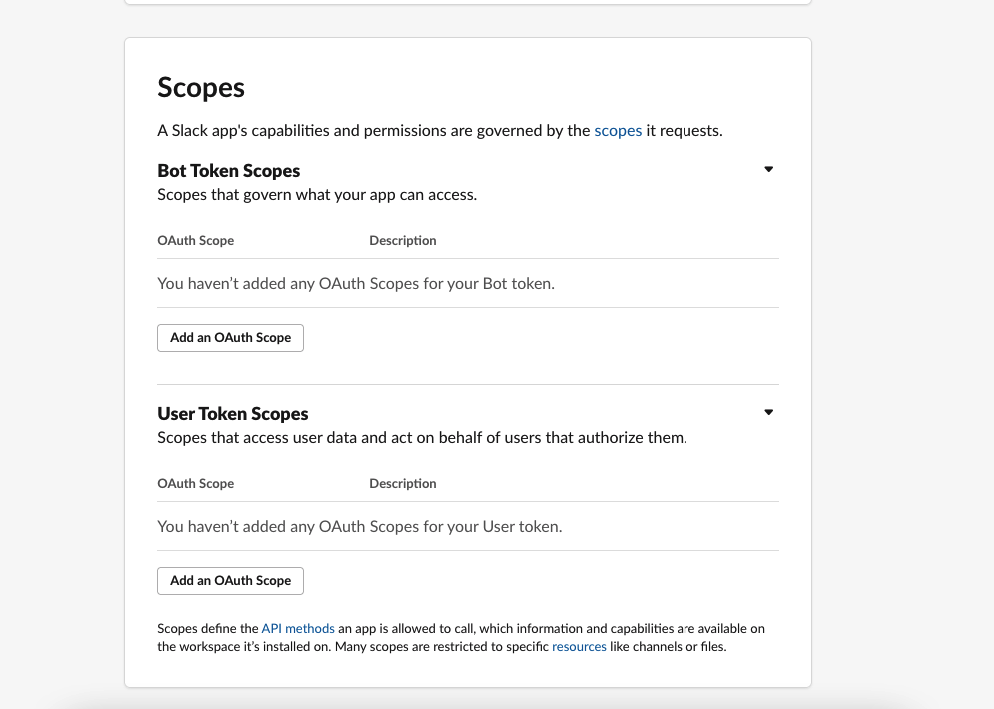
Add the following scopes for your application:
Bot Token Scopes:
- channels:manage
- channels:read
- chat:write
- files:write
- groups:read
- groups:write
- im:read
- im:write
- mpim:read
- mpim:write
- reactions:write
- team:read
- users:read
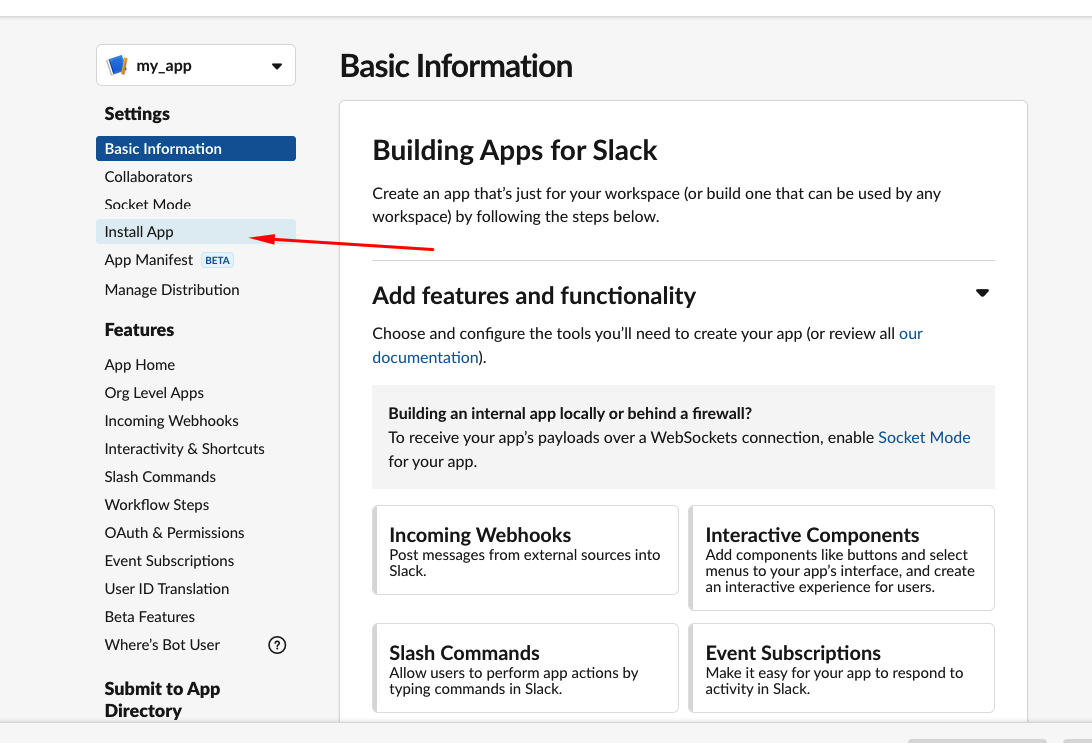
- users:read.emailClick Install App.
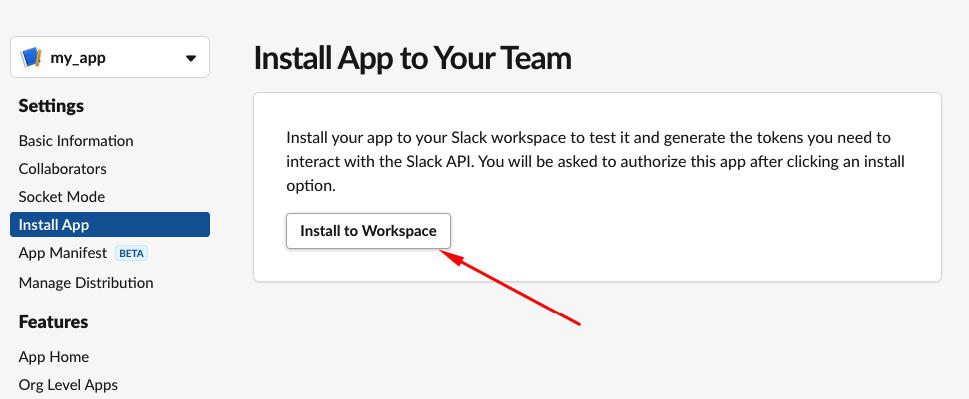
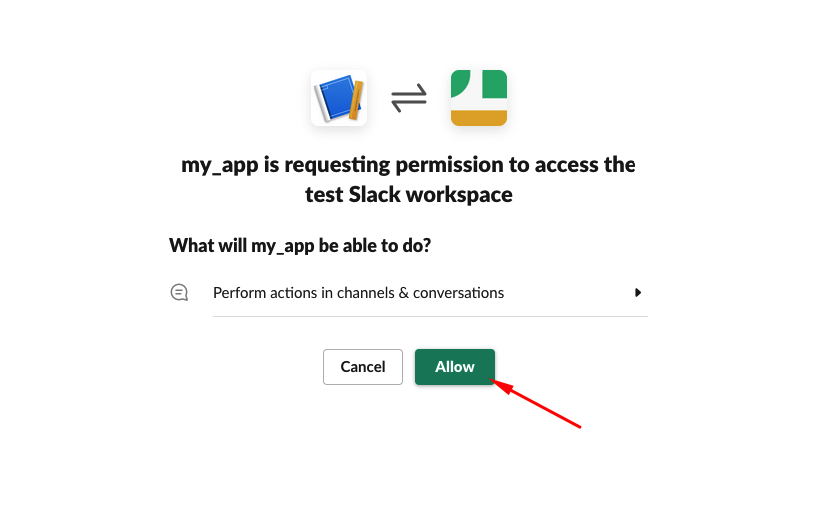
Click Install to Workspace.
my_app is requesting permission to access the test Slack workspace dialog window appears > Allow.
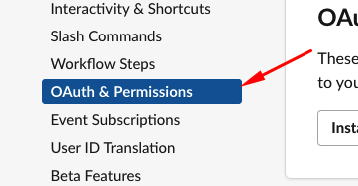
Return to OAuth & permissions.
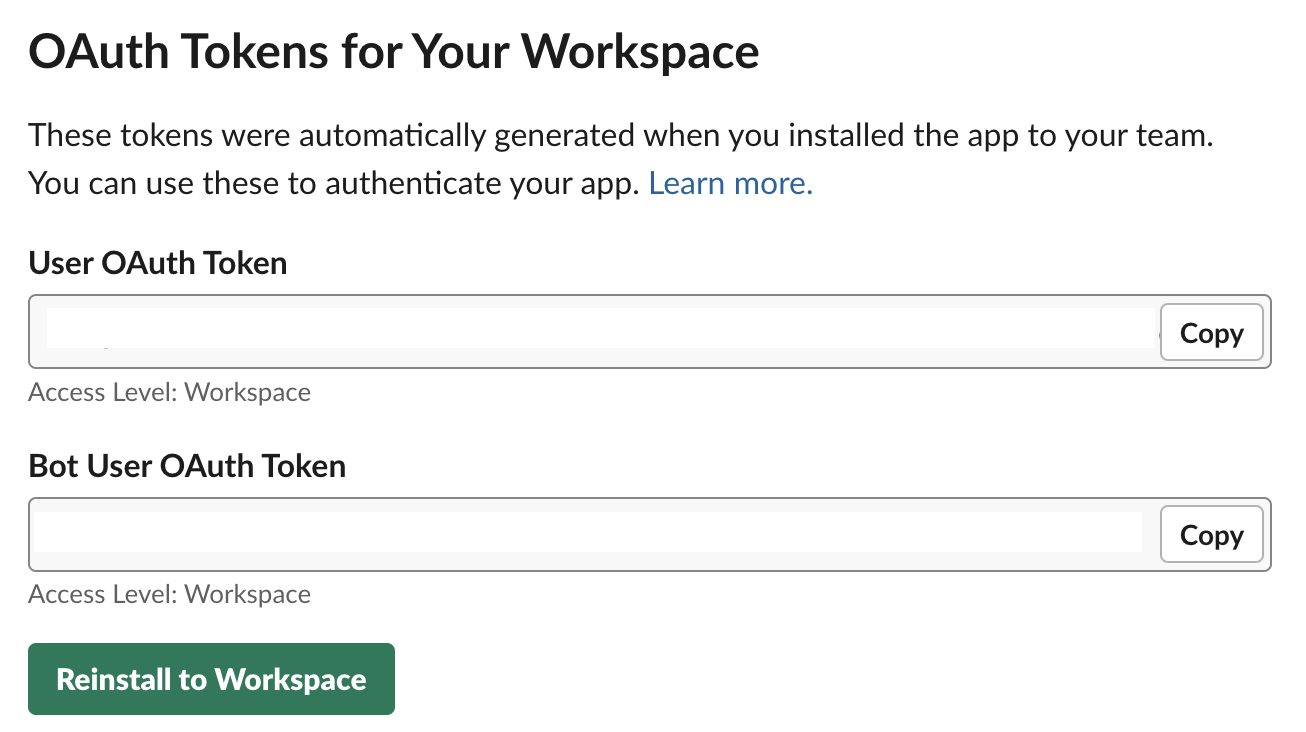
Copy your token.
noteThere are two types of tokens: A "User OAuth Token" & A "Bot User OAuth Token". We recommend using the Bot User OAuth Token in most cases, but there are a few exception, such as the "Set User Profile" action.
Creating your connection
- In the Blink platform, navigate to the Connections page > Add connection. A New Connection dialog box opens displaying icons of external service providers available.
- Select the Slack icon. A dialog box with name of the connection and connection methods appears.
- (Optional) Edit the name of the connection. At a later stage you cannot edit the name.
- Select Token as the method to create the connection.
- Fill in the parameters:
- Token
- (Optional) Click Test Connection to test it.
- Click Create connection. The new connection appears on the Connections page.
Link connection to a specific channel
To communicate with an existing Slack channel you have to invite your app to join from Slack.
To invite your app to the channel, follow one of the following options:
Slack message Go to Slack application, and in the desired channel send the following message:
/invite @<AppName> # For Blink OAuth, AppName will be BlinkSlack UI
- Select a specific channel > click the channel name.
- On the Integrations tab > Add apps.
- Choose the app from the apps list (For Blink OAuth, app name will be Blink).
Slack app scope
Add chat:write.public scope to your application.